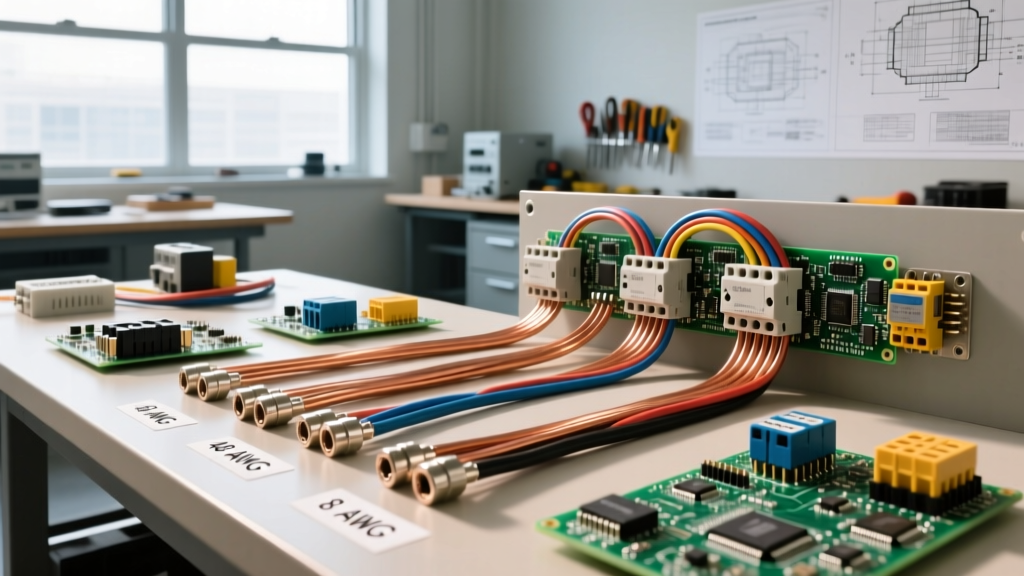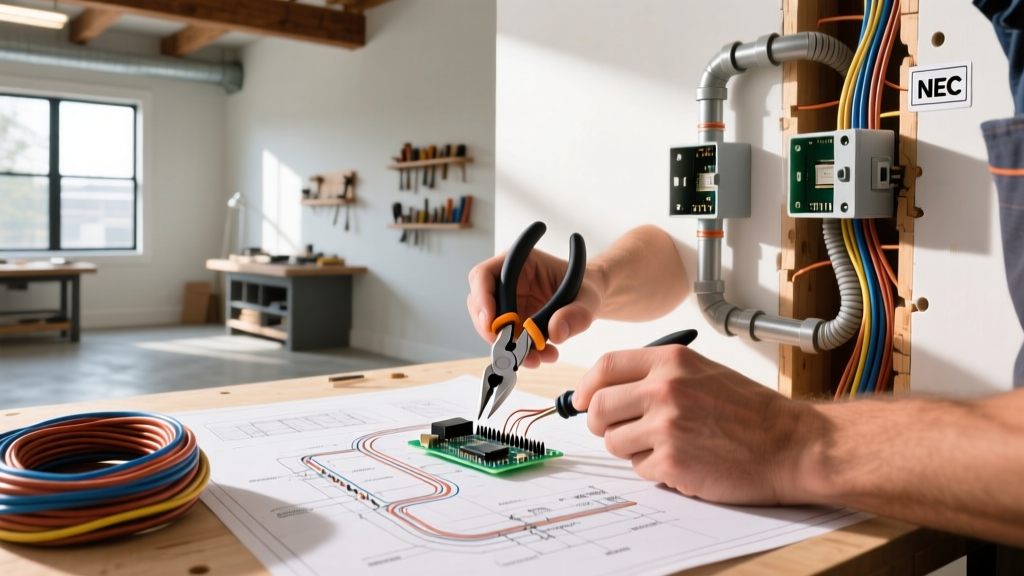

The Paradigm Shift: Why Apply Commercial Methods to Residential Builds?
When most electricians think of basic house electrical wiring, they immediately picture rolls of 12/2 NM-B (commonly known as Romex) being stapled to wooden studs. While this method satisfies the minimum requirements of the National Electrical Code (NEC) for standard residential construction, it falls short for high-end custom homes, multi-generational estates, or clients demanding 50-year infrastructure longevity. As we navigate the 2026 construction landscape, applying commercial wiring standards to residential environments has become the ultimate value-add for elite contractors.
Commercial wiring prioritizes physical protection, thermal management, and future expandability. By adapting these principles to residential projects, you eliminate the risk of accidental nail penetrations, drastically reduce electromagnetic interference (EMI), and create a system that can be easily rewired decades later without tearing open drywall. According to the National Fire Protection Association (NFPA), the core philosophy of the NEC is practical safeguarding of persons and property. Upgrading your residential rough-in to commercial standards exceeds these safeguards, providing an unparalleled level of safety and performance.
Material Showdown: NM-B Cable vs. THHN in EMT Conduit
To understand the value of this approach, we must compare standard residential materials with their commercial counterparts. The table below outlines the technical differences when wiring a standard 20-amp, 120-volt branch circuit.
| Feature | Standard Residential (12/2 NM-B) | Commercial-Grade Residential (THHN in 1/2" EMT) |
|---|---|---|
| Physical Protection | Minimal; vulnerable to nails and screws | Maximum; galvanized steel armor prevents penetration |
| Wire Insulation | 60°C to 90°C (derated to 60°C for terminations) | 90°C THHN/THWN-2 (superior thermal dissipation) |
| Expandability | Requires fishing new cables through drywall | Pull new wires through existing conduit easily |
| EMI Shielding | None; susceptible to data cable interference | Steel conduit acts as a natural Faraday cage |
| Grounding Path | Relies on internal bare copper ground wire | EMT provides a redundant, low-impedance ground path |
Step-by-Step: Executing Commercial-Grade Basic House Electrical Wiring
Transitioning from NM-B to a conduit-based system requires a shift in workflow. Here is the exact methodology used by top-tier commercial electricians when wiring luxury residential properties.
1. Conduit Routing and Bending
Instead of stapling cables, you will be routing 1/2-inch and 3/4-inch galvanized steel EMT (Electrical Metallic Tubing) per NEC Article 358. Use a mechanical bender (such as the Greenlee 881) to ensure precise, kink-free offsets. Keep conduit runs parallel to architectural lines, maintaining a strict 1.5-inch clearance from the face of the studs to prevent drywall screw penetrations. Secure the EMT with steel one-hole straps every 10 feet and within 3 feet of every junction box.
2. Pulling THHN/THWN-2 Conductors
Once the EMT skeleton is complete, pull individual Southwire SIMpull THHN/THWN-2 copper conductors. For a standard 20A circuit, pull three wires: Black (Hot), White (Neutral), and Green (Equipment Ground). Always use a high-quality wire pulling lubricant like Polywater J to reduce friction and prevent insulation micro-tears, especially when navigating multiple 90-degree sweeps. Remember that NEC Chapter 9, Table 1 limits conduit fill to 40% for three or more wires, ensuring ample space for heat dissipation.
3. Device Termination with Commercial Hardware
Do not use builder-grade 50-cent receptacles. Install commercial specification-grade devices, such as the Hubbell 5262 series 15A/20A commercial duplex receptacles. These devices feature internal screw-pressure plates for back-wiring, allowing you to insert up to #10 AWG solid wire. Back-wiring creates a massive, gas-tight connection surface area that will never loosen due to thermal expansion and contraction cycles over the decades.
Box Fill Calculations and Thermal Management
One of the most common failures in basic house electrical wiring is overcrowding junction boxes, leading to excessive heat buildup and short circuits. Commercial electricians strictly adhere to NEC Article 314.16 for box fill calculations.
Expert Insight: When using individual THHN conductors in EMT, you must count each current-carrying conductor, ground, and device yoke. For 12 AWG wire, each conductor counts as 2.25 cubic inches. A standard single-gang nail-on box (18 cu. in.) can easily be overfilled if you are passing through multiple circuits. Always upgrade to 4-inch square steel boxes (21 cu. in. to 34 cu. in. with extension rings) with commercial plaster rings for a cleaner, safer, and more spacious termination environment.
Panelboard Protocols: Dressing the Cabinet
The electrical panel is the heart of the system. In commercial wiring, the interior dressing of the panelboard is treated as an art form that directly impacts safety and maintenance efficiency.
- Wiring Ducts: Install Panduit LGR4 (4x4 inch) slotted wiring ducts along the left and right interior walls of the panel. This keeps branch circuit wires perfectly organized and separated from the main busbars.
- Wire Labels: Every single THHN conductor must be labeled at the panel end using a Brady BMP71 thermal transfer printer with heat-shrink or self-laminating vinyl markers. Do not rely on Sharpie and masking tape, which degrades and falls off within three years.
- Torque Verification: Use a calibrated digital torque screwdriver (such as the Wiha 61100) to tighten all breaker and neutral bar lugs to the exact inch-pound specifications listed on the manufacturer's data sheet. OSHA Electrical Safety guidelines and recent NEC updates mandate verified torque to prevent arc faults caused by loose connections.
Cost Analysis: Is the Commercial Upgrade Worth It?
Contractors often resist commercial methods in residential builds due to perceived costs. However, when analyzing a 2,500-square-foot custom home in 2026, the material and labor premium is often justifiable when presented as a lifetime infrastructure investment to the homeowner.
| Cost Category | Standard NM-B Rough-In | Commercial EMT/THHN Rough-In | Difference |
|---|---|---|---|
| Materials (Wire & Boxes) | $3,200 | $6,800 | +$3,600 |
| Conduit & Fittings | $0 | $2,400 | +$2,400 |
| Labor (Rough-in Phase) | 60 Hours | 110 Hours | +50 Hours |
| Total Estimated Premium | Base Cost | Base + ~$10,500 | ~12-15% of total electrical budget |
While the upfront cost is roughly 12% to 15% higher for the total electrical contract, the elimination of future drywall repair costs during remodels, combined with the marketing appeal of a "commercial-grade electrical infrastructure," easily allows contractors to recoup this premium in high-end markets.
Edge Cases and Inspector Pushback
When applying commercial standards to basic house electrical wiring, you may encounter local inspectors who are unfamiliar with EMT in wood-frame residential construction. It is entirely legal under NEC Article 358, which permits EMT in both exposed and concealed work. However, you must ensure that all EMT connections are made with compression or set-screw fittings that are specifically listed for use in concealed spaces. Furthermore, when transitioning from EMT to a flexible metal conduit (FMC) for recessed lighting fixtures, ensure the FMC run does not exceed 6 feet, and always pull a separate green equipment grounding conductor through the FMC, as the flexible armor itself is not permitted as a sole grounding path for lengths over 6 feet or in all scenarios.
By mastering these commercial techniques, you elevate your craftsmanship, protect your clients, and set your contracting business apart in an increasingly competitive 2026 market.