
The Hidden Bottleneck of Renovation Planning
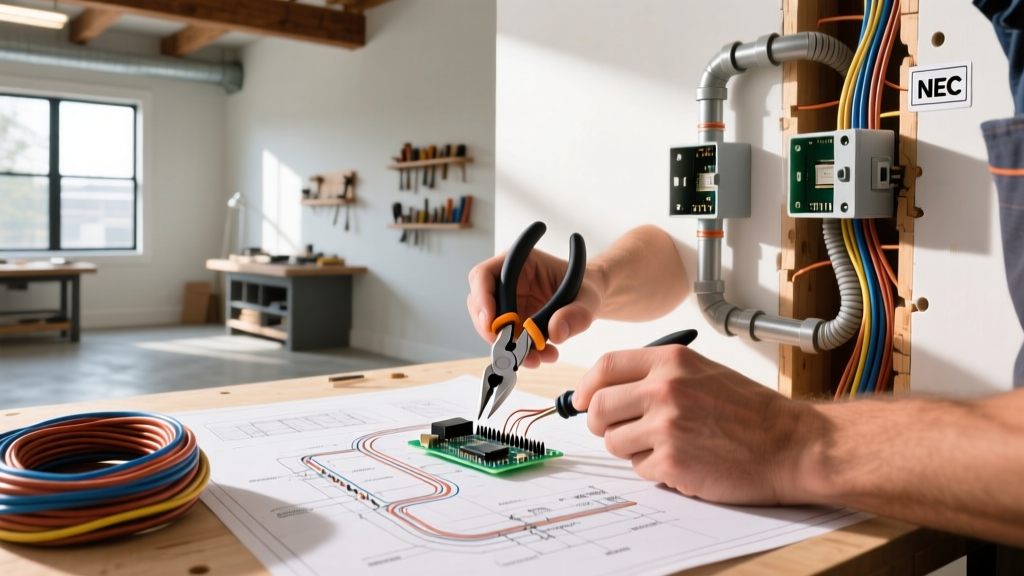
When planning a home renovation, most homeowners and general contractors focus on aesthetics, structural framing, and HVAC routing. However, the backbone of a modern, safe, and code-compliant home lies in the meticulous planning of box electrical wiring. An electrical box is not merely a plastic or metal container; it is the critical transition point where branch circuit conductors are spliced, terminated, and protected. Failing to properly size, locate, and install these boxes during the rough-in phase of a remodel leads to catastrophic downstream costs. In 2026, retrofitting an overcrowded or improperly mounted box after drywall installation costs between $250 and $450 per location due to drywall repair, mudding, and repainting.
This guide provides a deep-dive, expert-level framework for planning box electrical wiring in residential renovations, covering National Electrical Code (NEC) calculations, modern smart-home depth requirements, and specific product selection for various framing scenarios.
NEC Box Fill Calculations: The Math That Prevents Fires
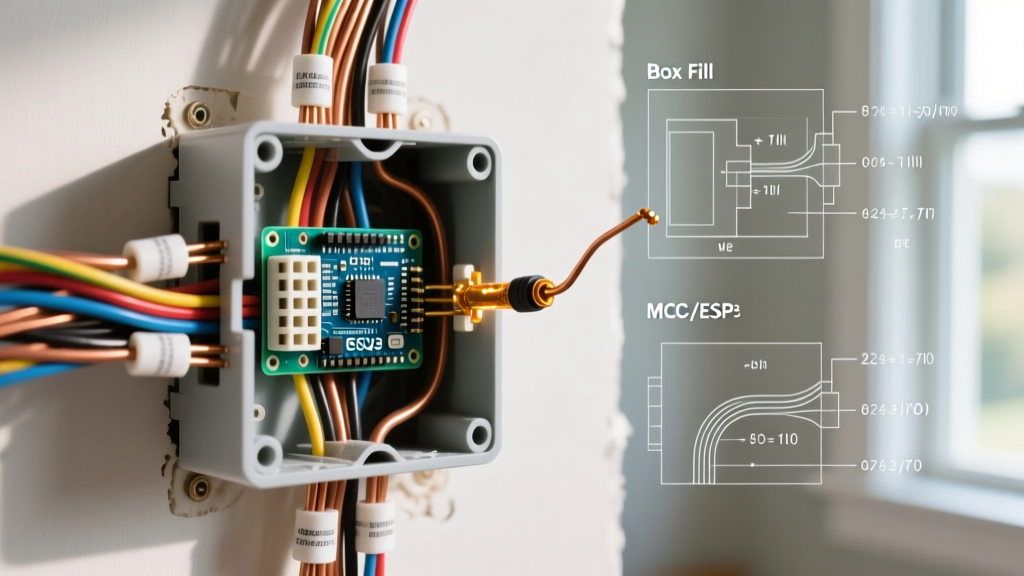
The most common code violation in residential remodels is box overcrowding. When too many current-carrying conductors, clamps, and devices are crammed into a single enclosure, heat dissipation is severely restricted. This can lead to insulation degradation, short circuits, and electrical fires. The National Fire Protection Association (NFPA) outlines strict volume requirements in NEC Article 314.16 to prevent these hazards.
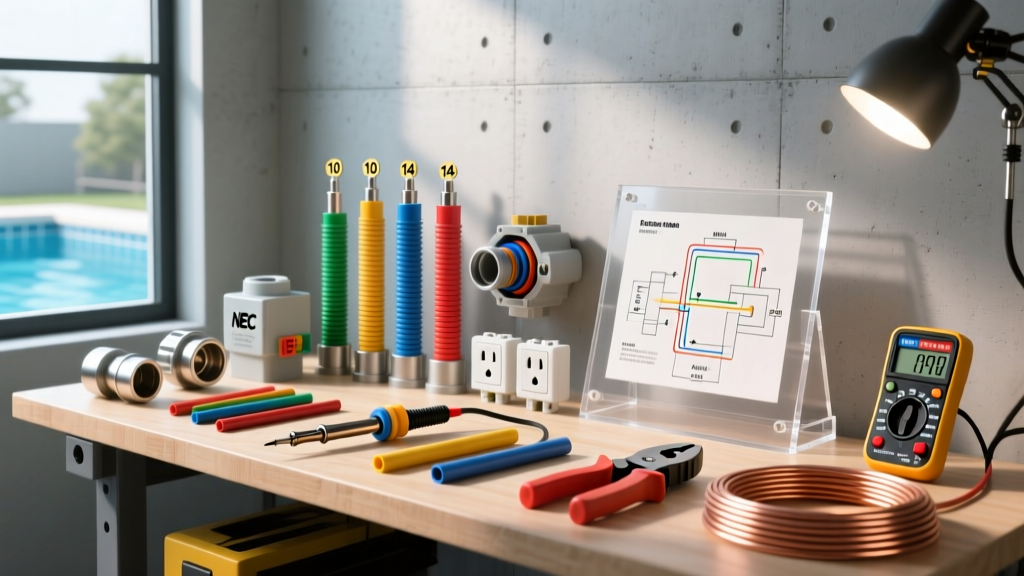
To calculate the minimum required box volume, you must assign a cubic inch (cu in.) value to every item inside the box based on the largest conductor present. Below is the standard NEC volume allowance per conductor for common residential wire gauges:
| Conductor Size (AWG) | Volume Allowance per Conductor | Typical Application |
|---|---|---|
| 14 AWG | 2.0 cu in. | 15-Amp lighting and receptacle circuits |
| 12 AWG | 2.25 cu in. | 20-Amp kitchen, bathroom, and outdoor circuits |
| 10 AWG | 2.5 cu in. | 30-Amp dryer or HVAC circuits |
Real-World Calculation Example
Imagine you are wiring a 20-amp kitchen receptacle using 12 AWG wire. The box will contain:
- 1 Device (Receptacle): Counts as 2 conductors (2 x 2.25 = 4.5 cu in.)
- 2 Cable Clamps: Count as 1 conductor (1 x 2.25 = 2.25 cu in.)
- 4 Current-Carrying Conductors: (Line, Load, Neutral Line, Neutral Load) (4 x 2.25 = 9.0 cu in.)
- 1 Equipment Grounding Conductor: Counts as 1 conductor (1 x 2.25 = 2.25 cu in.)
Total Required Volume: 18.0 cu in. If you attempt to use a standard 14 cu in. shallow switch box, you have created an immediate fire hazard and code violation. You must upgrade to a deep 20 cu in. or 22 cu in. box.
Old Work vs. New Work: Selecting the Right Enclosure
Renovations typically involve a hybrid of exposed framing (new construction) and finished walls (remodels). Choosing the correct box type for the specific structural scenario is vital for structural integrity and installation speed.
New Work Boxes (Exposed Framing)
New work boxes feature integral nail plates or mounting brackets designed to be secured directly to wooden studs or joists before drywall is hung. For standard 15-amp and 20-amp circuits, the Raco 187 (a 4x4x1.5 in. steel box) paired with a 1-gang plaster ring is the industry standard for commercial and high-end residential remodels, costing approximately $1.85 per unit. For standard residential non-metallic (NM) cable runs, the Carlon B618R-UPC (an 18 cu in. PVC nail-on box) is the go-to choice, priced around $1.15 each in 2026.
Old Work Boxes (Finished Walls)
When fishing wires through existing drywall, old work (remodel) boxes utilize flip-out clamps or adjustable brackets that grip the back of the drywall. The Carlon B618R-UPC Old Work variant uses swing-clamp ears that tighten against the drywall via integrated screws. A critical failure mode with old work boxes is over-tightening the mounting screws, which crushes the drywall core and causes the box to pull through the wall when a plug is removed. Always torque these screws to a maximum of 12 inch-pounds.
The Smart Home Depth Crisis of 2026
The rapid adoption of smart home technology has fundamentally changed box electrical wiring requirements. Traditional toggle switches require a depth of about 0.75 inches. Modern smart switches, dimmers, and relays contain internal Wi-Fi radios, heat sinks, and triacs that require significantly more physical space inside the box.
Expert Warning: Never install a Lutron Caseta Pro dimmer (model PD-6WCL) or a Shelly Plus 1PM relay in a standard 14 cu in. shallow box. These devices require a minimum depth of 1.75 inches and a box volume of at least 22 cu in. to allow for proper wire bending radius and heat dissipation.
When planning your renovation, mandate the use of deep boxes (minimum 22 to 25 cu in.) at every switch and dimmer location. The material cost difference is negligible (roughly $0.40 more per box), but it prevents the need to rip out drywall when the low-voltage integrator arrives to install the smart devices. Furthermore, the National Electrical Manufacturers Association (NEMA) recommends maintaining clear air space around solid-state dimmers to prevent thermal throttling, which is impossible in an overcrowded shallow box.
Strategic Placement and Code Clearances
Box placement is governed by NEC Article 210.52, which dictates receptacle spacing to ensure no point along a wall line is more than 6 feet from an outlet. However, renovation planning requires looking beyond basic spacing:
- Kitchen Islands: The NEC has undergone significant updates regarding island receptacles. In modern open-concept remodels, if an island lacks a vertical face for a standard box, you must plan for pop-up floor boxes (like the Arlington Industries FB458, retailing around $45.00) or route conduit through the cabinetry to mount boxes on the side panels.
- Bathroom Vanity Boxes: Plan for a minimum of one 20-amp GFCI receptacle within 36 inches of the outside edge of the basin. If you are installing LED mirror cabinets, you must include a dedicated, hidden junction box behind the mirror cavity to hardwire the lighting, ensuring the box remains accessible by simply removing the mirror.
- Ceiling Fan Boxes: A standard 18 cu in. pan box is strictly prohibited for ceiling fans. You must install a UL-listed fan-rated box (such as the Raco 2900 brace-and-box kit) that mechanically locks to the joists to handle the dynamic torque and vibration of a 50 lb. fan.
Common Renovation Failure Modes and Edge Cases
Even experienced electricians make mistakes during high-pressure remodels. Identifying these edge cases during the planning phase saves thousands in rework.
Failure Mode 1: The Overcrowded Junction Box
The Scenario: Three separate 12/2 NM cables enter a single 4x4x1.5 in. metal box in the attic to feed multiple branch circuits. The Fix: Calculate the fill. 6 conductors + 1 ground + clamps = 8 volume allowances. At 2.25 cu in. each, you need 18 cu in. A standard 4x4x1.5 box only offers 21 cu in., which seems fine, but once you add wire nuts and the sheer bulk of 12 AWG wire, the box cover will not sit flush. Upgrade to a 4x4x2.125 in. deep box (30.3 cu in.) to ensure safe wire bending space as mandated by NEC 300.14.
Failure Mode 2: Drywall Mud in the Box
The Scenario: Drywall finishers spray mud and paint directly into unprotected electrical boxes, ruining the threads on metal boxes and coating the grounding pigtail. The Fix: During the renovation schedule, mandate that electricians install plastic box covers or use painter's tape over all device boxes before the drywall crew begins sanding and mudding. This takes 10 minutes per floor and saves hours of wire-brushing and re-tapping screw holes later.
Step-by-Step: Rescuing an Overfilled Box Mid-Renovation
If you discover an overfilled box during the rough-in inspection, follow this protocol:
- Halt Termination: Do not attempt to force the device into the box. This will pinch the insulation off the hot wire.
- Install an Extension Ring: If using a metal 4x4 box, screw on a 1-gang or 2-gang mud ring extension to push the device further out and increase internal volume.
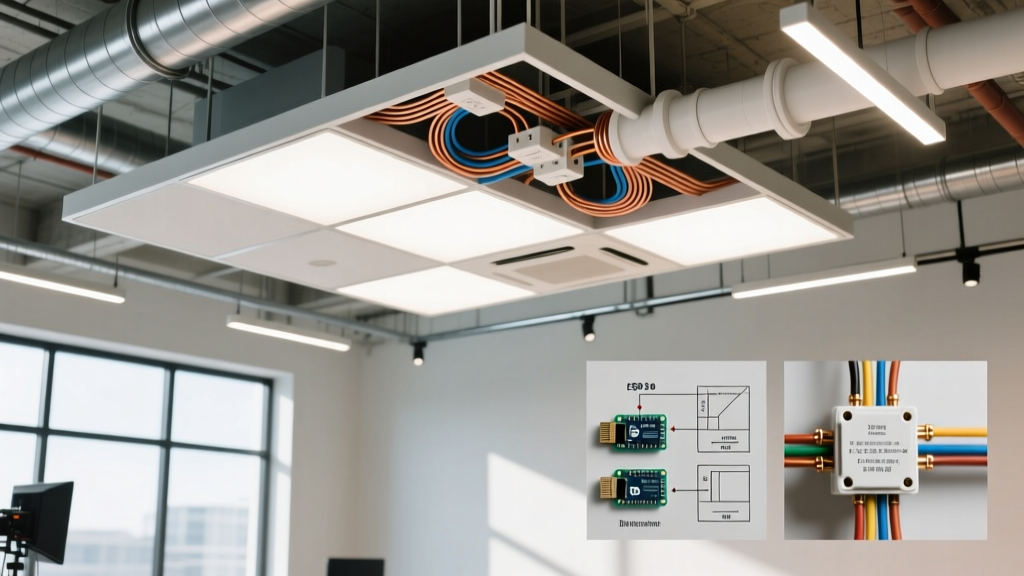
- Relocate Splices: If the box is a junction point, install a secondary junction box nearby (within 6 feet, ensuring it remains permanently accessible) to move the bulk of the wire nuts and splices out of the primary device box.
- Verify Grounding: Ensure all metal boxes and extension rings are bonded to the equipment grounding conductor using a green 10-32 grounding screw and a pigtail.
Conclusion
Proper box electrical wiring planning is the hallmark of a professional renovation. By strictly adhering to NEC box fill calculations, upgrading to deep boxes for smart home integration, and selecting the correct enclosures for your specific framing conditions, you ensure a safe, inspectable, and future-proof electrical system. Always consult the latest local amendments to the NEC and prioritize safety over material cost savings, as detailed by the Occupational Safety and Health Administration (OSHA) electrical safety guidelines. A well-planned box is the foundation of a flawless finish.