
When planning a home renovation, running new circuits through closed walls is often the most daunting phase. Tearing out drywall to fish cables costs an average of $2.50 to $4.00 per square foot in repair, taping, and repainting expenses. The secret to keeping walls intact and budgets under control lies in selecting the exact right drill bit for electrical wiring. In 2026, with framing lumber costs remaining high and modern homes packed with HVAC, plumbing, and smart-home low-voltage lines, surgical precision is mandatory.
This guide breaks down the metallurgy, application, and failure modes of the primary bits used in retrofit wiring, ensuring your renovation planning is grounded in professional reality.
Comparison Matrix: Retrofit Drilling Tools
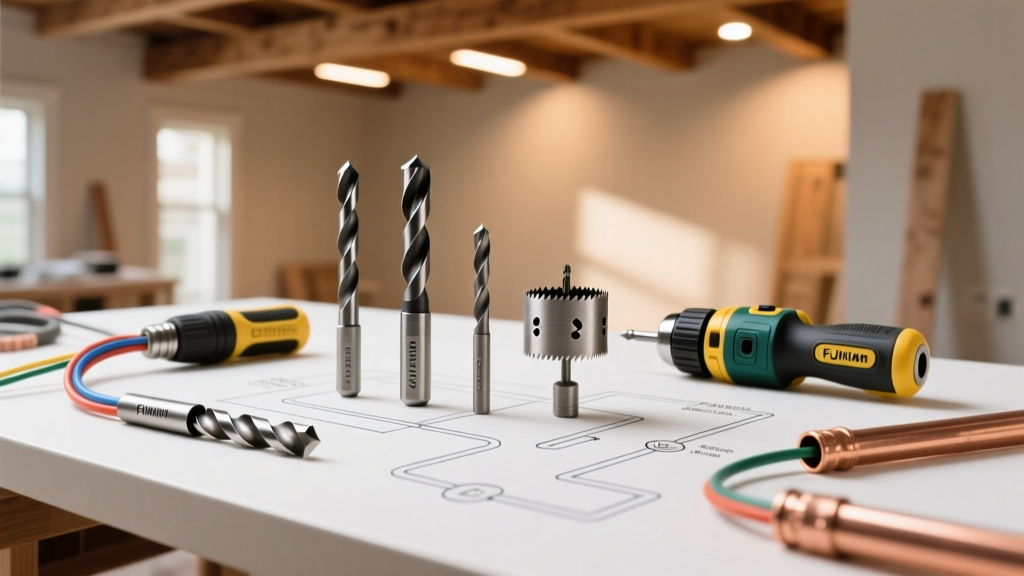
Not all bits are created equal. Using a standard twist bit in a closed wall cavity will result in severe deflection and damaged vapor barriers. Below is a professional comparison of the primary tools used by journeyman electricians for remodels.
| Bit Type | Best Application | Max Reach | Avg Cost (2026) | Deflection Risk |
|---|---|---|---|---|
| Flexible Shaft Bit | Fishing through closed studs & fire blocks | Up to 72 inches | $45 - $65 | High (if misused) |
| Ship Auger Bit | Drilling top/bottom plates from attic/crawlspace | 18 - 24 inches | $25 - $40 | Low |
| Self-Feed Spade Bit | Quick bore holes in exposed framing | 6 - 12 inches | $15 - $25 | Medium |
| Bi-Metal Hole Saw | Exterior penetrations & panel knockouts | 2 - 4 inches (depth) | $30 - $50 | None |
The Retrofit King: Flexible Shaft Drill Bits
When you only have a single drywall cutout (such as an old-work junction box opening) and need to drill through three consecutive studs to run a new 12/2 NM-B cable, the flexible shaft bit is your only option. The Klein Tools 5/8-Inch Flexible Drill Bit (Cat. No. 53726) and the Greenlee 5400-Series are the industry standards.
Metallurgy and Steering Mechanics
Flex bits are forged from high-carbon steel that is tempered to bend without snapping—up to a point. The tip features a slight, pre-set angle. To 'steer' the bit through a stud cavity, you insert it with the bend facing your desired direction. Apply moderate forward pressure while the drill spins at a medium speed (around 800 RPM).
Expert Warning: Never run a flex bit at maximum drill speed (1500+ RPM) inside a wall cavity. High RPMs cause the long shaft to 'whip' and oval-out the wood hole. This weakens the structural integrity of the stud and creates severe vibration that can damage existing plumbing or low-voltage cables nearby.
Failure Mode: The Fire Block Bind
Modern building codes require fire blocks in wall cavities typically at 10-foot vertical intervals and at floor/ceiling lines. These are often doubled-up 2x4s or solid OSB blocks. When a flex bit bites into a dense fire block, the flutes can clog with sawdust and bind. If you keep the drill trigger engaged, the torsional stress will snap the high-carbon shaft inside your wall. The fix: Release the trigger immediately. Detach the drill, attach a 6-inch locking wrench to the hex shank protruding from the drywall, and manually reverse the bit to unbind the flutes before resuming.
Top and Bottom Plates: Ship Auger Bits
If your renovation includes attic or crawlspace access, you will need to drill through the top and bottom plates of the wall framing. These plates are often doubled-up (two 2x4s nailed together) and may be pressure-treated lumber if they sit on a concrete slab. Standard spade bits will stall and burn the wood here.
For this, use a Bosch Daredevil 3/4-Inch Ship Auger Bit or a Milwaukee Flat Boring Auger. These bits feature a self-feed screw tip that pulls the bit through dense, wet, or treated lumber with minimal downward pressure.
The Torque Hazard
Because self-feed augers pull themselves into the wood aggressively, they can suddenly bind on a hidden nail or knot. When this happens, the drill motor will attempt to spin the handle with over 500 inch-pounds of torque, which can easily break a renovator's wrist. Always use the auxiliary side-handle on your 1/2-inch drill, and brace your body against a stable surface when boring through plates, in strict accordance with OSHA Hand and Power Tools Guidelines regarding high-torque equipment safety.
Exterior Penetrations: Bi-Metal vs. Carbide Hole Saws
Running a dedicated 240V circuit for an EV charger or a new sub-panel often requires drilling through exterior siding. If you are drilling through wood siding or vinyl, a standard Milwaukee Hole Dozer Bi-Metal Hole Saw ($35) is sufficient. However, if your renovation involves cutting through metal siding, fiber-cement (HardiePlank), or stucco with embedded galvanized wire mesh, bi-metal teeth will dull in seconds.
For these materials, upgrade to a Carbide-Tipped Hole Saw (such as the Milwaukee Carbide Tipped series, ~$65). Carbide teeth shear through stucco wire and fiber-cement cleanly without snagging, preventing the dangerous 'grab-and-twist' effect that occurs when a dull bi-metal saw catches on metal mesh.
Code Compliance: The 1-1/4 Inch Rule
When planning your drill paths, you must adhere to the National Electrical Code (NEC). According to the National Fire Protection Association (NFPA 70), specifically NEC Article 300.4(A)(1), any hole bored through a wood stud must maintain a minimum clearance of 1-1/4 inches (32 mm) from the nearest edge of the stud.
This rule exists to prevent drywall screws or exterior siding nails from piercing your electrical cables. If your renovation layout forces you to drill a hole closer than 1-1/4 inches to the edge (common when navigating around HVAC ducting or plumbing stacks), you are legally required to install a 1/16-inch thick steel nail plate (e.g., Gardner Bender NP-1) over the stud face before closing the drywall.
The Renovation Pre-Drill Workflow
Blind drilling is the enemy of a profitable renovation. Follow this exact sequence before pulling the trigger on your drill:
- Magnetic Mapping: Use a high-quality magnetic stud finder to locate drywall screws. This maps the exact center of the studs and alerts you to horizontal fire blocks where screws are clustered.
- Borescope Inspection: Cut your junction box hole, then insert a 5.5mm Wi-Fi borescope (such as the Teslong or Depstech models, ~$40). Pan the camera 360 degrees to identify PEX water lines, HVAC flex ducts, and existing Romex cables in the bay.
- Mark the Depth: Wrap a piece of blue painter's tape around your auger or flex bit at the exact depth of the stud cavity (usually 3.5 inches for a 2x4 wall, or 5.5 inches for a 2x6 exterior wall). This prevents you from over-penetrating and drilling into the exterior siding or an adjacent room's drywall.
- Clear the Flutes: When drilling deep holes, pull the bit out every 2 inches to clear sawdust. Packed flutes generate immense friction heat, which can scorch the surrounding wood and create a hidden fire hazard.
Final Thoughts on Tool Investment
Buying a complete set of retrofit bits (one 54-inch flex bit, one 3/4-inch ship auger, and a bi-metal hole saw kit) will cost roughly $130 to $160. Considering a professional drywall patch-and-paint contractor charges a minimum of $350 just to show up and repair a single botched wall cavity, the ROI on the correct drill bit for electrical wiring is immediate. Plan your drill paths, respect the NEC edge clearances, and let the right tool do the heavy lifting.