
The 5-Minute Multimeter Triage: Isolating the Supply
When a major household appliance—like a dual-fuel range, electric dryer, or built-in refrigerator—suddenly stops functioning, the immediate instinct is to assume a catastrophic internal failure. However, nearly 30% of all service calls for electrical appliance wiring services result from supply-side voltage anomalies rather than internal component burnout. Before you dismantle the back panel or schedule an expensive diagnostic visit, you must isolate the branch circuit.
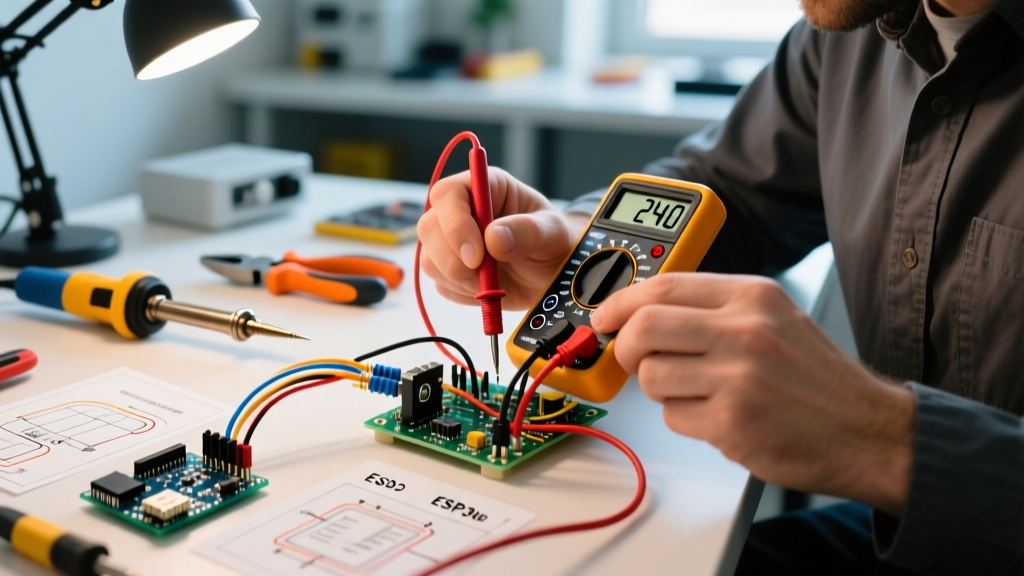
Equip yourself with a True-RMS multimeter, such as the Fluke 117 (retailing around $220 in 2026). For standard 120V appliances (dishwashers, microwaves), test Line-to-Neutral (L-N) and Line-to-Ground (L-G). You should read a stable 120V ± 5%. If L-N reads 120V but L-G reads 0V, you have an open ground fault in the receptacle or upstream junction box, which is a severe shock hazard requiring immediate professional rewiring.
For 240V appliances (ranges, dryers, EV chargers), the testing protocol is more rigorous. Set your meter to AC Voltage and test the NEMA 14-30R or 14-50R receptacle:
- L1 to L2 (Hot to Hot): Must read 240V. If it reads 0V, check the main panel for a tripped double-pole breaker.
- L1 to Neutral & L2 to Neutral: Must both read 120V.
- L1 to Ground & L2 to Ground: Must both read 120V.
If your L1-L2 reads 240V, but your L1-Neutral reads 0V and L2-Neutral reads 240V, you have a severed or disconnected neutral wire. This is a critical failure mode that will instantly destroy the 120V control boards and digital clocks on your appliance the moment the 240V heating element engages.
Internal Appliance Wiring Failure Modes
If your supply voltage passes the multimeter triage, the fault lies within the appliance's internal wiring harness, terminal block, or high-draw components. The table below outlines the most common internal wiring failures we see in the field, updated with 2026 average repair economics.
| Appliance Type | Common Wiring Failure Mode | Typical 2026 Repair Cost | DIY vs. Pro Service |
|---|---|---|---|
| Electric Dryer | Melted 3-prong terminal block due to loose strain relief | $85 - $140 | DIY (Moderate) |
| Electric Range | Burnt infinite switch wiring harness (high-resistance connection) | $150 - $220 | DIY (Advanced) |
| Dishwasher | Moisture ingress corrosion at the under-sink junction box | $120 - $180 | Pro Service Required |
| HVAC Air Handler | Frayed 24V thermostat control wire shorting to chassis ground | $180 - $300 | Pro Service Required |
| Built-in Fridge | Compressor start relay harness vibration fatigue | $200 - $350 | Pro Service Required |
The Floating Neutral Catastrophe in 240V Ranges
One of the most misunderstood concepts in residential wiring is the transition from 3-prong to 4-prong appliance cords, mandated by the National Fire Protection Association (NFPA) under NEC Article 250.140. Older homes often still utilize 3-wire setups where the neutral and ground are bonded at the appliance terminal block.
When upgrading to a 4-wire cord, DIYers frequently forget to remove the copper bonding strap or green bonding screw on the appliance's terminal block. If the bonding strap remains intact on a 4-wire circuit, neutral return current will travel back to the main panel via the equipment grounding conductor. This energizes the appliance chassis and creates a parallel neutral path, which is a severe code violation and a lethal shock hazard.
Conversely, if you wire a 4-prong cord but fail to secure the neutral lug tightly, you create a 'floating neutral.' Because modern ranges utilize 120V for the oven light, digital display, and convection fan motors, a floating neutral causes the 120V components to act as a series circuit across the 240V supply. The moment the 240V bake element turns on, the voltage across the 120V control board can spike to 200V+, instantly frying the main PCB (Printed Circuit Board). Replacing a range PCB in 2026 costs upwards of $350 for the part alone. Always torque the terminal block lugs to the manufacturer's specification—typically 12 to 14 inch-pounds for standard #8 AWG appliance pigtails.
Thermal Cycling and the Aluminum vs. Copper Dilemma
High-draw appliances like electric ranges and tankless water heaters generate immense heat at their termination points. Over years of thermal cycling (heating up during use, cooling down when off), wire connections can loosen. This is especially prevalent when copper appliance pigtails are terminated into aluminum branch circuit wiring, or when aluminum wire is used on standard brass/copper terminal screws without proper preparation.
According to safety data compiled by the U.S. Consumer Product Safety Commission (CPSC), loose or improperly terminated aluminum wiring is a leading cause of residential electrical fires. If you are troubleshooting an appliance that intermittently loses power or emits a faint 'fishy' or ozone smell near the receptacle, you are likely witnessing thermal arcing.
Actionable Fix: If your home features aluminum branch wiring feeding a 50A NEMA 14-50R receptacle, you must use CO/ALR rated receptacles. Furthermore, any copper-to-aluminum pigtailing inside the junction box must be executed using irreversible crimp connectors or specialized antioxidant paste (like Noalox) to prevent galvanic corrosion. Standard wire nuts will eventually fail under the high thermal loads of a 50A appliance circuit.
Red Flags That Require Immediate Professional Intervention
While replacing a dryer heating element or a dishwasher door switch is well within the scope of an advanced DIYer, certain scenarios demand licensed electrical appliance wiring services. Cease all troubleshooting and call a professional if you encounter:
- Scorched or Melted Receptacle Faces: Indicates severe arcing. The receptacle, the plug, and at least 12 inches of the upstream wire must be replaced.
- Frequent GFCI/AFCI Tripping on Dedicated Circuits: Modern 2026 NEC updates require stricter ground-fault and arc-fault protection in kitchens and laundry areas. If a new appliance trips a 20A AFCI breaker immediately, there may be an internal motor fault or a shared-neutral wiring error in the walls.
- Voltage Drops Under Load: If your multimeter reads 120V at the receptacle, but drops below 108V the moment the appliance compressor or heating element engages, your branch circuit wire gauge is undersized, or the main panel bus bar is degrading.
Cost Breakdown: DIY Parts vs. Professional Service Calls
Understanding the economics of appliance repair helps you decide when to turn the wrench yourself. Below is a comparative matrix of DIY part costs versus hiring a professional appliance wiring technician in the current market.
| Repair Scenario | DIY Part Cost (2026) | Professional Service Total | Time Investment |
|---|---|---|---|
| Replace 4-Prong Dryer Cord & Strain Relief | $35 | $125 - $160 | 30 Minutes |
| Replace Range Terminal Block & Wiring Harness | $45 - $65 | $180 - $240 | 1 - 2 Hours |
| Hardwire Dishwasher Junction Box & Whip | $25 | $150 - $200 | 45 Minutes |
| Upgrade 30A Breaker & 10 AWG THHN Run | $80 - $120 | $350 - $500 | 3 - 5 Hours |
Final Thoughts on Appliance Wiring Safety
Troubleshooting appliance wiring is a systematic process of elimination. By starting at the main panel, verifying voltage at the receptacle, and methodically inspecting the terminal blocks and internal harnesses, you can accurately diagnose 90% of common electrical faults. However, never compromise on safety. If your troubleshooting reveals degraded insulation, undersized wiring, or aluminum termination hazards, it is time to step back and engage licensed electrical appliance wiring services to ensure your home remains safe and fully compliant with the latest electrical codes.