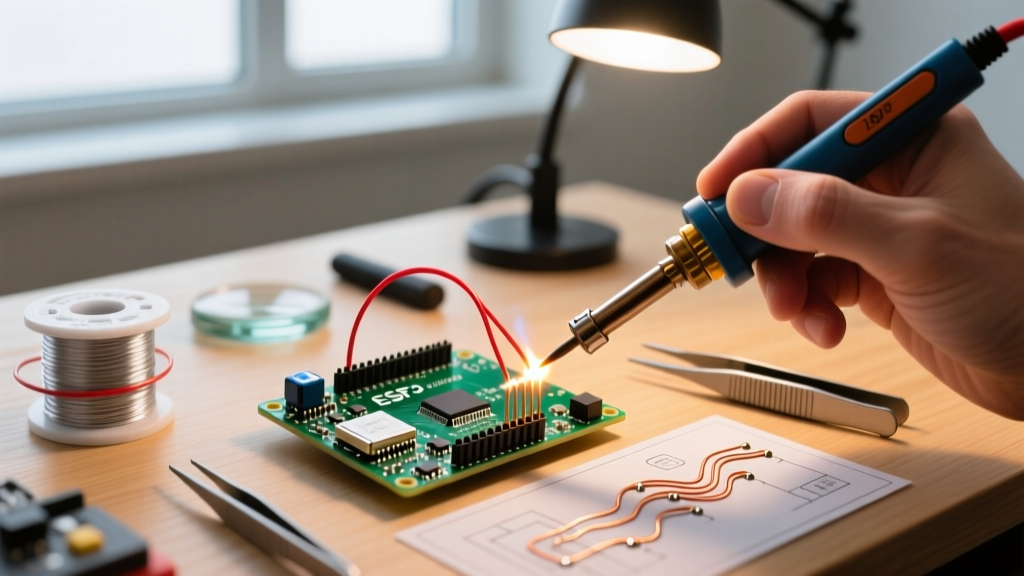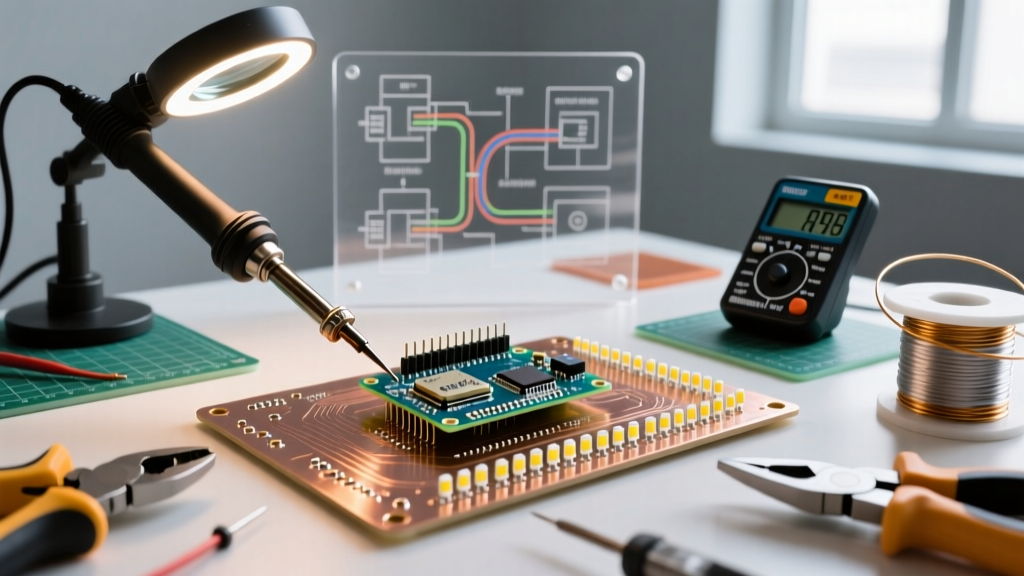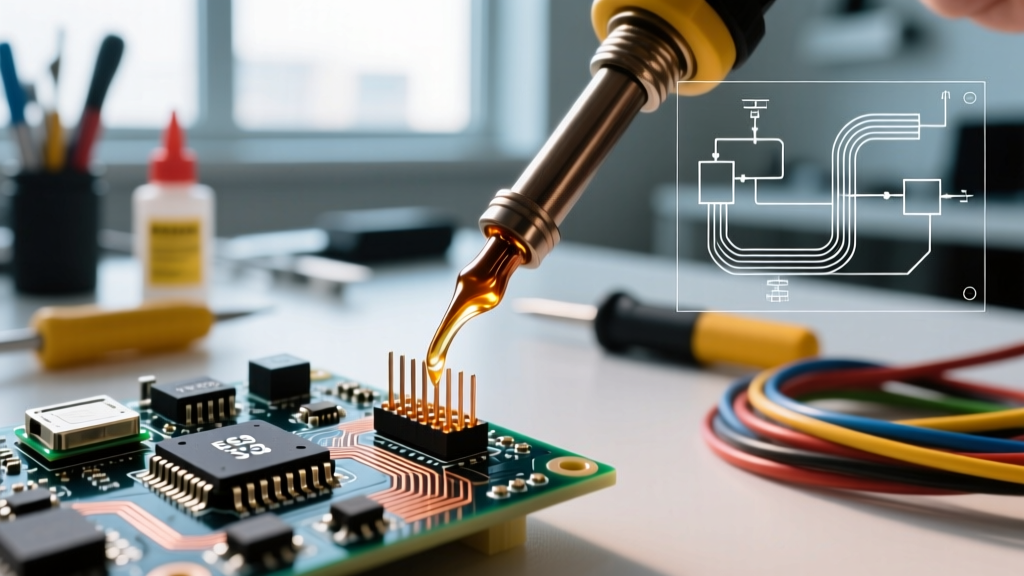

The Metallurgical Truth: What Does Soldered Actually Mean?
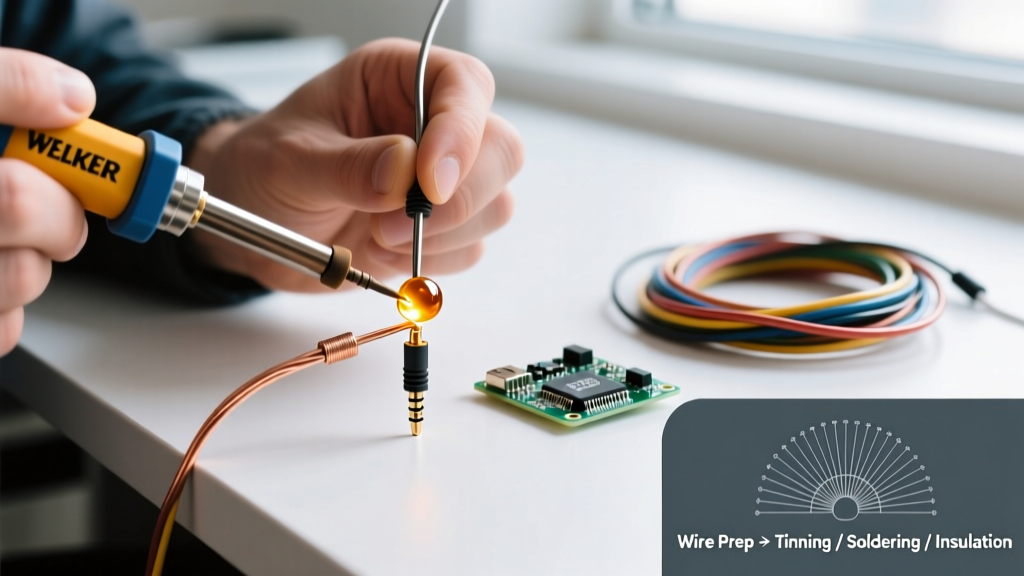
When a beginner asks, "what does soldered mean?", they often picture a metallic glue melting over two wires to stick them together. From an electrical engineering and metallurgical perspective, this definition is fundamentally incorrect. Soldering is not an adhesive process; it is a diffusion bonding process.
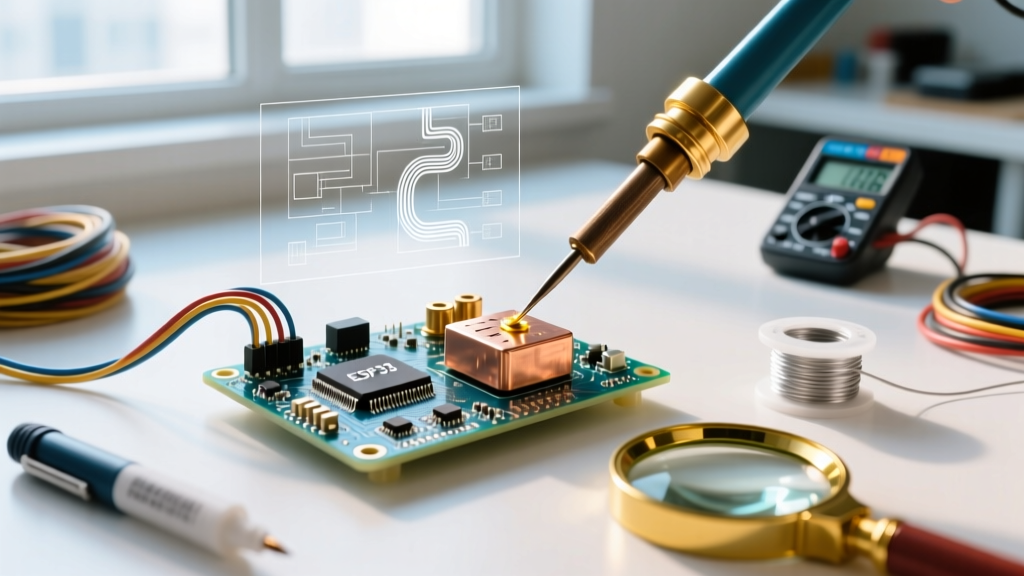
When you heat a copper pad and a component lead to the appropriate temperature and apply solder, the molten tin in the solder alloy actually dissolves a microscopic layer of the base copper. As the joint cools, it forms an Intermetallic Compound (IMC) layer—typically Cu6Sn5 (eta phase) and Cu3Sn (epsilon phase). This IMC layer is the literal definition of a "soldered" connection. Without this metallurgical bond, you merely have a cold, mechanical wrap that will eventually fail under thermal cycling or vibration.
Expert Insight: According to the IPC J-STD-001 standard, a reliable soldered joint requires an IMC layer thickness between 1 to 3 microns. If the iron is left on the joint too long, the IMC layer grows too thick, becoming brittle and prone to micro-fractures.
Soldered vs. Welded vs. Brazed: A Quick Comparison Matrix
To fully understand what soldered means, it helps to contrast it with other metal-joining techniques. The primary differentiator is temperature and whether the base metal melts.
| Process | Filler Metal Melting Point | Base Metal Melts? | Primary Use Case | Joint Strength |
|---|---|---|---|---|
| Soldering | Below 450°C (840°F) | No | Electronics, PCBs, delicate plumbing | Moderate (Relies on IMC) |
| Brazing | Above 450°C (840°F) | No | HVAC, structural steel, bicycles | High |
| Welding | N/A (Base metal melts) | Yes | Automotive, shipbuilding, heavy construction | Very High |
The Big Three: Solder Alloys You Need to Know in 2026
The definition of a soldered joint changes slightly depending on the alloy used, as different alloys require different thermal profiles to form a proper IMC layer. Here are the three most common alloys in modern electronics workbenches:
1. Sn60Pb40 (Leaded Eutectic)
Composed of 60% Tin and 40% Lead, this alloy melts sharply at 183°C (361°F). Because it is eutectic, it transitions directly from solid to liquid without a "plastic" (mushy) phase. This makes it incredibly forgiving for beginners, as movement during cooling won't disturb a crystallizing structure. While restricted in commercial EU/US manufacturing by RoHS directives, it remains the gold standard for hobbyists, aerospace, and medical repair due to its reliability.
2. SAC305 (Lead-Free Standard)
Composed of 96.5% Tin, 3.0% Silver, and 0.5% Copper. SAC305 melts at 217°C (423°F). It is the industry standard for commercial PCB assembly. It requires higher iron temperatures (typically 340°C - 360°C) and aggressive fluxes to combat rapid oxidation at high heat.
3. Sn42Bi57Ag1 (Low-Temperature)
A Tin/Bismuth/Silver alloy that melts at just 178°C (352°F). This is heavily used in 2026 for repairing heat-sensitive components, flexible PCBs, and step-soldering processes where you don't want to remelt adjacent joints.
Troubleshooting FAQ: Why Didn't My Soldered Joint Hold?
Understanding what "soldered" means theoretically is easy; achieving it practically requires troubleshooting. Below are the most common failure modes and exact steps to fix them.
1. The Cold Solder Joint (Grainy & Dull)
The Symptom: The joint looks lumpy, dull, and gray instead of smooth and shiny (for leaded) or smooth and matte (for lead-free). A multimeter may show intermittent continuity.
The Cause: Insufficient heat transfer. The solder melted off the iron tip, but the copper pad and component lead never reached the activation temperature of the flux or the melting point of the alloy. The IMC layer never formed.
The Fix: Do not just add more solder. Apply a high-quality No-Clean liquid flux (like Kester 245 or MG Chemicals 8341). Clean your iron tip on a brass sponge, set the temperature to 350°C, and apply the tip to both the pad and the lead simultaneously for 2-3 seconds before feeding fresh solder.
2. Tombstoning (Surface Mount Components)
The Symptom: A tiny SMD resistor or capacitor stands up on one end, resembling a tombstone, completely breaking the circuit on the lifted pad.
The Cause: Uneven wetting forces. One pad heats up faster than the other, causing the solder on that side to melt and pull the component upward via surface tension before the other side melts.
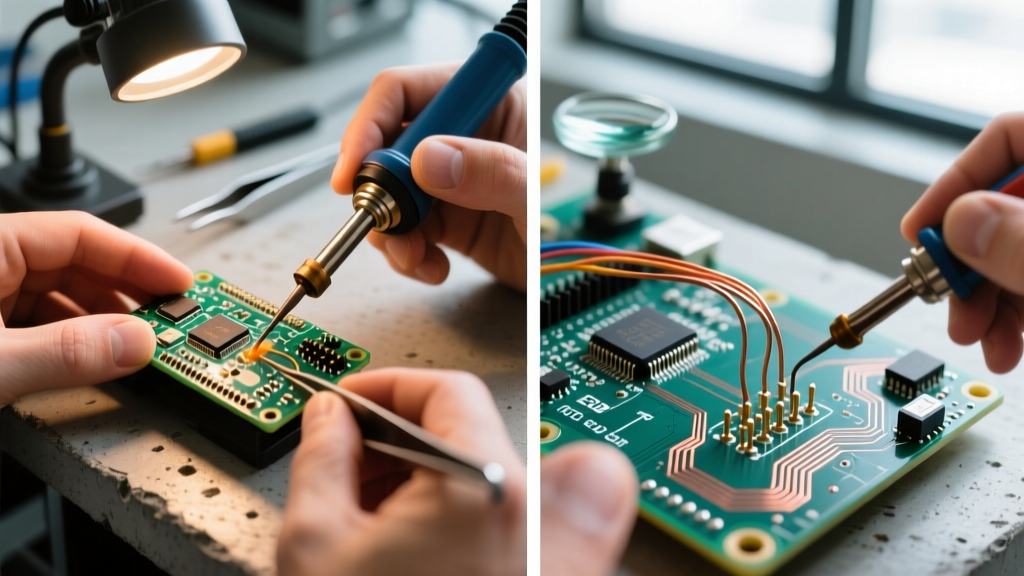
The Fix: For hand soldering, use a fine-tipped iron (like a 0.4mm conical or micro-knife) and apply heat to the pad and the component termination simultaneously. Use tacky flux gel to hold the component flat against the PCB before applying heat.
3. Solder Bridges & Shorts
The Symptom: Solder flows across two adjacent pins on an IC (like a SOIC-8 or QFP chip), causing a dead short.
The Cause: Excessive solder, insufficient flux, or dragging the iron too slowly.
The Fix: Stop adding solder. Apply copious amounts of liquid flux. Take a piece of desoldering braid (wick)—preferably 2.0mm width coated in rosin flux—place it over the bridge, and press a clean, flat chisel tip iron down on the wick. The capillary action will instantly wick the excess solder away, leaving perfectly separated pins.
4. Poor Wetting (Solder Balls Up)
The Symptom: The solder refuses to flow onto the pad, instead balling up on the iron tip and falling off.
The Cause: Severe oxidation on the PCB pad or component lead, or a degraded iron tip that has lost its iron-plating layer.
The Fix: If the pad is oxidized, gently scrape it with a fiberglass scratch pen or use a mildly abrasive pad. If the iron tip is blackened and won't accept solder, use a Tip Tinner (a mixture of aggressive flux and solder powder) to chemically strip the oxidation and re-tin the tip. Never use sandpaper on a soldering tip; you will destroy the protective iron plating.
Essential Tools for Reliable Soldered Connections
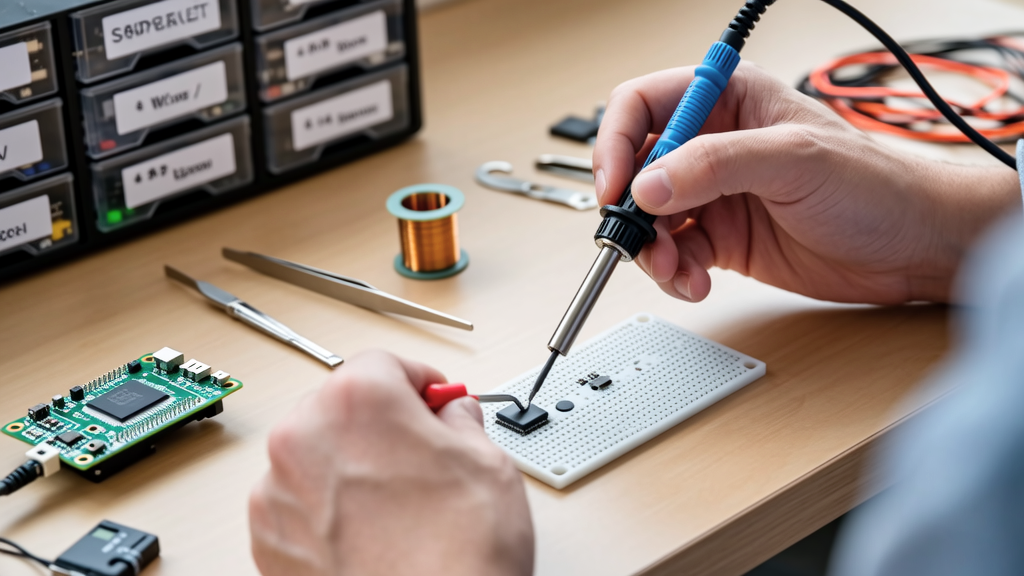
To ensure your joints meet the metallurgical definition of "soldered," you need precise thermal control. Here are the top-tier tools recommended for 2026:
- Hakko FX-888D (~$115): The undisputed workhorse for through-hole and general wire soldering. Its T18 chisel tips offer massive thermal mass recovery.
- Pine64 Pinecil V2 (~$28): A revolutionary portable iron powered by USB-C PD (up to 65W). It features a RISC-V chip that updates via USB, making it perfect for field technicians and drone repair.
- JBC CD-2BQE (~$550+): The professional benchmark. JBC's cartridge system houses the heating element inside the tip itself, offering sub-second heat recovery for heavy ground planes.
- Chemtronics Solder Wick (~$8): Essential for troubleshooting. Their No-Clean wick leaves virtually zero residue, saving you from needing an IPA scrub post-repair.
Expert Verdict: Mastering the Metallurgy
So, what does soldered mean? It means you have successfully facilitated a controlled chemical reaction that merges tin and copper into a conductive, intermetallic bridge. By moving past the "glue" mindset and treating soldering as the thermal science it is, you will drastically reduce your failure rates. Always prioritize flux over extra heat, keep your tips immaculately tinned, and respect the specific melting profiles of your chosen alloy. For further reading on industry-accepted visual standards, refer to the SparkFun Through-Hole Soldering Tutorial and the technical data sheets available at Kester's Technical Documents library.