
The Metallurgical Challenge of Pot Metal (Zamak)
In the DIY electronics and vintage restoration communities, few materials inspire as much dread as pot metal. Technically known as Zamak (a family of zinc-aluminum-copper alloys, typically Zamak 3 or Zamak 5), pot metal was heavily used in mid-century automotive emblems, vintage toy cars, and early electronic chassis due to its low cost and excellent die-casting properties. However, according to the North American Die Casting Association, these alloys possess a very narrow melting range—typically between 380°C and 390°C (716°F to 734°F).
This creates a severe thermal paradox for the technician. Standard 60/40 tin-lead solder melts at 183°C (361°F), which theoretically leaves a 200°C safety margin. In practice, however, the high thermal mass of a thick die-cast part requires a soldering iron tip temperature of at least 350°C to achieve adequate heat transfer. If you linger for more than a few seconds to get the solder to flow, the localized temperature spikes, the zinc matrix liquefies, and the part slumps into an irrecoverable pile of gray mush. Furthermore, the aluminum content in Zamak forms an instant, microscopic oxide layer that standard rosin fluxes (RMA) cannot penetrate.
To successfully repair these components, we must bypass standard techniques. Below, we compare the three primary methods for soldering pot metal, evaluating their metallurgical compatibility, cost, and structural integrity.
Method 1: Indium-Based Low-Temperature Soldering (The Premium Fix)
Indium alloys represent the gold standard for joining heat-sensitive substrates. By utilizing an alloy like Indalloy 1E (52% Indium, 48% Tin), you achieve a eutectic melting point of just 118°C (244°F). This massive thermal buffer guarantees the base pot metal will never approach its 385°C failure point.
Pros and Cons
- Pros: Zero risk of base metal liquefaction; excellent wetting on zinc without aggressive fluxes; highly ductile, absorbing thermal expansion mismatches.
- Cons: Prohibitive cost. As of early 2026, indium market fluctuations push the price of a 1lb spool of Indalloy 1E to roughly $180–$220; low shear strength compared to the base metal.
Indium solder requires a specialized flux. While it wets better than standard solder on zinc, a mild organic acid flux or a dedicated indium flux (like Indium Corporation's #101) is recommended to ensure a void-free joint. Indium Corporation's alloy documentation notes that indium-tin alloys also resist the formation of brittle intermetallic compounds that plague standard tin-zinc interactions.
Method 2: Zinc-Rich Repair Rods & Torch (The Structural Fix)
When repairing heavy structural pot metal components (like vintage car hood ornaments or heavy machine housings), low-temperature solders lack the tensile strength required. Here, technicians use zinc-rich filler rods, such as Super Alloy 5 or generic Zamak TIG/welding rods. These rods melt at approximately 300°C to 340°C (572°F to 644°F).
Pros and Cons
- Pros: Color-matches the base metal perfectly; provides near-original structural rigidity; highly cost-effective (kits range from $25 to $40).
- Cons: Extremely high risk of melting the workpiece; requires an oxy-acetylene or precision propane torch, not a soldering iron; demands advanced heat-control skills.
This method relies on flux-cored rods containing aggressive zinc chlorides. The technician must heat the base metal until the rod melts upon contact, rather than melting the rod with the torch flame. If the base metal begins to sweat or deform, heat must be immediately withdrawn.
Method 3: Aggressive Flux & Standard Soft Solder (The Budget Hack)
For non-structural, low-stress repairs where budget is the primary constraint, you can force standard Sn60Pb40 or Sn63Pb37 solder to wet pot metal by using a highly corrosive zinc-chloride flux. Products like Superior No. 135 or generic 'Nokorode' paste strip the aluminum oxide layer violently, allowing the tin to bond to the zinc.
Pros and Cons
- Pros: Uses cheap, ubiquitous solder and standard 60W+ soldering irons; materials cost under $15.
- Cons: Severe galvanic corrosion risk; flux residue is highly acidic and will eat through the joint over time if not perfectly neutralized; poor long-term reliability.
Expert Warning: Never use zinc-chloride fluxes on pot metal components that will be exposed to high humidity or enclosed in electronic housings without thorough post-solder neutralization. Flux selection guides from Superior Flux explicitly mandate washing chloride-based fluxes with hot water and a mild baking soda solution immediately after the joint cools to halt the corrosive action.
Comparative Analysis: Soldering Pot Metal Methods
| Method | Alloy / Consumable | Melt Temp | Approx. Cost (2026) | Shear Strength | Base Metal Risk |
|---|---|---|---|---|---|
| Indium Soldering | 52In / 48Sn (Indalloy 1E) | 118°C (244°F) | $180 - $220 / lb | Low (1,800 psi) | None |
| Zinc Rod Torch | Zn-Al-Cu Rod (Super Alloy 5) | ~320°C (608°F) | $25 - $40 / kit | High (Matches base) | High |
| Aggressive Flux | Sn60Pb40 + ZnCl2 Flux | 183°C (361°F) | $10 - $15 | Medium | Medium |
| Epoxy (Baseline) | JB Weld SteelStik | N/A (Cures) | $8 - $12 | Medium-High | None |
Step-by-Step Execution: The Indium Soldering Protocol
Because it offers the highest success rate for precision DIYers and electronics restorers, the indium method is the recommended approach for delicate pot metal chassis and small die-cast housings. Follow this exact procedure to ensure a reliable bond.
- Mechanical Preparation: Do not use sandpaper, which embeds aluminum oxide into the soft zinc. Instead, use a fiberglass scratch pen to gently abrade the joint area until bright, shiny metal is visible. Work in a circular motion.
- Chemical Etching: Swab the abraded area with white vinegar (5% acetic acid) using a cotton swab. Let it sit for exactly 60 seconds to dissolve residual oxides, then wipe clean with isopropyl alcohol (99%).
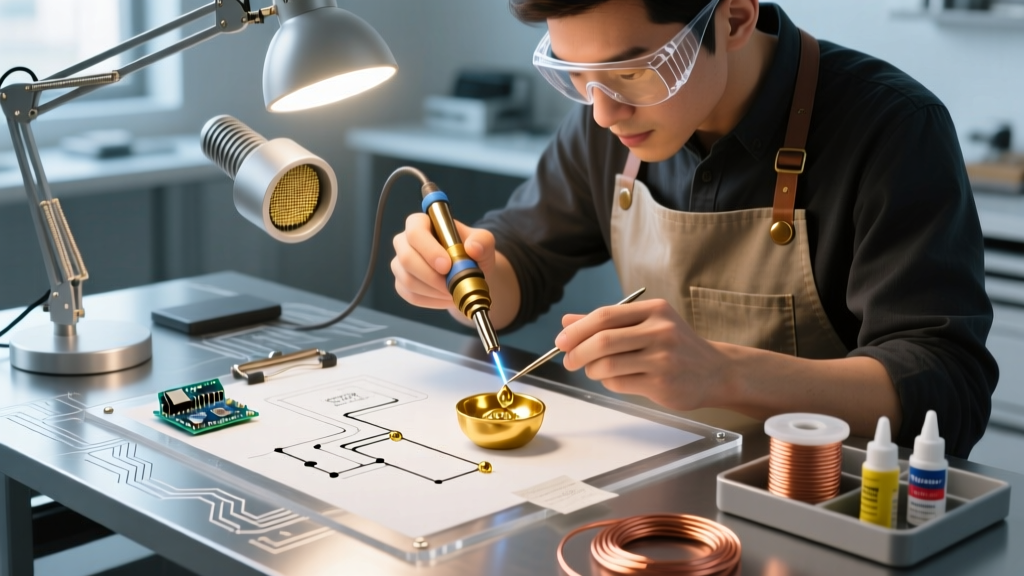
- Tool Setup: Set a high-quality station, such as the Hakko FX-951 or Weller WE1010, to 220°C (428°F). Use a chisel tip (e.g., Hakko T18-D24) to maximize surface area contact and thermal transfer without requiring excessive dwell time.
- Flux Application: Apply a minimal amount of mild organic acid flux or dedicated indium flux to the joint. Avoid rosin-based fluxes, as they lack the chemical activity to maintain the zinc surface.
- Tinning the Base: Touch the indium solder to the iron tip, then immediately transfer it to the pot metal. The solder should instantly wet the surface, creating a mirror-like silver pool. If it balls up, stop, re-clean, and re-etch.
- Joining: Tin both mating surfaces separately. Once tinned, align the parts, apply the iron to one side to reflow the indium, and hold the assembly rigid until the solder freezes (which takes less than 3 seconds due to the low melting point).
When to Abandon Soldering for Structural Epoxies
There are edge cases where soldering pot metal is mathematically and physically unviable. If the die-cast part suffers from 'zinc pest'—a crystalline degradation where the metal turns powdery and expands due to impurities in the original alloy mix—no solder will adhere. The base metal simply lacks the cohesive strength to support a metallic bond.
In these scenarios, or when repairing heavy load-bearing brackets where a $200 spool of indium solder is unjustifiable, structural epoxies like JB Weld SteelStik or Loctite EA 9460 are the correct intervention. To maximize epoxy adhesion on degrading pot metal, drill micro-undercuts into the joint surface with a 0.5mm carbide bit, degrease with acetone, and apply the epoxy while the metal is warmed to roughly 40°C (104°F) to lower the resin's viscosity and improve pore penetration.
Final Troubleshooting Insights
Issue: The solder wets the iron but refuses to stick to the pot metal, forming a perfect sphere.
Diagnosis: Aluminum oxide barrier is intact. Your flux is too weak, or the fiberglass pen didn't cut deep enough through the oxidized crust.
Solution: Switch to a zinc-chloride paste flux for the initial tinning phase, then wash and re-solder with your preferred alloy.
Issue: The base metal begins to warp or 'sweat' before the solder flows.
Diagnosis: Thermal mass overload. Your iron lacks the wattage to transfer heat quickly, forcing you to hold it in place too long.
Solution: Upgrade to an 80W+ station with active tip sensing, or pre-heat the entire pot metal part on a hotplate set to 100°C to reduce the thermal delta your iron must overcome.