
The Metallurgical Reality of Silver Wire Soldering
Silver wire is the gold standard for high-fidelity audio, aerospace telemetry, and ultra-low-resistance electrical pathways. However, transitioning from standard copper to pure silver or high-silver-content alloys introduces severe thermal management challenges. Unlike standard electronics assembly, silver wire soldering is not merely a metallurgical bonding process; it is an exercise in extreme thermal dynamics.
The core issue lies in thermal conductivity. Pure silver boasts a thermal conductivity of approximately 429 W/m·K, significantly outpacing copper's 385 W/m·K, according to Engineering Toolbox thermal conductivity data. This means silver wire acts as a massive heat sink, rapidly pulling thermal energy away from the joint interface. If your equipment or technique cannot outpace this dissipation, you will inevitably end up with cold, crystalline, or mechanically weak joints.
This decision framework will guide you through selecting the exact alloy, flux chemistry, and thermal delivery system required for your specific silver wire application in 2026.
Phase 1: Solder Alloy Selection Matrix
Choosing the wrong alloy for silver wire is the most common point of failure. Standard tin-lead solders can cause 'silver scavenging' (leaching), where the molten tin dissolves the silver wire surface, thinning the conductor and creating a brittle intermetallic compound. Conversely, high-temperature lead-free alloys may require dwell times that melt delicate wire insulation.
| Alloy Classification | Composition | Melting Point | Silver Scavenging Risk | Best Application Scenario |
|---|---|---|---|---|
| Standard Eutectic | Sn63 / Pb37 | 183°C | High | Quick tacking; not recommended for structural silver joints. |
| Silver-Bearing Leaded | Sn62 / Pb36 / Ag2 | 179°C | Low | Audio cables, vintage restoration, thick-gauge silver wire. |
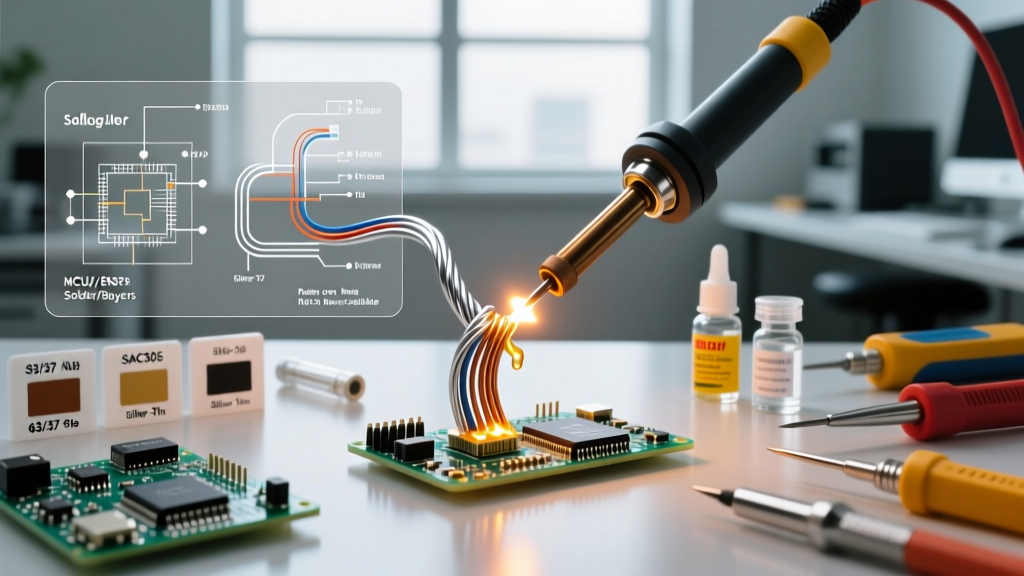
| SAC305 (Lead-Free) | Sn96.5 / Ag3.0 / Cu0.5 | 217°C - 220°C | Moderate | RoHS-compliant aerospace and medical telemetry. |
| High-Silver Lead-Free | Sn95 / Ag5 | 221°C - 245°C | Very Low | High-vibration environments, heavy-gauge bus bars. |
The 2026 Consensus: For 90% of DIY and pro-audio silver wire applications, Sn62/Pb36/Ag2 (such as Kester 245 or Chip Quik's silver-bearing variants) remains the superior choice. The 2% silver content in the solder saturates the molten alloy, effectively halting the leaching process and protecting the base silver wire. For strict RoHS compliance, SAC305 is mandatory, but requires aggressive thermal delivery to minimize dwell time.
Phase 2: Flux Chemistry Framework
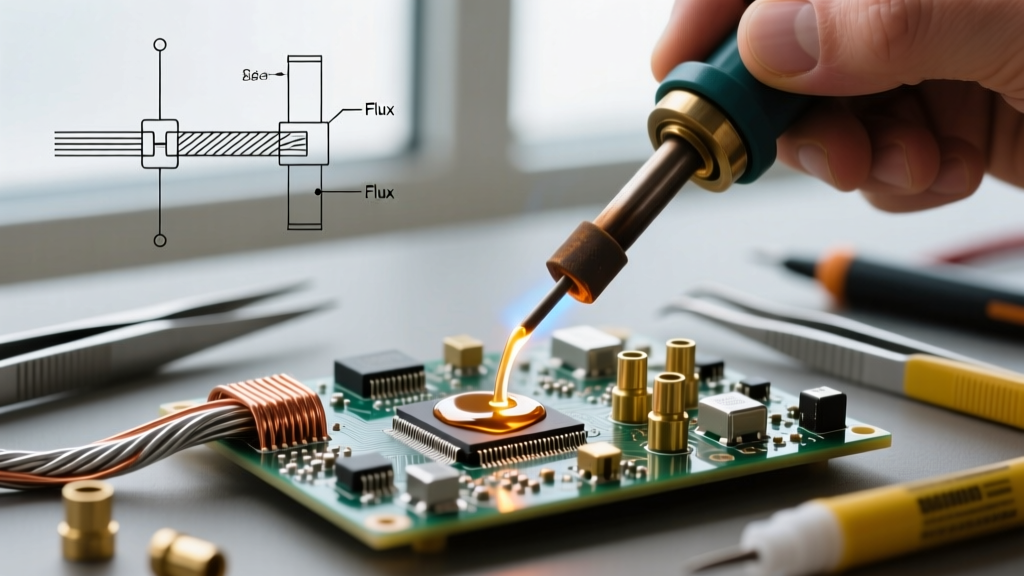
Silver does not oxidize as rapidly or aggressively as copper at room temperature, but under the intense heat required for soldering, surface oxides form instantly. The flux must remain active through a prolonged thermal cycle without carbonizing.
Decision Tree for Flux Selection
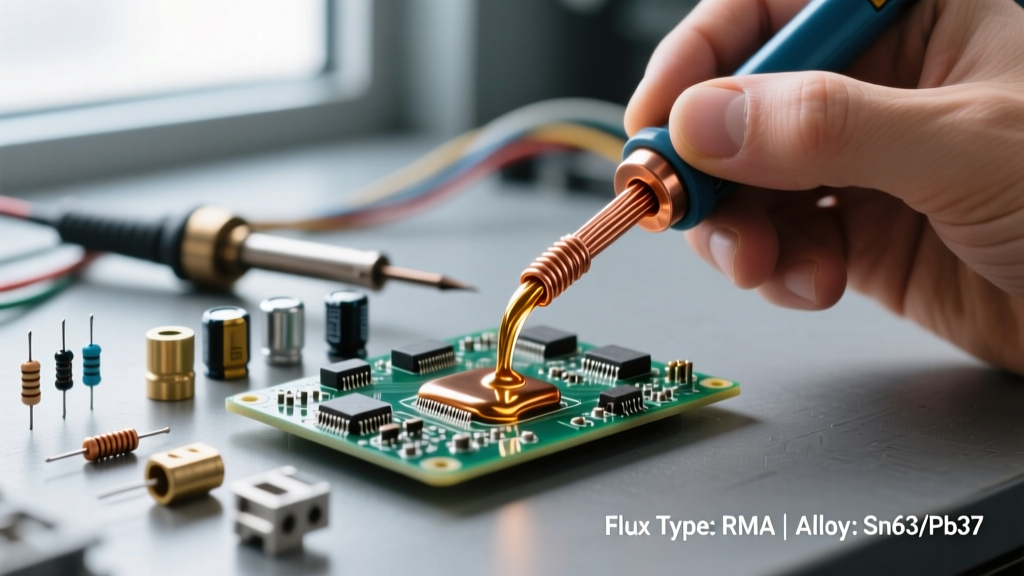
- Rosin Mildly Activated (RMA): The default for silver wire. RMA fluxes (like Kester 186) provide excellent wetting and leave a benign, non-conductive residue. Ideal for audio and RF applications where post-cleaning is difficult.
- Water-Soluble (OA): Use only for heavy-gauge silver bus bars or aerospace terminations where the assembly will be submerged in an ultrasonic cleaner. OA fluxes are highly corrosive; leaving residue on a high-impedance silver circuit will cause dendritic growth and eventual shorting.
- No-Clean: Generally avoid for heavy silver wire. No-clean fluxes rely on rapid volatilization and often lack the thermal endurance required for the 4-6 second dwell times typical of thick silver conductors.
Expert Tip: When using liquid or paste flux on silver wire, apply it after mechanical abrasion. Use a fiberglass scratch pen to remove any silver sulfide tarnish, then immediately flood the joint with RMA flux to prevent re-oxidation before the iron touches the wire.
Phase 3: Thermal Delivery & Equipment Selection
A standard 40W ceramic heater soldering iron will fail catastrophically when attempting to solder 16 AWG or thicker silver wire. The thermal mass of the wire will drop the tip temperature below the solder's liquidus point in milliseconds. You must evaluate equipment based on tip thermal mass and recovery wattage, not just maximum temperature settings.
Station Recommendations by Wire Gauge
Based on current 2026 market availability and pricing, here is the hardware decision matrix:
- Micro to 22 AWG (Stranded Silver / PTFE):
- Station: JBC CD-2BE (Approx. $680)
- Tip: C115-112 (Spatula) or C245-945 (Chisel)
- Why: JBC's cartridge system integrates the heating element directly into the tip, offering near-instantaneous thermal recovery crucial for preventing PTFE insulation degradation.
- 20 AWG to 14 AWG (Audio & Power):
- Station: Hakko FX-951 (Approx. $320)
- Tip: T18-D24 or T18-D32 (Heavy Chisel)
- Why: The T18 composite tips provide the necessary thermal mass to push heat into the core of a 14 AWG silver strand without stalling the station's sensor.
- 12 AWG and Thicker (Battery Tabs / Bus Bars):
- Tool: Weller WSP150 (150W Iron) or a localized micro-torch.
- Why: Standard stations cannot overcome the thermal sink of heavy silver. Pre-heating the assembly on a PACE PH-100 pre-heater bed (set to 120°C) reduces the delta-T the iron must overcome.
Phase 4: Execution Protocol & Timing
Precision timing separates a flawless silver joint from a compromised one. The IPC J-STD-001 soldering requirements dictate strict dwell times to prevent intermetallic overgrowth and insulation damage. Follow this exact sequence:
- Preparation: Strip the wire. If using PTFE (Teflon) insulation, use a thermal stripper or precision mechanical stripper to avoid nicking the soft silver strands.
- Mechanical Prep: Gently twist the strands. Do not over-twist; silver work-hardens rapidly and will snap.
- Fluxing: Apply RMA paste flux to the bare wire.
- Tinning (The Critical Step): Set station to 360°C (680°F). Apply the iron tip to the wire first for 1.5 seconds to transfer heat, then feed the Sn62/Pb36/Ag2 solder into the wire strands (not the iron tip). Capillary action will draw the solder through the fluxed strands.
- Joint Mating: Insert the tinned silver wire into the terminal. Apply the iron to the terminal (not the wire) for 2-3 seconds until the solder reflows and wicks into the connection.
- Cooling: Remove heat and hold perfectly still for 4 seconds. Silver-bearing solders have a slight plastic range just above solidus; movement during this phase causes micro-fractures.
Phase 5: Troubleshooting Edge Cases
Even with the right framework, specific failure modes plague silver wire soldering. Here is how to diagnose and resolve them.
Failure Mode 1: 'Ball-Up' and Non-Wetting
Symptom: The solder forms a bead on the iron tip and rolls off the silver wire without adhering. Root Cause: Silver sulfide tarnish or insufficient thermal transfer. Silver sulfide is highly stable and resists standard rosin fluxes. Solution: Clean the wire with a dedicated silver dip or fiberglass pen. Increase iron temperature by 20°C and switch to a chisel tip to maximize surface contact area. Consult the Indium Corporation solder alloy database for specialized high-activity flux cores if the tarnish is deeply embedded.
Failure Mode 2: PTFE Insulation Melt-Back
Symptom: The Teflon insulation shrinks and melts back from the joint, exposing bare wire. Root Cause: Prolonged dwell time. While PTFE has a high melting point (~327°C), it conducts heat along the wire jacket. Solution: You are relying on a low-mass tip that requires you to hold the iron in place for too long. Upgrade to a higher thermal mass tip (e.g., moving from a 1.6mm chisel to a 3.2mm chisel) to deliver the required BTU transfer in under 3 seconds.
Failure Mode 3: Brittle, Crystalline Joints
Symptom: The solder joint looks dull, grainy, and cracks under slight mechanical stress. Root Cause: Disturbance during the plastic cooling phase, or severe silver leaching caused by using a high-tin, zero-silver solder (like Sn63) with excessive dwell times. Solution: Switch to an Ag-bearing solder (Sn62) to halt the scavenging effect, and use a physical jig or 'helping hands' to ensure absolute zero movement during the 5-second cool-down cycle.
Final Verdict
Silver wire soldering demands respect for thermal physics. By shifting your decision framework away from standard copper-centric habits and focusing on high thermal-mass delivery, silver-saturated alloys, and strict dwell-time management, you will achieve joints that match the exceptional conductivity of the wire itself. Invest in a cartridge-based station, stock Sn62/Pb36/Ag2 wire solder, and never skip the mechanical abrasion step.