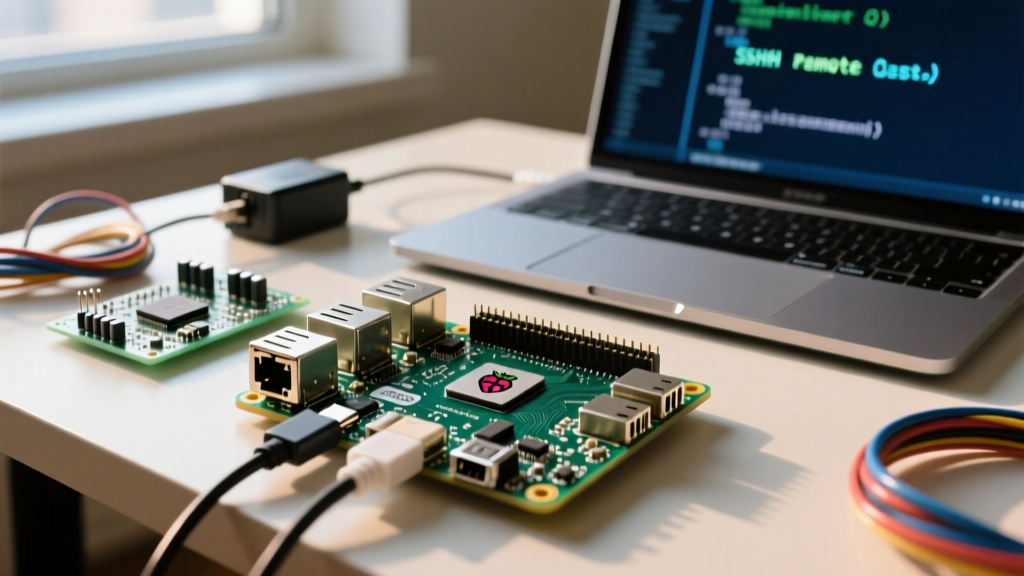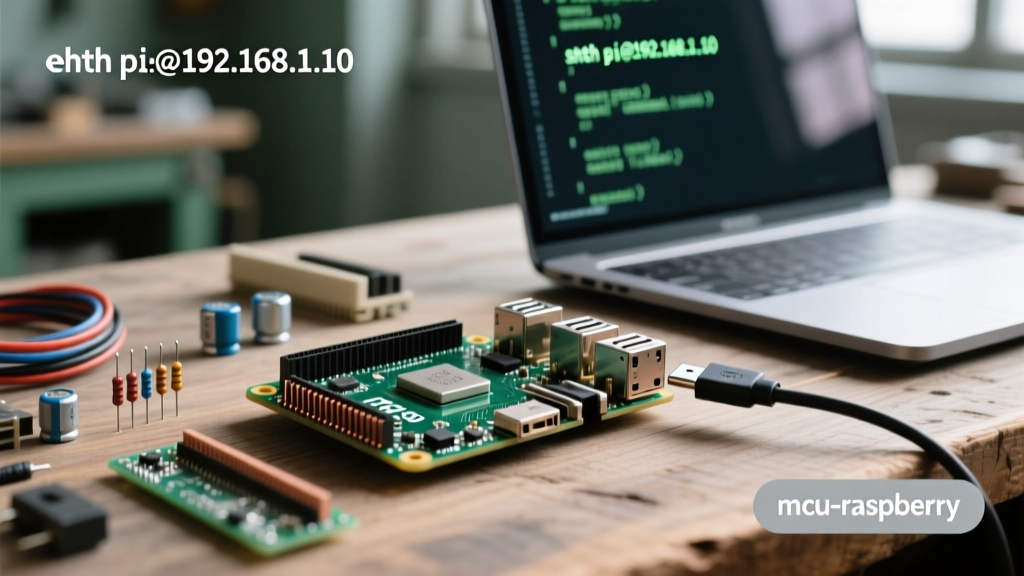

Setting up a Raspberry Pi without a monitor, keyboard, or mouse—commonly known as a 'headless' setup—is a rite of passage for makers, home automation enthusiasts, and network engineers. Whether you are deploying a Pi Zero 2 W inside a 3D-printed weather station enclosure or racking a cluster of Pi 5s for a Kubernetes edge node, knowing how to SSH Raspberry Pi devices securely is non-negotiable. This guide bypasses outdated tutorials and addresses the modern Raspberry Pi OS (Bookworm) ecosystem, focusing on NetworkManager transitions, cryptographic hardening, and real-world troubleshooting.
The Paradigm Shift: Bookworm and NetworkManager
If you have searched for legacy tutorials on headless setups, you have likely encountered instructions telling you to drop a wpa_supplicant.conf file into the FAT32 boot partition. Stop. With the release of Raspberry Pi OS Bookworm, the underlying network stack shifted from wpa_supplicant to NetworkManager. Dropping legacy configuration files into the boot partition will no longer configure your Wi-Fi or enable SSH on a fresh Pi 4 or Pi 5.
Instead, the modern, reliable approach relies on the Raspberry Pi Imager tool. The Imager injects a customized firstrun.sh script and NetworkManager profiles directly into the root filesystem before the first boot. This ensures your headless Pi connects to your network and opens port 22 automatically, saving you from the dreaded 'blind boot' scenario.
Pre-Flight Configuration via Raspberry Pi Imager
To execute a flawless headless deployment, you must configure the OS image before flashing it to your microSD card or NVMe drive.
- Select Your Hardware and OS: Open the Raspberry Pi Imager. Choose your specific board (e.g., Raspberry Pi 5) and select Raspberry Pi OS Lite (64-bit). The 'Lite' version omits the desktop environment, saving valuable RAM and reducing your attack surface.
- Access OS Customisation: Click 'Next', then click Edit Settings when prompted. (Pro-tip: You can also press
Ctrl+Shift+Xon older Imager versions to reveal this hidden menu). - Configure Networking: Enter your exact Wi-Fi SSID and password. Critical Note: Ensure the 802.11n/ac band matches your router's configuration. If you are using a Pi Zero W or Pi 3B, you are strictly limited to 2.4GHz networks.
- Enable SSH: Navigate to the 'Services' tab. Select Enable SSH and choose 'Use password authentication' for the initial setup. We will replace this with cryptographic keys later in this guide.
- Set User Credentials: Create a username (avoid the default 'pi' for security) and a strong, temporary password.
Expert Insight: Always set your country code correctly in the Wi-Fi settings. The 2.4GHz spectrum is regulated differently across the globe; an incorrect country code can cause the Wi-Fi radio to throttle or fail to associate with your router entirely.
Establishing the Initial Handshake
Once the Imager finishes writing and verifying the image, insert the media into your Pi and apply power. Wait approximately 60 to 90 seconds. During this window, the Pi is resizing its filesystem and executing the firstrun.sh script to apply your NetworkManager and SSH configurations.
To connect, open your terminal (or PowerShell/CMD on Windows) and use mDNS (Multicast DNS) to resolve the hostname:
ssh yourusername@raspberrypi.localIf you changed the hostname in the Imager settings, replace raspberrypi with your custom name. You will be prompted to accept the ED25519 host key fingerprint. Type yes and hit Enter, then provide your temporary password.
Note on Windows mDNS: While macOS and Linux support .local mDNS resolution natively via Avahi/Bonjour, Windows 10 and 11 users may need to ensure the 'Bonjour Print Services' or the native mDNS responder service is running. If .local fails, log into your router's admin panel to find the Pi's DHCP-assigned IP address and use ssh yourusername@192.168.1.X.
Cryptographic Hardening: Ditching Passwords
Relying on password authentication for SSH is a critical vulnerability. Automated botnets constantly scan the internet for open port 22, launching brute-force dictionary attacks. To secure your node, you must transition to public-key cryptography.
According to the SSH.com Key Generation Guide, modern deployments should abandon RSA in favor of ED25519.
| Algorithm | Key Size | Security Profile | Performance |
|---|---|---|---|
| RSA | 3072-bit / 4096-bit | Legacy standard. Vulnerable if entropy is low during generation. | Slower handshake, larger payload. |
| ED25519 | 256-bit (Fixed) | Modern elliptic curve. Highly resistant to side-channel attacks. | Lightning fast, tiny payload. |
Generating Your ED25519 Key Pair
On your host machine (not the Pi), generate a new key pair with increased Key Derivation Function (KDF) rounds for brute-force resistance:
ssh-keygen -t ed25519 -a 100 -C 'pi-node-01-admin' -f ~/.ssh/pi_node_ed25519This creates a private key (pi_node_ed25519) and a public key (pi_node_ed25519.pub).
Pushing the Public Key to the Pi
Use the ssh-copy-id utility to append your public key to the Pi's authorized keys file:
ssh-copy-id -i ~/.ssh/pi_node_ed25519.pub yourusername@raspberrypi.localTest the connection by forcing key-based authentication:
ssh -i ~/.ssh/pi_node_ed25519 yourusername@raspberrypi.localIf you are dropped straight into the shell without a password prompt, your key exchange was successful.
Locking Down the Daemon: sshd_config Tweaks
Now that key authentication is verified, you must disable password logins entirely. Edit the SSH daemon configuration file on the Pi:
sudo nano /etc/ssh/sshd_config.d/99-custom.confAdd the following directives to override the default Raspberry Pi Remote Access defaults:
PasswordAuthentication no
PermitRootLogin no
ChallengeResponseAuthentication no
UsePAM yes
Save the file and restart the daemon:
sudo systemctl restart sshYour Pi is now mathematically shielded against brute-force password guessing.
Surviving the Headless Void: The UART Serial Fallback
When Wi-Fi fails, IP addresses change, and you cannot figure out how to SSH Raspberry Pi nodes on your network, the UART serial console is your ultimate hardware lifeline. By connecting a USB-to-TTL serial cable (like the CP2102 or PL2303) to GPIO 14 (TXD) and GPIO 15 (RXD), you bypass the network stack entirely.
Ensure you add enable_uart=1 to your config.txt (or adjust cmdline.txt for Bookworm). Connect at a baud rate of 115200 using screen /dev/ttyUSB0 115200 on Linux or PuTTY on Windows. This grants you direct terminal access to diagnose NetworkManager failures via nmcli device status or journalctl -u NetworkManager.
Troubleshooting Matrix: Common SSH Connection Failures
Even with meticulous preparation, headless deployments can fail. Use this diagnostic matrix to identify and resolve connectivity issues based on your terminal's error output.
| Error Message | Root Cause Analysis | Resolution Strategy |
|---|---|---|
| Operation timed out | IP mismatch, Pi is offline, or Wi-Fi failed to associate with the AP. | Check router DHCP leases. Verify Wi-Fi SSID is strictly 2.4GHz if using older Pi Zero W hardware. |
| Connection refused | Pi is online, but SSH daemon is inactive, crashed, or blocked by UFW. | Re-flash with Imager SSH enabled. Check systemctl status ssh via UART serial console. |
| Host key verification failed | Pi was re-imaged; local known_hosts detects a fingerprint mismatch. |
Run ssh-keygen -R raspberrypi.local on your host machine to purge the old key. |
| Permission denied (publickey) | Key mismatch, incorrect file permissions on Pi, or PasswordAuth disabled prematurely. | Ensure ~/.ssh is 700 and authorized_keys is 600 on the Pi. |
Advanced Configurations for the sshd_config File
For users managing multiple single-board computers across different VLANs, modifying the default SSH port can reduce log noise from automated internet scanners. While changing the port is 'security through obscurity' and does not replace proper firewalling, it keeps your auth.log clean.
To change the port, edit your custom sshd_config file and add:
Port 2222Remember to configure your ufw (Uncomplicated Firewall) to allow the new port before restarting the SSH service, or you will lock yourself out:
sudo ufw allow 2222/tcp
sudo ufw enable
For deeper insights into daemon configurations, consult the OpenSSH sshd_config Manual to explore advanced tunneling and X11 forwarding directives.
Conclusion
Mastering how to SSH Raspberry Pi devices is about more than just opening a terminal; it is about establishing a secure, resilient foundation for your edge computing projects. By embracing the Bookworm NetworkManager ecosystem, enforcing ED25519 cryptography, and understanding the hardware-level UART fallback, you transform a fragile hobbyist setup into a production-grade deployment. Keep your private keys secure, monitor your DHCP reservations, and enjoy the freedom of true headless engineering.