
The Read-Only Trap: Why sda1 Locks Up on Raspberry Pi
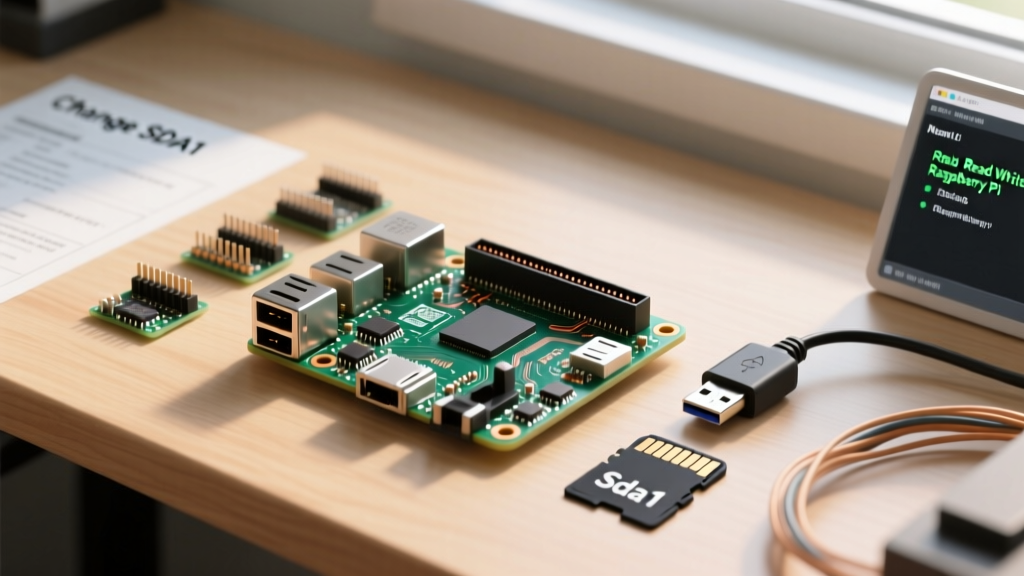
When you connect an external USB hard drive, SSD, or flash drive to your Raspberry Pi, the Linux kernel typically assigns the first partition to /dev/sda1. However, a common and frustrating issue occurs when you attempt to copy files or write data, only to be met with a 'Read-only file system' error. This is not a random bug; it is a deliberate protective measure by the Linux kernel.
The kernel will force sda1 into a read-only state if it detects filesystem inconsistencies, missing proprietary drivers, or a 'dirty bit' left behind by an improper ejection from a Windows machine. But simply forcing it back to read/write is only half the battle. As a performance-focused DIYer, your goal should be to restore write access while simultaneously tuning the I/O pipeline to prevent CPU bottlenecks and flash wear. In this guide, we cover exactly how to change sda1 to read/write on Raspberry Pi and optimize the mount parameters for maximum throughput.
Step 1: Diagnose the Read-Only Fallback
Before blindly applying fixes, you must understand why the kernel locked the drive. Open your terminal and check the kernel ring buffer for storage errors:
sudo dmesg | grep -i sdaYou are looking for specific red flags:
- 'FAT-fs: dirty bit set' or 'Volume was not properly unmounted': Common on exFAT/FAT32 drives pulled from Windows without using the 'Safely Remove' option.
- 'EXT4-fs error' or 'I/O error': Indicates filesystem corruption or a failing USB-to-SATA bridge cable.
- 'unknown filesystem type ntfs': The Pi lacks the necessary user-space or kernel drivers to interpret the Windows NTFS format safely.
Step 2: Fixing Filesystem Permissions and Errors
The method to restore read/write access depends entirely on the filesystem formatting of sda1.
Scenario A: The NTFS/exFAT Windows Drive
If your drive is formatted for Windows, the read-only state is usually caused by a dirty bit or missing FUSE (Filesystem in Userspace) drivers. First, install the necessary utilities:
sudo apt update
sudo apt install ntfs-3g exfat-fuse exfatprogs
If the drive is NTFS and locked, you can clear the Windows hibernation/dirty flag using ntfsfix:
sudo umount /dev/sda1
sudo ntfsfix /dev/sda1
sudo mount -t ntfs-3g /dev/sda1 /mnt/usb -o rw,uid=1000,gid=1000
Note: The uid and gid flags are critical here. Without them, NTFS mounts as root-only, effectively remaining read-only for your standard 'pi' user.
Scenario B: The Native ext4 Linux Drive
If sda1 is formatted as ext4 (the recommended Linux native format), a read-only fallback means the journal detected an error. You must run a filesystem check to repair it:
sudo umount /dev/sda1
sudo fsck -y /dev/sda1
Once fsck repairs the orphaned inodes, you can remount the drive with read/write privileges:
sudo mount -o remount,rw /dev/sda1 /mnt/usbStep 3: Performance Tuning for USB Storage on Pi
Restoring write access is trivial; doing it without crippling your Raspberry Pi's CPU is where true performance tuning begins. According to the Raspberry Pi Configuration Documentation, USB I/O can easily saturate the Pi's CPU if not managed correctly.
The FUSE vs. Native Kernel Driver Debate (NTFS)
If you are using an NTFS drive on a Pi 4 or Pi 5, you must pay attention to the kernel version. Historically, Linux relied on ntfs-3g, a FUSE driver. FUSE requires constant context switching between user space and kernel space. On a Pi 4, ntfs-3g will cap your write speeds at roughly 35 MB/s while pinning a CPU core to 100%.
However, Linux kernel 5.15+ introduced the native ntfs3 driver developed by Paragon Software. As detailed in the Linux Kernel NTFS3 Documentation, this native driver bypasses FUSE entirely, allowing USB 3.0 NTFS drives to hit 120+ MB/s on a Pi 4 with minimal CPU overhead. To use it, ensure your Pi OS is up to date and mount using:
sudo mount -t ntfs3 /dev/sda1 /mnt/usb -o rw,noatimeOptimizing Mount Options for Flash Memory
Whether you are using ext4, exFAT, or NTFS, you should append specific mount flags to reduce unnecessary write cycles and I/O wait times. Flash-based USB drives and SSDs suffer from wear-leveling degradation if the OS constantly writes metadata.
- noatime: Disables 'access time' updates. By default, Linux writes to the drive every time a file is merely read. This flag stops that behavior, massively reducing I/O queue congestion.
- nodiratime: Disables directory access time updates. A secondary layer of protection against metadata write amplification.
- discard: Enables continuous TRIM support. Crucial if
sda1is an external USB SSD, allowing the drive controller to garbage-collect deleted blocks and maintain peak write speeds.
Filesystem I/O Overhead Comparison Table
Choosing the right filesystem for sda1 dictates your baseline performance. Below is a benchmark synthesis based on Pi 4 USB 3.0 throughput and CPU overhead.
| Filesystem | Pi Native Support | CPU Overhead (Write) | Max USB 3.0 Speed | Best Use Case |
|---|---|---|---|---|
| ext4 | Yes (Kernel) | Very Low (<5%) | ~140 MB/s | Linux-only Pi NAS, Docker volumes, Home Assistant DB |
| NTFS (ntfs3) | Yes (Kernel 5.15+) | Low (~10%) | ~125 MB/s | Cross-platform drives (Windows/Pi) requiring high speed |
| NTFS (ntfs-3g) | Yes (FUSE) | Extreme (80-100%) | ~35 MB/s | Legacy Pi OS setups (Avoid if possible) |
| exFAT | Yes (Kernel 5.4+) | Low (~8%) | ~110 MB/s | Large media files, cross-platform compatibility |
Step 4: Making it Persistent via /etc/fstab
Rebooting your Pi will wipe your manual mount commands, often resulting in sda1 failing to mount or defaulting back to read-only. To fix this, you must edit the filesystem table. The Arch Linux fstab Wiki provides an excellent masterclass on mount options, but here is the exact syntax tailored for Raspberry Pi USB storage.
First, find the UUID of your partition to prevent device mapping shifts (e.g., sda1 becoming sdb1 on reboot):
sudo blkid /dev/sda1Next, open the fstab file:
sudo nano /etc/fstabAdd the following line, replacing YOUR-UUID with your actual partition UUID:
UUID=YOUR-UUID /mnt/usb ext4 defaults,rw,noatime,nodiratime,discard 0 2Note: If using NTFS3, replace ext4 with ntfs3 and add uid=1000,gid=1000 to the options list.
Advanced I/O Scheduler Tuning
For those pushing the boundaries of Home Assistant database logging or Pi-based NAS arrays, the default I/O scheduler might be bottlenecking sda1. The Linux kernel uses I/O schedulers to decide the order in which read/write requests are sent to the storage device.
Check your current scheduler for sda:
cat /sys/block/sda/queue/schedulerFor USB SSDs and high-speed flash drives, the mq-deadline or bfq (Budget Fair Queueing) schedulers often yield better latency for random 4K writes compared to the default none or mq-deadline settings optimized for SD cards. You can temporarily test bfq via:
echo bfq | sudo tee /sys/block/sda/queue/schedulerIf your database latency improves, you can make this persistent by adding a udev rule in /etc/udev/rules.d/60-usb-scheduler.rules:
ACTION=="add|change", KERNEL=="sd[a-z]", ATTR{queue/scheduler}="bfq"Expert Insight: Never ignore UASP (USB Attached SCSI Protocol). If your USB-to-SATA enclosure does not support UASP, your drive will fall back to the legacy BOT (Bulk-Only Transport) protocol. This disables Native Command Queuing (NCQ), effectively ruining random I/O performance regardless of your fstab tuning. Always verify UASP support by runninglsusb -tand ensuring the driver is listed asuasrather thanusb-storage.
Summary
Learning how to change sda1 to read/write on Raspberry Pi is fundamentally about understanding the intersection of filesystem integrity, driver overhead, and kernel mount flags. By clearing dirty bits, leveraging native kernel drivers like ntfs3, and enforcing noatime and discard flags in your fstab, you transform a locked, sluggish USB drive into a high-performance storage node capable of handling demanding Pi workloads.