
The Direct Answer: Can the LD2410C Connect to Home Assistant By Itself?
If you are diving into the world of 24GHz mmWave presence detection, you have likely encountered the incredibly popular Hi-Link LD2410C module. It is affordable, highly sensitive, and capable of detecting both moving and stationary human targets through drywall and plastic. However, beginners frequently ask one critical question: can the LD2410C sensor connect to Home Assistant by itself?
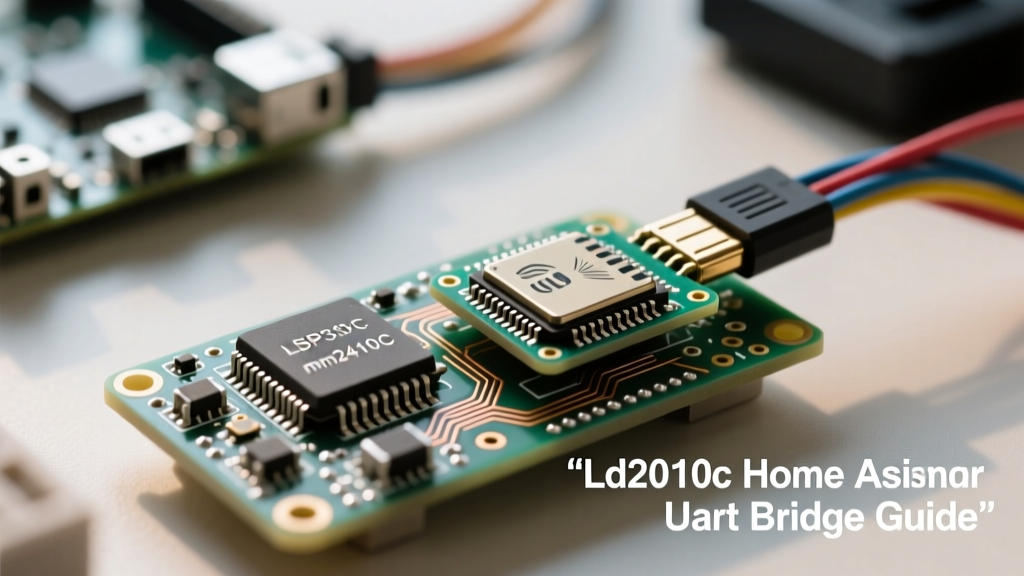
The short and definitive answer is no. The LD2410C cannot connect to Home Assistant, Wi-Fi, or any IP-based network on its own. It is not a standalone IoT device; it is a raw radar component. To integrate it into your smart home ecosystem, you must build a hardware bridge using a microcontroller—most commonly an ESP32 running ESPHome.
In this beginner guide, we will break down exactly why this hardware limitation exists, compare the LD2410C to commercial alternatives, and provide a complete, step-by-step blueprint for building your own UART-to-Wi-Fi bridge using a Raspberry Pi or PC to flash the firmware.
Understanding the Hardware Architecture: Why It Needs a Bridge
To understand why the LD2410C cannot talk to Home Assistant directly, you need to look at its physical interface. The module communicates exclusively via UART (Universal Asynchronous Receiver-Transmitter). It features a TX (Transmit) and RX (Receive) pin that output serial data at a default baud rate of 256,000 bps.
Home Assistant operates on your local network using IP-based protocols like Wi-Fi, Ethernet, MQTT, or the native ESPHome API. The LD2410C lacks a wireless radio, an Ethernet controller, and the TCP/IP networking stack required to package its serial radar data into network packets. It simply spits out raw hexadecimal data frames detailing target distance, energy levels, and gate states over its serial pins.
Protocol Translation: UART vs. IP Networks
Think of the LD2410C as a highly specialized translator who only speaks a rare dialect (UART serial). Home Assistant is a global hub that only understands major languages (Wi-Fi/IP). You need a middleman—a microcontroller like the ESP32—to listen to the sensor's serial data, translate it into a structured JSON or protobuf payload, and broadcast it over your Wi-Fi network.
Hardware Comparison: Raw Module vs. Commercial mmWave
Before wiring up your own bridge, it helps to understand where the LD2410C sits in the broader mmWave market. Below is a comparison of the raw module against finished consumer products and DIY kits.
| Device / Module | Type | Native Wi-Fi? | Home Assistant Integration | Approx. Cost (USD) |
|---|---|---|---|---|
| Hi-Link LD2410C | Raw UART Component | No | Requires ESP32 + ESPHome Bridge | $4.00 - $7.00 |
| Aqara FP2 (Presence Sensor) | Finished Consumer Product | Yes (Wi-Fi) | Native HomeKit / Matter / HA | $90.00 - $110.00 |
| Everything Presence One | Complete DIY Kit | Yes (ESP32 Included) | Pre-flashed ESPHome | $45.00 - $55.00 |
As the table illustrates, when you buy a finished product like the Aqara FP2, the manufacturer has already integrated the mmWave radar chip with a Wi-Fi microcontroller and a custom plastic enclosure. When you buy the LD2410C, you are getting the raw radar engine at a fraction of the cost, but you must supply the 'brain' and the networking yourself.
The Solution: Building an ESP32 UART Bridge
The most robust, community-supported method for bridging the LD2410C to Home Assistant is using an ESP32 development board (such as the ESP32-WROOM-32 or ESP32-C3) paired with ESPHome's native LD2410 component. ESPHome is a system that allows you to program ESP microcontrollers using simple YAML configuration files, which then integrate seamlessly with Home Assistant.
Step 1: Wiring the UART Pins
Wiring the LD2410C to an ESP32 is straightforward, but beginners often make a critical crossover mistake. Remember that serial communication requires the Transmit (TX) pin of one device to connect to the Receive (RX) pin of the other.
- LD2410C VCC → ESP32 5V (The LD2410C requires 5V for stable radar operation, though its logic pins are 3.3V tolerant).
- LD2410C GND → ESP32 GND
- LD2410C TX → ESP32 RX (e.g., GPIO 16)
- LD2410C RX → ESP32 TX (e.g., GPIO 17)
Pro-Tip: Do not wire TX to TX and RX to RX. If your sensor fails to report data in Home Assistant, swapping the TX and RX wires is the first troubleshooting step you should take.
Step 2: The ESPHome YAML Configuration
Once wired, you will use your Raspberry Pi or PC to compile and flash the ESPHome firmware. Below is a minimal, production-ready YAML configuration to get the LD2410C reporting presence, distance, and energy levels to Home Assistant.
esphome:
  name: mmwave-presence-01
  friendly_name: 'Living Room mmWave'

esp32:
  board: esp32dev
  framework:
    type: arduino

wifi:
  ssid: !secret wifi_ssid
  password: !secret wifi_password

api:
  encryption:
    key: !secret api_key

uart:
  tx_pin: GPIO17
  rx_pin: GPIO16
  baud_rate: 256000
  parity: NONE
  stop_bits: 1

ld2410:
  id: my_ld2410

binary_sensor:
  - platform: ld2410
    has_target:
      name: 'Presence Detected'
    has_moving_target:
      name: 'Moving Target'
    has_still_target:
      name: 'Still Target'

sensor:
  - platform: ld2410
    moving_distance:
      name: 'Moving Distance'
    still_distance:
      name: 'Still Distance'
    moving_energy:
      name: 'Moving Energy'
    still_energy:
      name: 'Still Energy'
This configuration initializes the UART bus at the required 256,000 baud rate and leverages the Home Assistant ESPHome integration to automatically map the radar states to native HA entities.
Real-World Troubleshooting: Power Noise and Ghost Detections
Because you are building this circuit yourself, you are responsible for power integrity. The most common failure mode for DIY LD2410C projects is 'ghost detection'—where Home Assistant reports that a room is occupied when it is completely empty. This is rarely a software bug; it is almost always a hardware power issue.
The Danger of USB Buck Converters
24GHz FMCW (Frequency-Modulated Continuous Wave) radar chips are incredibly sensitive to voltage ripple. If you power your ESP32 and LD2410C using a cheap, unregulated 5V-to-3.3V USB buck converter, the switching noise from the power supply will bleed into the sensor's analog front-end. The radar will interpret this electrical noise as micro-movements, triggering false 'Still Target' alerts.
How to Stabilize Your Power Delivery
To eliminate ghost detections, implement the following hardware fixes:
- Add Decoupling Capacitors: Solder a 100µF electrolytic capacitor and a 0.1µF ceramic capacitor directly across the VCC and GND pins of the LD2410C. This creates a local energy reservoir that smooths out high-frequency noise.
- Use a Low-Dropout (LDO) Regulator: If you are powering the setup from a 12V source or a noisy USB hub, use a dedicated LDO like the AMS1117-3.3 or an LM7805 (for the 5V rail) to provide clean, linear power to the sensor.
- Keep Wires Short: Long, unshielded jumper wires act as antennas, picking up EMI (Electromagnetic Interference) from nearby Wi-Fi routers or LED drivers. Keep the UART wires between the ESP32 and the LD2410C under 10 centimeters.
Tuning the Detection Gates via Bluetooth
One massive advantage of the LD2410C over older mmWave sensors is its onboard Bluetooth configuration interface. Before you seal your ESP32 and sensor into a 3D-printed enclosure and mount it on the ceiling, you should tune the detection gates.
Download the HLKRadarTool app on your iOS or Android device. Connect to the sensor via Bluetooth (default password is usually 'HiLink'). The app allows you to visualize the radar's 'gates'—spatial zones extending outward from the sensor in 0.75-meter increments. You can manually lower the sensitivity of the gates that point toward a ceiling fan, a moving curtain, or an adjacent hallway, effectively creating software-based blind spots. Once tuned, the LD2410C saves these parameters to its onboard EEPROM, meaning they will persist even when you reboot your ESP32 bridge.
Summary: Your Path to Reliable Presence Detection
While the LD2410C sensor cannot connect to Home Assistant by itself due to its lack of native networking hardware, building an ESP32 UART bridge is a rite of passage for smart home DIYers. It offers unparalleled customization, costs a fraction of commercial alternatives, and provides room-level presence detection that traditional PIR motion sensors simply cannot match. By respecting the UART crossover wiring rules, writing clean ESPHome YAML, and prioritizing clean power delivery, you will build a presence detection system that is both highly responsive and free of ghost triggers.