
If you have attempted a raspberry pi setup wifi configuration recently and found that your old tricks no longer work, you are not alone. The transition from Raspberry Pi OS Bullseye to Bookworm fundamentally changed how the operating system handles networking. The legacy method of dropping a wpa_supplicant.conf file into the boot partition is officially dead for modern images, leaving many makers and smart home enthusiasts locked out of their headless deployments.
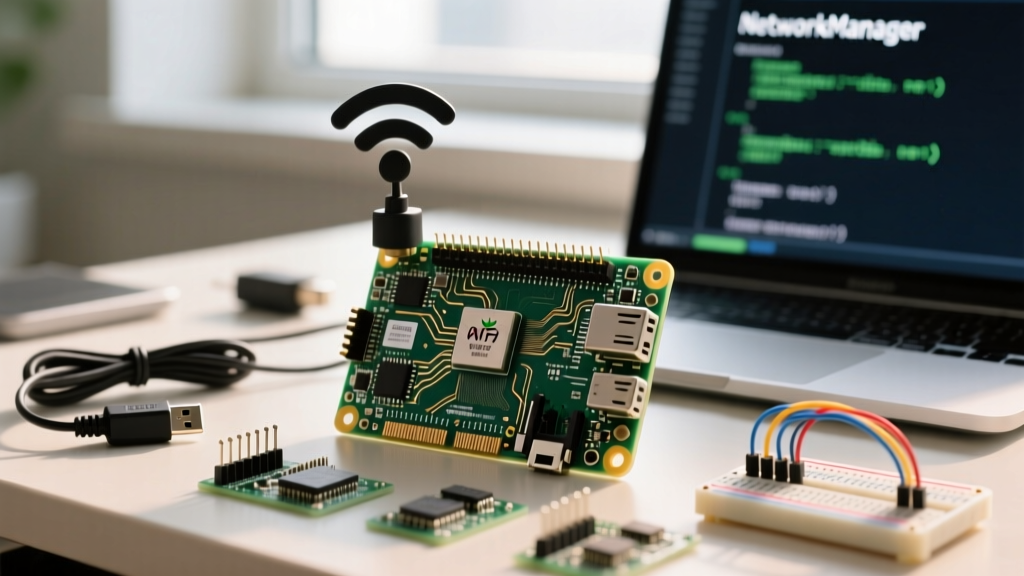
This comprehensive software walkthrough will guide you through the modern methods for establishing a wireless connection on your Pi 4B, Pi 5, and Zero 2 W. We will cover the GUI-based headless provisioning, the command-line NetworkManager utilities, and the critical troubleshooting steps required when the brcmfmac WiFi firmware decides to misbehave.
The Great Shift: NetworkManager vs. wpa_supplicant
Before diving into the commands, it is vital to understand the architectural shift. Historically, Raspberry Pi OS relied on dhcpcd for IP allocation and wpa_supplicant for WiFi authentication. In the Bookworm release, the Raspberry Pi Foundation adopted NetworkManager as the default network configuration tool, aligning the Pi with standard Debian enterprise practices.
NetworkManager stores connection profiles as individual, permissions-locked files in /etc/NetworkManager/system-connections/ rather than a single monolithic configuration file. This provides better security and allows for complex routing, VLAN tagging, and multiple fallback SSIDs, but it requires a completely different approach to headless provisioning and CLI management. For a deeper dive into the underlying Debian architecture, refer to the Debian NetworkManager Wiki.
Method 1: The Modern Headless Raspberry Pi Setup WiFi (Raspberry Pi Imager)
The most reliable way to configure WiFi before the Pi ever boots is by using the advanced settings in the official Raspberry Pi Imager. This method injects the NetworkManager configuration directly into the root filesystem during the flashing process.
- Open Raspberry Pi Imager and select your target OS (ensure it is Raspberry Pi OS Bookworm or newer).
- Select your target storage media (SD card or NVMe via USB adapter).
- Press
Ctrl+Shift+X(or click the gear icon / "Edit Settings" button) to open the Advanced Options. - Check the box for Configure Wireless LAN.
- Enter your exact SSID and Password. Crucial: Ensure the "Hidden SSID" box is checked only if your router actually suppresses beacon frames.
- Select the correct WiFi Country. This is not just for localization; it sets the regulatory domain, dictating which 5GHz channels the Pi's radio is legally allowed to transmit on. Selecting the wrong country can result in a silent failure to connect to 5GHz networks.
Expert Note: If you are deploying a Pi Zero 2 W in a remote location, always enable SSH in this same menu and set a strong username/password. If the WiFi handshake fails due to a typo, SSH over USB OTG (Ethernet gadget mode) is your only lifeline to fix the
.nmconnectionfile without re-imaging the SD card.
Method 2: Command Line WiFi Setup via nmcli (Bookworm)
If your Pi is already running and you have terminal access (either via a connected monitor, Ethernet SSH, or serial console), the nmcli utility is your primary tool for managing the raspberry pi setup wifi process.
Scanning and Connecting
First, verify that the WiFi radio is powered on and not soft-blocked by the kernel:
sudo nmcli radio wifi
If this returns disabled, enable it with sudo nmcli radio wifi on. Next, scan for available networks:
sudo nmcli device wifi list
Once you identify your network's SSID, execute the connection command. NetworkManager will automatically generate the secure profile in the background:
sudo nmcli device wifi connect "YourNetworkSSID" password "YourSecurePassword"
Managing Connection Profiles
To view the profile that was just created, list your active connections:
nmcli connection show
If you need the Pi to prioritize a 5GHz mobile hotspot over a 2.4GHz home network when both are in range, you can modify the autoconnect priority. A higher number equals higher priority:
sudo nmcli connection modify "YourNetworkSSID" connection.autoconnect-priority 10
For the complete official documentation on how Raspberry Pi OS handles these configurations under the hood, consult the Raspberry Pi OS Configuration Documentation.
Method 3: Legacy Headless Setup (Bullseye and Older)
If you are maintaining a fleet of older Pis running Buster or Bullseye for legacy Home Assistant or Pi-Hole deployments, the wpa_supplicant method is still required. Create a file named wpa_supplicant.conf in the root of the /boot/ (or /boot/firmware/) partition with the following syntax:
country=US
ctrl_interface=DIR=/var/run/wpa_supplicant GROUP=netdev
update_config=1

network={
    ssid="YourLegacyNetwork"
    psk="YourLegacyPassword"
    key_mgmt=WPA-PSK
}
On the first boot, the OS will move this file into /etc/wpa_supplicant/ and delete it from the boot partition. If you omit the country= code, the 5GHz radio will remain blocked by the kernel's regulatory domain safeguards, and the Pi will only see 2.4GHz networks.
Troubleshooting Common WiFi Connection Failures
When a raspberry pi setup wifi attempt fails silently, the issue usually lies at the intersection of hardware interference, power delivery, or kernel firmware crashes. Below is a diagnostic framework for isolating the failure point.
| Diagnostic Command | Purpose | Expected Output / Action Required |
|---|---|---|
rfkill list |
Checks for hardware or software radio blocks. | Ensure "Soft blocked: no" for wlan0. If blocked, run sudo rfkill unblock wifi. |
dmesg | grep brcmfmac |
Inspects the Broadcom WiFi firmware initialization logs. | Look for "firmware: failed to load". This indicates SD card corruption or a failing power rail. |
iwconfig 2>/dev/null |
Displays current link quality, signal level, and bitrate. | Signal levels below -75dBm indicate severe attenuation; relocate the Pi or add an external antenna. |
nmcli device status |
Shows the state of all network interfaces. | If wlan0 shows "disconnected" despite correct credentials, check for MAC address filtering on your router. |
The USB 3.0 EMI Interference Issue
One of the most notorious hardware-software conflicts in the Pi ecosystem is USB 3.0 Electromagnetic Interference (EMI). The Raspberry Pi 4B and Pi 5 utilize high-speed USB 3.0 controllers that emit broadband noise squarely in the 2.4GHz ISM band. If you plug in an unshielded USB 3.0 SSD or hub, your 2.4GHz WiFi throughput will drop to near zero, and latency will spike.
The Fix: Connect to a 5GHz WiFi network, which operates outside the interference envelope. Alternatively, use heavily shielded USB cables with ferrite chokes. The Raspberry Pi Hardware Known Issues documentation explicitly warns about this RF detuning phenomenon when designing enclosures and selecting peripherals.
Optimizing for the Pi Zero 2 W and Pi 5
Different single-board computers require tailored approaches to wireless stability. The Pi Zero 2 W features a compact PCB antenna trace that is highly susceptible to ground-plane detuning. If you mount a Zero 2 W directly against a metal chassis or inside a dense smart home control panel without an external u.FL antenna modification, you will experience intermittent drops. Always ensure the power supply can deliver a sustained 2.5A; the WiFi chip is often the first component to brownout when the voltage drops below 4.65V.
Conversely, the Raspberry Pi 5 features a significantly upgraded power delivery network and a separated WiFi/Bluetooth module. However, because the Pi 5 supports PCIe Gen 3.0, routing high-speed NVMe data lanes near the antenna can introduce minor phase noise. For mission-critical Home Assistant servers running on a Pi 5, bypass the internal antenna entirely by utilizing a USB WiFi adapter with an RP-SMA external antenna, or migrate to a hardwired Ethernet connection to eliminate RF variables entirely.
Mastering the raspberry pi setup wifi process in the NetworkManager era requires abandoning outdated muscle memory and embracing the robust, profile-based architecture of modern Debian networking. By utilizing nmcli for CLI deployments and understanding the physical RF limitations of the Broadcom silicon, you can build SBC deployments that remain online through router reboots, power flickers, and environmental interference.