
Understanding Raspberry Pi Temperature Thresholds and Throttling
Managing your Raspberry Pi temperature is critical for maintaining system stability, especially when running demanding workloads like Home Assistant, local LLMs, or media transcoding. The Broadcom SoCs used in modern single-board computers feature built-in thermal sensors and automatic throttling mechanisms to prevent silicon damage. According to extensive Tom's Hardware Pi 5 thermal benchmarks, the newer BCM2712 chip runs significantly hotter at idle and under load compared to the Pi 4's BCM2711, making proactive thermal management non-negotiable for 2026 deployments.
The Raspberry Pi firmware employs a two-tier throttling system to protect the CPU. Understanding these thresholds is the first step in configuring your cooling solution.
| Thermal State | Temperature Threshold | System Behavior |
|---|---|---|
| Normal | < 80°C | CPU and GPU operate at maximum configured clock speeds. |
| Soft Throttle | 80°C - 84°C | CPU clock speed is dynamically reduced. A half-filled thermometer icon appears on the desktop. |
| Hard Throttle | ≥ 85°C | CPU and GPU are heavily throttled. System performance degrades severely to prevent thermal shutdown. |
Command-Line Tools for Real-Time Thermal Monitoring
Before installing any hardware coolers, you must establish a baseline. Raspberry Pi OS provides several native methods to poll the internal thermal zones without installing third-party packages.
Using vcgencmd
The vcgencmd utility communicates directly with the VideoCore GPU firmware to retrieve hardware metrics. To check the current CPU temperature, run:
vcgencmd measure_tempFor continuous monitoring while stress-testing your Pi (e.g., using stress-ng), wrap the command in watch:
watch -n 1 vcgencmd measure_tempReading from the Linux Sysfs
If you are writing automated bash scripts or Python daemons, reading directly from the Linux thermal zone is more efficient and avoids the overhead of calling the firmware binary. The temperature is reported in millidegrees Celsius.
cat /sys/class/thermal/thermal_zone0/tempA reading of 42500 translates to 42.5°C. You can use a simple bash one-liner to format this output:
echo $(($(cat /sys/class/thermal/thermal_zone0/temp)/1000))°CHardware Cooling: Passive Heatsinks vs. Active PWM Fans
Not all cooling solutions are created equal. The effectiveness of your thermal setup depends heavily on your specific workload. A Pi running a lightweight DNS server (Pi-hole) will never need active cooling, whereas a Pi 5 compiling code or running Frigate NVR will throttle in seconds without it.
- Bare Board: Acceptable only for Pi 3B+ or idle Pi 4/5 units in well-ventilated areas. Expect idle temps around 45°C-55°C.
- Passive Aluminum Heatsinks: The small stick-on heatsinks provide minimal surface area. They drop peak temperatures by only 2°C-4°C and are largely ineffective at preventing throttling under sustained loads.
- Always-On 5V Fans: Connecting a standard 5V fan directly to GPIO pins 2 and 6 provides maximum airflow but generates constant noise and draws unnecessary power when the Pi is idle.
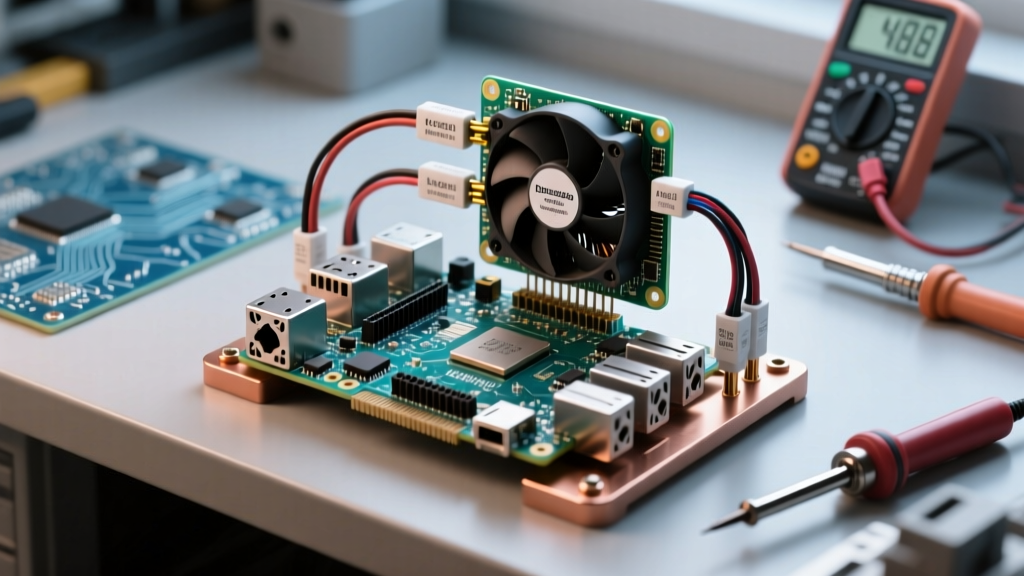
- PWM-Controlled Active Coolers: The gold standard. Solutions like the official Raspberry Pi Active Cooler or the Argon ONE V3 case use Pulse Width Modulation (PWM) to spin the fan only when thermal thresholds are crossed.
- Tower Coolers (e.g., GeeekPi ICE Tower): These utilize heat pipes and large fin arrays. They can drop load temperatures by 20°C-30°C but often interfere with GPIO HATs and require significant vertical clearance.
Configuring Active Fan Control in Raspberry Pi OS (Bookworm)
With the transition to Debian Bookworm, the Raspberry Pi OS boot partition structure has changed. The configuration file is no longer located at /boot/config.txt; it has been moved to /boot/firmware/config.txt. This is a common stumbling block for users migrating older setups, as detailed in the official Raspberry Pi configuration documentation.
Pi 5 Dedicated Fan Header
The Raspberry Pi 5 features a dedicated 4-pin JST SH fan header (5V, GND, Tachometer, PWM). If you are using the official Active Cooler, the firmware handles the PWM curve automatically. No config.txt modifications are required.
Pi 4 and Generic PWM Fans via GPIO
If you are using a Pi 4 with a 3-pin or 4-pin PWM fan connected to GPIO 14 (PWM0), you must enable the hardware overlay. Open your configuration file:
sudo nano /boot/firmware/config.txtAdd the following lines to the bottom of the file to set a custom thermal curve:
# Enable PWM fan overlay on GPIO 14
dtoverlay=pwm-fan

# Set fan to turn on at 60°C (60000 millidegrees)
dtparam=fan_temp0=60000

# Set fan PWM speed to 150 (out of 255) when temp0 is reached
dtparam=fan_temp0_hyst=5000
dtparam=fan_temp0_speed=150

# Set fan to max speed at 75°C
dtparam=fan_temp1=75000
dtparam=fan_temp1_speed=255
Save the file and reboot your Pi. The kernel will now manage the fan daemon natively, eliminating the need for third-party Python scripts running in the background.
Automating Temperature Alerts with Python
For headless setups deployed in remote locations (like an attic or a weatherproof outdoor enclosure), monitoring the Raspberry Pi temperature via software alerts is crucial. Below is a lightweight Python script that reads the sysfs thermal zone and logs a warning if the temperature exceeds 75°C.
import time
import logging

# Configure logging
logging.basicConfig(filename='/var/log/pi_thermal.log', level=logging.INFO)

def get_cpu_temp():
    try:
        with open('/sys/class/thermal/thermal_zone0/temp', 'r') as f:
            return int(f.read()) / 1000.0
    except Exception as e:
        logging.error(f'Failed to read temp: {e}')
        return 0.0

if __name__ == '__main__':
    while True:
        temp = get_cpu_temp()
        if temp > 75.0:
            logging.warning(f'CRITICAL: CPU Temp at {temp}C - Check cooling system!')
            # Trigger external alert (MQTT, Email, Webhook) here
        time.sleep(60) # Poll every 60 seconds
You can execute this script via a systemd service to ensure it survives reboots and starts automatically on boot.
Troubleshooting Common Thermal Runaway Scenarios
Even with a configured PWM fan, you may encounter unexpected thermal throttling. Here are the most frequent failure modes and their solutions:
- Dried Thermal Pads: The stock thermal pads included with many third-party heatsinks dry out and lose conductivity after 12-18 months of continuous heat cycling. Replace them with high-quality thermal paste (e.g., Arctic MX-4 or Noctua NT-H1) for a 3°C-5°C improvement.
- Dust Accumulation: Tower coolers and tight cases like the Argon ONE act as dust magnets. The fin stacks become clogged, insulating the SoC. Use compressed air to clean the heatsinks every 6 months.
- Under-Voltage Fan Failure: If your Pi's power supply is marginal (e.g., a cheap USB-C phone charger instead of the official 27W PD supply), the Pi may prioritize the CPU over the GPIO pins. This causes the PWM fan to stall or spin erratically under load, exactly when you need it most. Always use a properly rated power supply.
- Ambient Enclosure Trapping: Placing a Pi inside a sealed plastic enclosure without ventilation will cause ambient heat to build up, rendering the internal fan useless as it simply recirculates hot air. Ensure your enclosure has passive intake and exhaust vents.
Pro Tip: If you are running a Pi 5 in a constrained space, consider underclocking the CPU slightly. Dropping the max frequency from 2.4GHz to 2.0GHz inconfig.txtusingarm_freq=2000can reduce peak power draw and heat generation by up to 20%, with barely noticeable performance loss in headless server applications.