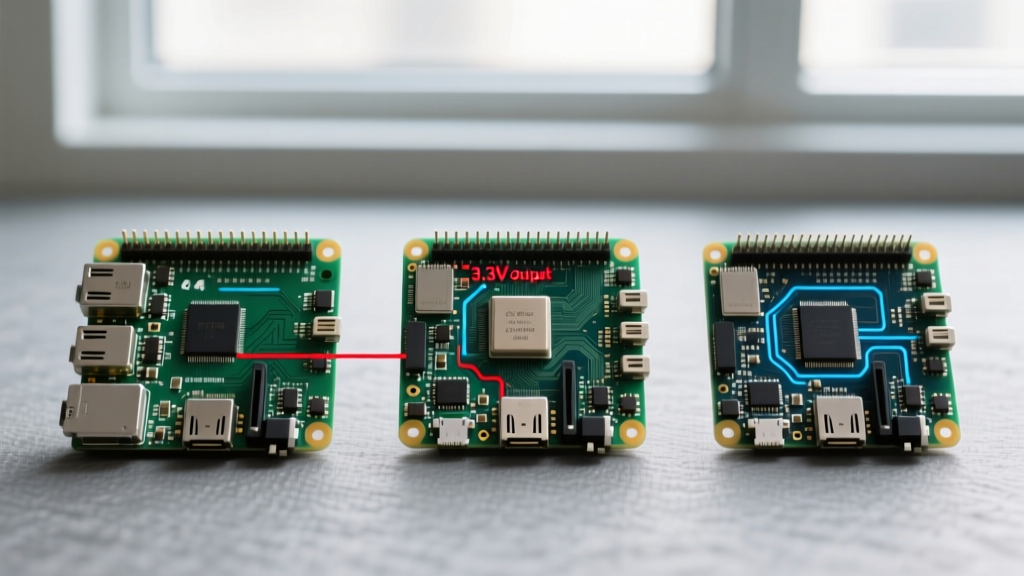
If you are wiring a microcontroller to a high-speed peripheral, the physical interface matters just as much as the protocol. The most common standard SPI connectors are the 6-pin 2.54mm pitch AVR ISP header and the 10-pin 1.27mm pitch ARM/SWD header. For high-density board-to-board SPI links (like LCD ribbons), 0.5mm pitch FFC/FPC or 8-pin Molex PicoBlade connectors are the industry defaults. Choosing the right connector and understanding the physical layer prevents the most common bench headaches: floating chip selects, fried 3.3V logic, and clock phase mismatches.
The Physical Layer: Standard SPI Connector Formats
SPI does not have a single, universally enforced physical connector standard like USB or Ethernet. Instead, it relies on a few de-facto mechanical standards established by silicon vendors. Here are the physical connectors you will actually encounter and spec for your PCBs.
| Connector Type | Pitch / Pins | Primary Use Case | Reference Mating Part |
|---|---|---|---|
| AVR ISP Header | 2.54mm / 6-pin (2x3) | Arduino shields, AVR programming, low-density sensors | On Shore Technology 302-S061 (Shrouded) |
| ARM Cortex Debug | 1.27mm / 10-pin (2x5) | STM32/ESP32 dev boards, high-density SWD/SPI overlap | Samtec FTSH-105-01-L-DV-K |
| FPC/FFC Ribbon | 0.5mm / 8-to-40 pin | SPI LCD displays, flexible board-to-board links | Molex 52271-0879 (Bottom contact) |
| PicoBlade / JST GH | 1.25mm / 6-to-8 pin | Drones, wearables, constrained wiring harnesses | Molex 53048-0810 |
Bus Mechanics: SPI vs. I2C vs. UART
Before finalizing your connector pinout, you must confirm SPI is actually the right protocol for your constraints. SPI is a synchronous, full-duplex master-slave bus. Unlike I2C, it does not use software addressing; it relies on individual hardware Chip Select (CS) lines for every target device.
| Feature | SPI | I2C | UART |
|---|---|---|---|
| Wires Required | 4 (MOSI, MISO, SCK, CS) + 1 per extra device | 2 (SDA, SCL) shared | 2 (TX, RX) point-to-point |
| Max Speed (Typical) | 10 MHz to 80+ MHz | 100 kHz to 3.4 MHz | 115.2 kbps to 3 Mbps |
| Addressing | Hardware CS lines (no software address) | 7-bit or 10-bit software I2C address | None (point-to-point only) |
| Max Distance | ~1 meter (highly dependent on capacitance/clock) | ~1 meter (limited by pull-up capacitance) | ~15 meters (at lower baud rates) |
| Duplex | Full (simultaneous TX/RX) | Half | Full |
Wiring Rules, Pull-Ups, and Classic Bus Failures
The physical layer of SPI is deceptively simple, which is exactly why it causes so many debugging headaches. Here is how to wire it correctly and avoid the three classic failures.
1. The "Missing Pull-Up" Trap (CS Floating)
Developers transitioning from I2C often try to put 4.7kΩ pull-up resistors on SPI MOSI, MISO, and SCK lines. Do not do this. SPI uses push-pull logic, not open-drain. Pull-ups on data/clock lines will cause slow rise times and corrupt data at high speeds.
However, you do need a 10kΩ pull-up resistor on the CS (Chip Select) line. CS is active-low. When your microcontroller boots, its GPIO pins float before the firmware initializes them. If the CS line floats low during boot, the SPI slave will wake up and attempt to drive the MISO line, potentially colliding with other peripherals or causing a brownout. A 10kΩ pull-up to VCC keeps the slave deselected until the MCU explicitly pulls it low.
2. Address Clash vs. CS Collision
SPI does not have software addresses, so "address clashes" don't exist in the I2C sense. The SPI equivalent is a CS Collision. This happens when a developer wires multiple SPI devices to the same CS pin to save GPIOs, or forgets to set the CS pin of an unused device HIGH. If two slaves have CS pulled LOW simultaneously, both will try to drive the MISO line, causing a short circuit that can physically damage the silicon output drivers.
3. Baud Mismatch and SPI Modes (CPOL/CPHA)
If your logic analyzer shows data but the MCU reads garbage, you likely have an SPI Mode mismatch. SPI defines four modes based on Clock Polarity (CPOL) and Clock Phase (CPHA). For example, the ubiquitous Winbond W25Q32 SPI Flash operates in Mode 0 or Mode 3. If your master is configured for Mode 1, it will sample the MISO line on the wrong clock edge, shifting every byte by one bit.
Debugging and Sniffing the SPI Bus
Because SPI lacks the built-in ACK/NACK handshake of I2C, a master will happily clock out data into a disconnected void and read back 0xFF without throwing an error. You must verify the physical layer.
- Get a Logic Analyzer: A Saleae Logic 8 is the gold standard, but a $15 clone running the open-source PulseView / Sigrok software is perfectly adequate for SPI speeds under 20 MHz.
- Trigger on CS: Set your trigger to the falling edge of the CS line. SPI transactions only happen when CS is LOW.
- Check the Idle State: Verify the clock line (SCK) idle state. If it idles HIGH, you need CPOL=1. If it idles LOW, you need CPOL=0.
- Decode MOSI vs MISO: Ensure your analyzer is decoding the correct channel as MOSI (Master Out) and MISO (Master In). Swapping these in the software decoder is a common reason developers think the slave is "replying with garbage."
Minimal Working Exchange: ESP32 to W25Q32 Flash
Below is a complete, verified wiring and code example for reading the JEDEC Manufacturer ID from a Winbond W25Q32 SPI Flash chip using an ESP32. This confirms your physical wiring and SPI Mode are correct.
Physical Wiring Table
| ESP32 DevKit Pin | W25Q32 Pin | Function | Notes |
|---|---|---|---|
| 3V3 | VCC (Pin 8) & /HOLD (Pin 7) | Power | Do not use 5V. Tie /HOLD to VCC. |
| GND | GND (Pin 4) & /WP (Pin 3) | Ground | Tie /WP to GND for standard use. |
| GPIO 23 | DI (Pin 5) | MOSI | Master Out, Slave In |
| GPIO 19 | DO (Pin 2) | MISO | Master In, Slave Out |
| GPIO 18 | CLK (Pin 6) | SCK | Clock |
| GPIO 5 | /CS (Pin 1) | Chip Select | Add 10k pull-up to 3V3 on this line. |
Arduino/ESP32 Code
#include <SPI.h>

// ESP32 DevKit v1 pin definitions
#define SPI_CS_PIN 5
#define SPI_MOSI_PIN 23
#define SPI_MISO_PIN 19
#define SPI_SCK_PIN 18

// JEDEC Read ID command
#define CMD_READ_JEDEC_ID 0x9F

void setup() {
  Serial.begin(115200);
  delay(1000); // Allow serial monitor to connect

  // Initialize custom SPI bus
  SPI.begin(SPI_SCK_PIN, SPI_MISO_PIN, SPI_MOSI_PIN, SPI_CS_PIN);
  pinMode(SPI_CS_PIN, OUTPUT);
  digitalWrite(SPI_CS_PIN, HIGH); // Deselect slave

  Serial.println("SPI Bus Initialized. Reading JEDEC ID...");
}

void loop() {
  uint8_t manufacturer_id = 0;
  uint8_t memory_type = 0;
  uint8_t capacity = 0;

  // Begin SPI Transaction (Mode 0, 10MHz)
  SPI.beginTransaction(SPISettings(10000000, MSBFIRST, SPI_MODE0));

  digitalWrite(SPI_CS_PIN, LOW); // Assert Chip Select

  SPI.transfer(CMD_READ_JEDEC_ID); // Send command
  manufacturer_id = SPI.transfer(0x00); // Read byte 1
  memory_type = SPI.transfer(0x00);     // Read byte 2
  capacity = SPI.transfer(0x00);        // Read byte 3

  digitalWrite(SPI_CS_PIN, HIGH); // Deassert Chip Select
  SPI.endTransaction();

  // Error handling: Winbond Manufacturer ID is 0xEF
  if (manufacturer_id == 0xEF) {
    Serial.printf("Success! Winbond Chip Detected. Type: 0x%02X, Capacity: 0x%02X\n", memory_type, capacity);
  } else if (manufacturer_id == 0x00 || manufacturer_id == 0xFF) {
    Serial.println("ERROR: Read 0x00 or 0xFF. Check MISO wiring and CS pull-up.");
  } else {
    Serial.printf("Unexpected Manufacturer ID: 0x%02X. Check SPI Mode (CPOL/CPHA).\n", manufacturer_id);
  }

  delay(3000);
}
Decision Tree: Choosing Your Protocol and Connector
Stop guessing which bus to use. Use this decision matrix to lock in your protocol and physical connector based on your project constraints.
| Condition / Constraint | Protocol Pick | Connector Pick |
|---|---|---|
| Distance < 1m, Speed > 10 Mbps, 1 to 4 devices | SPI | 6-pin 2.54mm Shrouded or 10-pin 1.27mm |
| Distance < 1m, Speed < 3.4 Mbps, > 5 devices on bus | I2C | 4-pin JST-PH or 4-pin Molex PicoBlade |
| Distance > 5 meters, noisy industrial environment | RS-485 (UART) | 3-pin or 5-pin 5.08mm Pluggable Terminal Block |
| Board-to-board flexible link (e.g., folding enclosure) | SPI | 0.5mm FFC/FPC (Minimum 8 pins for SPI + GND/VCC) |