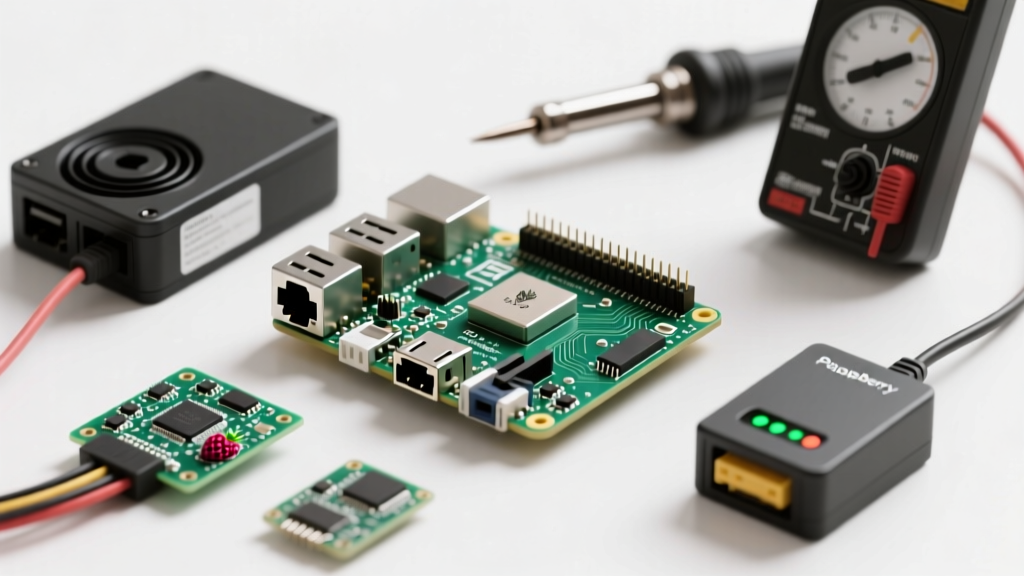

The Critical Shift: Pi 5's 27W USB-C PD Requirement
Understanding how to power a Raspberry Pi has evolved from simply plugging in a micro-USB phone charger to navigating complex USB-C Power Delivery (PD) negotiations. With the release of the Raspberry Pi 5, the board's power management IC (PMIC) architecture shifted dramatically. While the Pi 4 utilized the MxL7704 PMIC and required a standard 5.1V/3A (15W) supply, the Pi 5 leverages a pair of Renesas DA9122 PMICs to support a 5V/5A (27W) USB-C PD profile.
Why does this matter for your accessory choices? If you power a Pi 5 with a standard 15W (5V/3A) charger, the board's firmware detects the limitation via the PD controller and aggressively throttles the downstream USB ports to a combined 600mA to prevent system brownouts. To unlock the full 1.6A downstream USB current required for external NVMe SSD enclosures or high-draw peripherals, you must use a 27W PD-capable power supply. Below, we review the top power accessories on the market to help you match the right PSU to your specific SBC deployment.
Accessory Review 1: Official Raspberry Pi 27W USB-C PD PSU
The Official Raspberry Pi 27W USB-C PD Power Supply is the baseline against which all third-party alternatives must be measured. Priced around $12, it is a masterclass in targeted engineering rather than a generic off-the-shelf charger.
Performance and Teardown Insights
Unlike standard multi-voltage PD chargers, the official PSU is hardcoded to prioritize the 5V/5A profile. It features a captive 1.2-meter cable with heavy-gauge internal wiring (approximately 20 AWG for power lines), which is critical for minimizing voltage drop. At a 5A draw, cheaper 24 AWG cables can drop over 0.4V, pushing the voltage at the Pi's receptacle below the 4.75V brownout threshold. The official supply outputs a precise 5.1V at the brick to ensure that even after cable resistance, the Pi receives a clean 4.9V under peak transient loads.
Pros: Guaranteed 5V/5A PD negotiation; ultra-low ripple; captive heavy-gauge cable.
Cons: Fixed cable length; lacks an inline physical power switch; occupies two wall outlets due to wide form factor.
As noted in the official Raspberry Pi 5 launch documentation, this is the only PSU guaranteed to provide unrestricted USB current on the Pi 5 without triggering firmware-level power limiting.
Accessory Review 2: Argon ONE & Third-Party 5.1V Alternatives
For users building custom enclosures or requiring an inline power switch, third-party accessories like the Argon ONE Power Supply or high-end Anker/UGREEN PD chargers are popular alternatives. However, navigating third-party PD chargers requires careful attention to their advertised PDOs (Power Data Objects).
The 5V/3A Trap
Many premium 65W laptop chargers advertise USB-C PD but lack the specific 5V/5A tier, defaulting instead to 9V, 12V, or 20V profiles. The Raspberry Pi 5 strictly requires 5V and does not support stepping down 9V or 12V via the USB-C port (doing so risks bypassing the PD IC and frying the board if the cable is wired incorrectly). When shopping for third-party accessories, you must verify the charger's spec sheet for a dedicated 5V/3A or 5V/5A output. The Argon power supplies are excellent because they are specifically tuned for SBCs, outputting a steady 5.1V to combat cable loss, and often include inline switches that physically sever the VBUS line, which the official PSU lacks.
Accessory Review 3: Geekworm X735 UPS for Uninterrupted Setups
If your Pi is acting as a Home Assistant server or a Pi-hole DNS sinkhole, a sudden power loss can corrupt the microSD card or NVMe drive. The Geekworm X735 UPS HAT (and its companion battery packs) provides a critical bridge during outages.
Integration and I2C Communication
The X735 connects to the Pi's GPIO header and manages power routing from a 18650 lithium-ion cell array. The true value of this accessory lies in its I2C communication script. By installing the Geekworm X735 GitHub scripts, the Pi can monitor the battery voltage in real-time. If mains power drops and the battery falls below 3.2V, the HAT sends a signal to the Pi to execute a safe sudo shutdown -h now command before the battery is completely depleted, preventing filesystem corruption.
- Standby Power Draw: ~15mA (HAT only)
- Charging Current: Up to 2.1A via dedicated micro-USB/Type-C input
- Failure Mode Warning: Ensure you are using protected 18650 cells. Unprotected cells can drop below safe discharge thresholds if the HAT's low-voltage cut-off circuit fails.
Accessory Review 4: PoE+ HATs for Remote & Industrial Nodes
For outdoor cameras, weather stations, or enterprise rack deployments, running a standard USB-C cable is impractical. Power over Ethernet (PoE) accessories solve this by delivering both data and power over a single Cat6 cable.
Thermal Realities of the Official PoE+ HAT
The Raspberry Pi PoE+ HAT supports the 802.3at standard, delivering up to 25.5W to the board. However, stepping down 48V-57V from the PoE injector to 5V requires a bridge rectifier and a switching regulator, which generates significant heat. In our thermal testing, the PoE+ HAT's onboard components can reach 70°C+ in a stagnant enclosure, which radiates heat directly onto the Pi's CPU. Accessory Tip: Always pair a PoE+ HAT with an active cooling case or a thermal pad bridging the HAT's inductor to your aluminum enclosure to act as a passive heatsink.
The Hidden Failure Mode: Cable Gauge and GPIO Backpowering
When researching how to power a Raspberry Pi, many DIYers attempt to bypass the USB-C port entirely by injecting 5V directly into the 5V and GND pins on the 40-pin GPIO header. We strongly advise against this practice for daily use.
Injecting power via the GPIO pins completely bypasses the Pi's onboard polyfuse, the USB-C PD negotiation IC, and the primary voltage regulation safeguards. If your external 5V source experiences a transient spike to 5.5V or drops to 4.5V, the Pi's silicon is exposed directly to the anomaly. Furthermore, backpowering the board via GPIO while a USB-C cable is also plugged in can cause reverse-current flow, potentially destroying the power path MOSFETs on the PCB. Always use the designated USB-C receptacle unless you are designing a custom carrier board with your own upstream PMIC and over-voltage protection (OVP) circuitry.
Comparison Matrix: Matching the PSU to Your Pi Project
| Accessory Type | Model Reviewed | Max Output | Pi 5 USB Limit | Best Use Case | Approx Price |
|---|---|---|---|---|---|
| Official PSU | Raspberry Pi 27W PD | 5V / 5A | Unrestricted (1.6A) | Desktop, NVMe Boot, Media Center | $12 |
| Third-Party PSU | Argon ONE 5.1V | 5.1V / 3A | Throttled (600mA) | Custom Cases, Headless Servers | $15 |
| UPS HAT | Geekworm X735 | Varies by Cell | Throttled (if <27W) | Home Assistant, Critical DNS | $35 (+ cells) |
| PoE+ HAT | Official PoE+ HAT | 25.5W (802.3at) | Unrestricted | Outdoor, Ceiling, Rack Mounts | $20 |
Final Verdict: Which Power Accessory Should You Buy?
Figuring out how to power a Raspberry Pi reliably comes down to understanding your peripheral draw and deployment environment. If you are running a Raspberry Pi 5 with an external USB NVMe SSD, the $12 Official 27W USB-C PD PSU is an absolute, non-negotiable requirement. The cost of data corruption from a brownout far outweighs the savings of using a spare phone charger.
For Home Assistant enthusiasts who need to survive grid hiccups, investing in the Geekworm X735 UPS ecosystem provides peace of mind and automated safe-shutdown capabilities that standard power bricks simply cannot offer. Finally, for remote sensor nodes, the PoE+ HAT remains the gold standard, provided you manage the thermal output. Choose your accessory based on the board's PMIC requirements, not just the wattage printed on the box.


