
Architecting Reliable Raspberry Pi Projects
When diving into raspberry pi projects, the difference between a weekend novelty and a permanent infrastructure fixture lies entirely in the setup and configuration phase. At ElectricalFlux, we see countless makers abandon brilliant SBC builds due to SD card corruption, thermal throttling, or IP conflicts. This guide bypasses the basics and focuses on enterprise-grade configuration strategies for three foundational builds: network DNS filtering, smart home automation, and I2C sensor logging.
The Hardware Matrix: Matching SBC to Workload
Not every project requires the flagship board. Over-provisioning leads to wasted thermal headroom and power draw. Here is our tested hardware matrix for specific project profiles:
| Project Type | Recommended SBC | RAM | Storage Medium | Est. Cost (Board) |
|---|---|---|---|---|
| Pi-hole + Unbound DNS | Raspberry Pi 4 Model B | 2GB | Industrial SLC microSD | $35 - $45 |
| Home Assistant OS (HAOS) | Raspberry Pi 5 | 8GB | M.2 NVMe via PCIe HAT | $80 |
| Remote I2C Sensor Node | Pi Zero 2 W | 512MB | High-Endurance microSD | $15 |
Project 1: Containerized Pi-hole with Recursive DNS
Running Pi-hole bare-metal on Raspberry Pi OS is legacy practice. Containerization isolates the DNS service from host OS updates and allows side-by-side hosting of Unbound for recursive, non-logged DNS resolution.
Headless Provisioning via Raspberry Pi Imager
Forget attaching a monitor. Use the Raspberry Pi Imager advanced settings (Ctrl+Shift+X) to inject your SSH public key, set a static IP via DHCP reservation on your router (never static IP on the Pi itself for DNS servers to avoid gateway mismatches), and define the hostname as pihole-node.local.
Docker Compose and Systemd Conflicts
Install Docker Engine via the official convenience script. A common failure mode is port 53 conflicts with systemd-resolved. You must disable the stub listener in /etc/systemd/resolved.conf by setting DNSStubListener=no and restarting the service before bringing up the container. Your docker-compose.yml should map port 53 to the host and utilize the PIHOLE_DNS_ environment variable to point to your local Unbound container on port 5335. This ensures no upstream DNS queries are leaked to your ISP.
Furthermore, securing the Pi-hole web interface is critical. Instead of exposing port 80 to your entire network, configure a reverse proxy using Nginx Proxy Manager in a separate Docker container, enforcing HTTPS with local certificates via DNS-01 challenge. This prevents local network actors from intercepting your admin credentials in plaintext.
Project 2: Home Assistant OS and the NVMe Imperative
Home Assistant is the crown jewel of smart home raspberry pi projects, but it is notoriously destructive to flash storage. The SQLite database and continuous InfluxDB logging will burn through the write cycles of a standard SanDisk Ultra microSD card in under four months, leading to catastrophic kernel panics.
Bypassing the SD Card Bottleneck
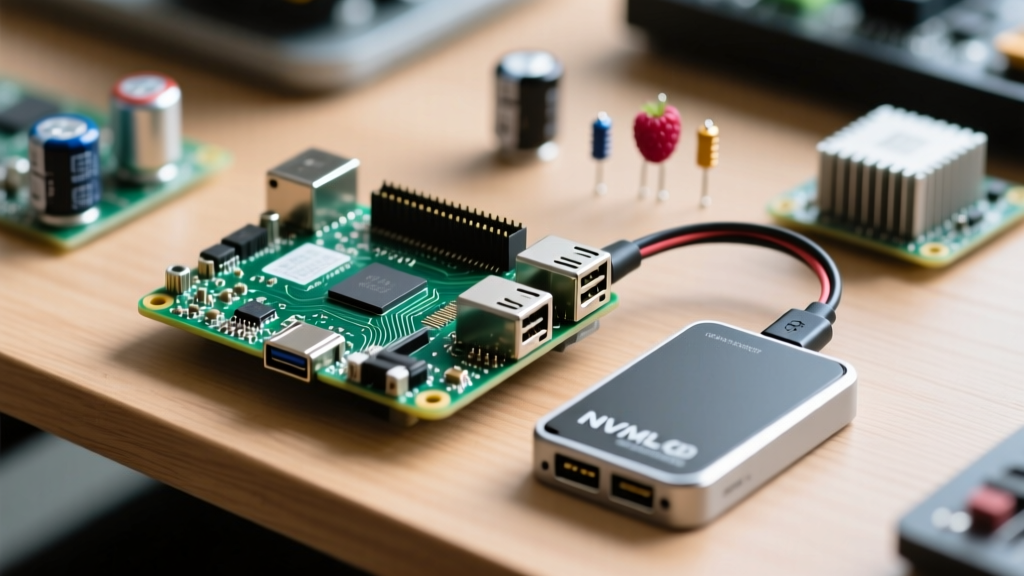
For the Raspberry Pi 5, the PCIe 2.0 x1 interface unlocks NVMe storage. We recommend the official Raspberry Pi M.2 HAT+ paired with a 256GB M.2 2230 NVMe drive (like the WD SN740). Flash the HAOS image directly to the NVMe drive using a USB-to-NVMe enclosure. Next, modify the Pi 5 bootloader EEPROM to prioritize PCIe. Run sudo rpi-eeprom-config --edit and change the BOOT_ORDER to 0xf416 (where 6=PCIe, 4=USB, 1=SD). This configuration ensures the board boots directly from the NVMe drive without requiring a bootloader SD card.
USB Passthrough for Zigbee and Matter
When using a Sonoff Zigbee 3.0 USB Dongle Plus (P-variant), plugging it directly into the Pi 5 causes severe USB 3.0 and 2.4GHz Wi-Fi/Zigbee interference due to unshielded SoC noise. You must use a 1-meter USB 2.0 extension cable. In the HAOS terminal, verify the passthrough mapping using ls -l /dev/serial/by-id/ to ensure the ttyACM0 symlink remains persistent across reboots, preventing ZHA (Zigbee Home Automation) integration failures.
Project 3: Low-Power Environmental I2C Logging
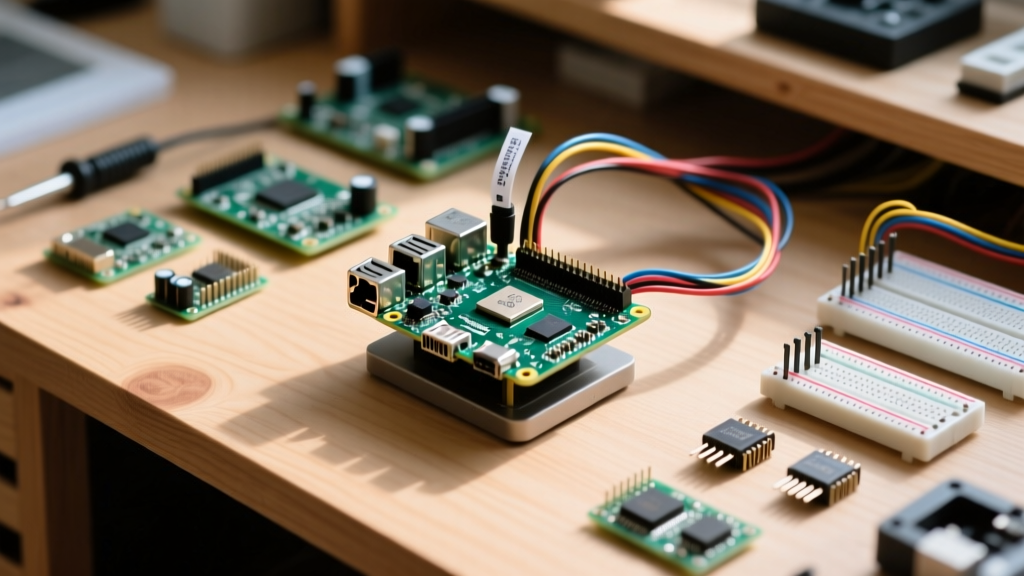
For remote monitoring, the Pi Zero 2 W paired with a BME280 sensor provides temperature, humidity, and barometric pressure data. However, I2C bus capacitance and pull-up resistor mismatches frequently stall these projects.
Wiring and Pull-Up Resistor Dynamics
The BME280 breakout boards often include 10kΩ pull-up resistors on the SDA and SCL lines. If you daisy-chain multiple sensors, the parallel resistance drops, potentially violating the I2C specification and causing data corruption. Use i2cdetect -y 1 to scan the bus. If the sensor address (usually 0x76 or 0x77) appears as UU or shifts randomly, your pull-up resistance is too low or your wiring exceeds 30cm without a dedicated I2C bus extender like the PCA9600.
Automating the Python Polling Script
Instead of running a continuous Python loop which wastes CPU cycles and generates heat, write a script that polls the sensor via the smbus2 library, pushes the payload to an MQTT broker, and exits. Schedule this via the cron daemon using crontab -e and adding * * * * * /usr/bin/python3 /home/pi/sensor_poll.py. This allows the ARM Cortex-A53 cores to idle, drastically reducing the thermal footprint inside enclosed junction boxes.
When writing the Python script, ensure you implement exponential backoff for your MQTT connection attempts. If the local Wi-Fi drops momentarily, a rigid script will crash and throw an unhandled exception. Using the paho-mqtt library on_disconnect callback ensures the script gracefully retries the connection without requiring the cron daemon to restart the process entirely.
Critical Failure Modes and Mitigation
Even perfectly configured raspberry pi projects fail when physical layer constraints are ignored.
- Brownout Throttling: The Pi 5 requires a 27W USB-C PD power supply. Using a standard 15W phone charger will trigger the firmware brownout detection, instantly disabling the USB ports and PCIe bus to save the SoC. Always use the official 27W PSU.
- Thermal Soak: In enclosed smart home panels, ambient temperatures easily reach 45°C. The Pi 5 requires the Active Cooler; passive aluminum heatsinks are insufficient for sustained HAOS database compilation tasks.
- mDNS Blind Spots: If your Pi is hosting services for Apple HomeKit or Chromecast, ensure
avahi-daemonis running and configured to bridge your IoT VLAN to your primary LAN, otherwise discovery protocols will silently fail.
Pro-Tip: Never rely on the microSD card for long-term database writes. If your project involves continuous logging (Home Assistant, Frigate NVR, or InfluxDB), migrating to an external SSD or NVMe via USB 3.0 or PCIe is not optional—it is mandatory for data survival.
Authoritative Resources for Advanced Configuration
To dive deeper into the specific bootloader configurations and container setups mentioned above, consult the primary documentation: