
Why the RP2350 Chip Changes Smart Home Sensor Design
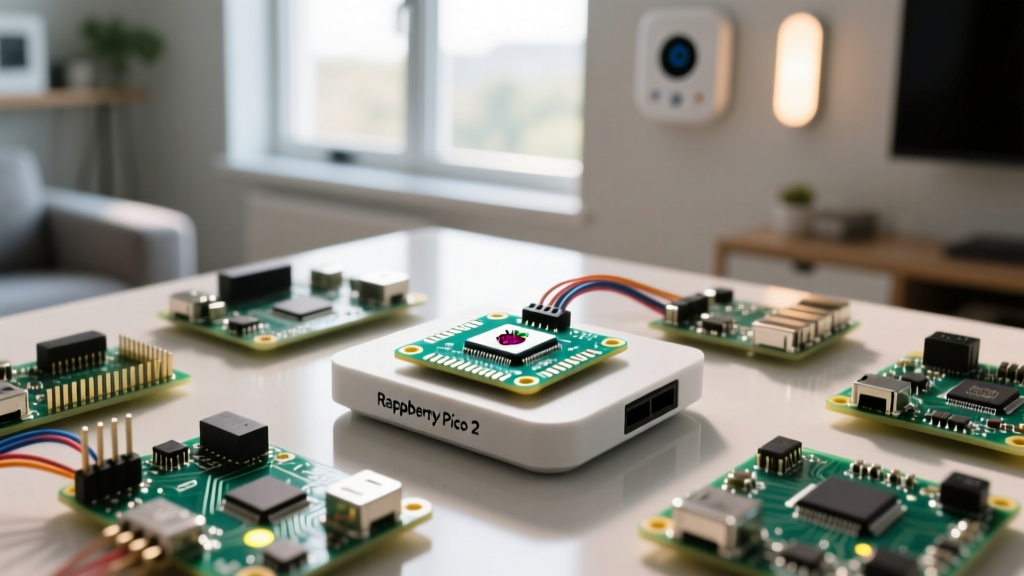
The transition from the RP2040 to the RP2350 silicon marks a significant leap for DIY smart home engineers. When integrating the Raspberry Pico 2 into a Home Assistant ecosystem, the immediate focus is often on its dual-core 150MHz architecture (selectable between Arm Cortex-M33 and RISC-V). However, the real game-changer for smart home sensor nodes is the memory and peripheral upgrades.
With 520KB of SRAM (up from 264KB), the Raspberry Pico 2 allows for extensive local MQTT message buffering. In real-world smart home deployments, Wi-Fi microcontrollers frequently drop connections due to router channel scanning or DHCP lease renewals. The Pico 2's expanded SRAM enables you to queue hundreds of sensor telemetry readings locally, ensuring zero data loss during network hiccups before flushing the buffer to your MQTT broker.
Furthermore, the RP2350 introduces the High-Speed Transmit (HSTX) peripheral. While typically used for video output, in a smart home context, HSTX can be leveraged to push high-speed serialized sensor data to an external wireless co-processor without bogging down the main CPU cores, freeing them to handle complex local automation logic or DSP filtering for analog sensors.
Architecture Blueprint: Pico 2 as an Edge Sensor Hub
Because the base Raspberry Pico 2 does not feature native wireless radios, the most robust architecture for Home Assistant integration is a split-processing design. We use the Pico 2 as the dedicated sensor-polling and logic engine, bridging via UART to an ESP32-C3-MINI-1 module acting purely as a Wi-Fi/MQTT modem.
This separation of concerns eliminates the most common failure mode in ESP32-based smart home nodes: the Wi-Fi stack starving the sensor-reading tasks, leading to watchdog resets. By offloading RF duties to the ESP32-C3, the Pico 2 runs a deterministic, bare-metal RTOS loop that guarantees precise timing for I2C and 1-Wire sensor polling.
Component BOM and Real-World Pricing
| Component | Role in Architecture | Est. Price (USD) |
|---|---|---|
| Raspberry Pico 2 | Main Sensor Hub & Logic (RP2350) | $5.00 |
| ESP32-C3-MINI-1 | Wi-Fi & MQTT UART Bridge | $2.50 |
| BME280 (I2C) | Temp/Humidity/Pressure Telemetry | $4.00 |
| SEN0311 (Analog) | Air Quality / VOC Sensor | $12.00 |
| Hi-Link HLK-PM03 | AC-DC 3.3V Isolated Power Supply | $3.50 |
Overcoming ADC Non-Linearity for Precision Analog Sensors
The original RP2040 was notorious among smart home builders for its flawed ADC, exhibiting a ~50mV offset and severe non-linearity in the lower voltage ranges. This made reading analog sensors like resistive soil moisture probes or MQ-series gas sensors highly unreliable without external ADC chips.
The Raspberry Pico 2 features a vastly improved 12-bit ADC. While the Effective Number of Bits (ENOB) is practically around 10.5 bits, the noise floor and linearity are dramatically better. However, for precision Home Assistant dashboards tracking indoor air quality (VOCs), you must still implement software oversampling.
Pro-Tip: When reading the SEN0311 analog VOC sensor on the Pico 2, do not rely on a single
machine.ADC.read_u16()call. Implement a 64-sample moving average with a median filter to eliminate transient noise induced by the switching regulators in your smart home power supply.
Additionally, ensure your PCB design routes the analog ground (AGND) separately from the digital ground, joining them at a single star point near the 3.3V LDO. The RP2350's improved ADC is highly sensitive to digital noise coupling from the I2C bus.
Firmware Strategy: PIO for I2C Bus Recovery
A critical, often overlooked failure mode in 24/7 smart home sensor nodes is the I2C bus lockup. If a BME280 sensor experiences a micro-brownout while the master (Pico 2) is clocking data, the sensor can pull the SDA line permanently low, freezing the hardware I2C peripheral.
The Raspberry Pico 2's Programmable I/O (PIO) blocks offer an elegant, hardware-level solution. Instead of relying on the standard I2C peripheral, you can write a custom PIO state machine that monitors the SDA line. If a lockup is detected, the PIO can automatically bit-bang 9 clock pulses on the SCL line—the exact sequence required to force a stuck I2C slave to release the bus. This level of fault tolerance is native to the RP2350 architecture and is virtually impossible to replicate reliably on standard microcontrollers without external watchdog ICs. For deeper insights into PIO capabilities, refer to the official Raspberry Pico 2 hardware documentation.
Publishing Telemetry to Home Assistant via MQTT
To seamlessly integrate your Raspberry Pico 2 sensor hub into Home Assistant without manually creating YAML entities, utilize MQTT Discovery. The Pico 2 (via the ESP32-C3 UART bridge) publishes a configuration payload to a specific discovery topic upon boot.
Below is the exact JSON structure your Pico 2 should format and send to the homeassistant/sensor/pico2_livingroom_bme/config topic:
{
  "name": "Living Room BME280",
  "unique_id": "pico2_lr_bme280_01",
  "state_topic": "home/livingroom/sensors",
  "value_template": "{{ value_json.temperature }}",
  "unit_of_measurement": "°C",
  "device_class": "temperature",
  "device": {
    "identifiers": ["pico2_hub_01"],
    "name": "Pico 2 Edge Hub",
    "model": "RP2350 Custom Node",
    "manufacturer": "ElectricalFlux DIY"
  }
}
By structuring your payload this way, Home Assistant automatically generates the sensor entity, complete with the correct device class and icons. For a complete breakdown of MQTT discovery schemas, consult the Home Assistant MQTT Integration documentation.
Power Consumption and Failure Modes in 24/7 Deployments
Smart home nodes hidden behind wall switches or in attic junction boxes are subject to harsh thermal and electrical environments. The Raspberry Pico 2 operates efficiently, but the supporting power circuitry is usually the point of failure.
Avoid using cheap, unshielded buck converters (like the mini-360 modules) to step down 12V or 5V to 3.3V for the Pico 2. The high-frequency switching noise (often 1.5MHz) bleeds directly into the RP2350's VREF pin, destroying ADC accuracy. Instead, use a two-stage power delivery: a switching regulator to drop to 5V, followed by a low-dropout regulator (LDO) like the AP2112K-3.3 to provide a clean, ripple-free 3.3V rail for the Pico 2 and analog sensors.
Furthermore, utilize the RP2350's internal temperature sensor and voltage monitor to publish diagnostic health metrics alongside your environmental data. If the internal voltage drops below 3.1V, trigger an immediate MQTT 'Last Will and Testament' (LWT) offline message before the brownout resets the chip, allowing Home Assistant to log the exact time of power failure.
Final Verdict: When to Choose Pico 2 Over ESP32-S3
The Raspberry Pico 2 is not a direct replacement for the ESP32-S3 in every smart home scenario. If you need a simple, single-chip Wi-Fi temperature sensor, the ESP32-C3 or ESP32-S3 remains the more cost-effective and code-friendly choice via ESPHome.
However, the Raspberry Pico 2 dominates in complex, multi-sensor edge hubs where deterministic timing, advanced fault recovery (via PIO), and high-precision analog readings are required. By pairing the RP2350's raw processing and buffering power with a dedicated Wi-Fi modem, you create a smart home node that rivals commercial Zigbee or Thread gateways in reliability, while retaining the infinite customization of DIY firmware. For those building advanced Home Assistant integrations, the Pico 2 is an exceptional foundation.