
Why Ditch the MicroSD? The Case for Network Booting
For hobbyists and enterprise deployers alike, the MicroSD card remains the Achilles heel of the Raspberry Pi ecosystem. Flash memory on cheap SD cards degrades rapidly under the constant write-cycles of an operating system, leading to inevitable filesystem corruption and boot failures. Enter Raspberry Pi netboot—a method that allows your single-board computer to boot its kernel and mount its root filesystem entirely over a local network, completely eliminating the need for local storage.
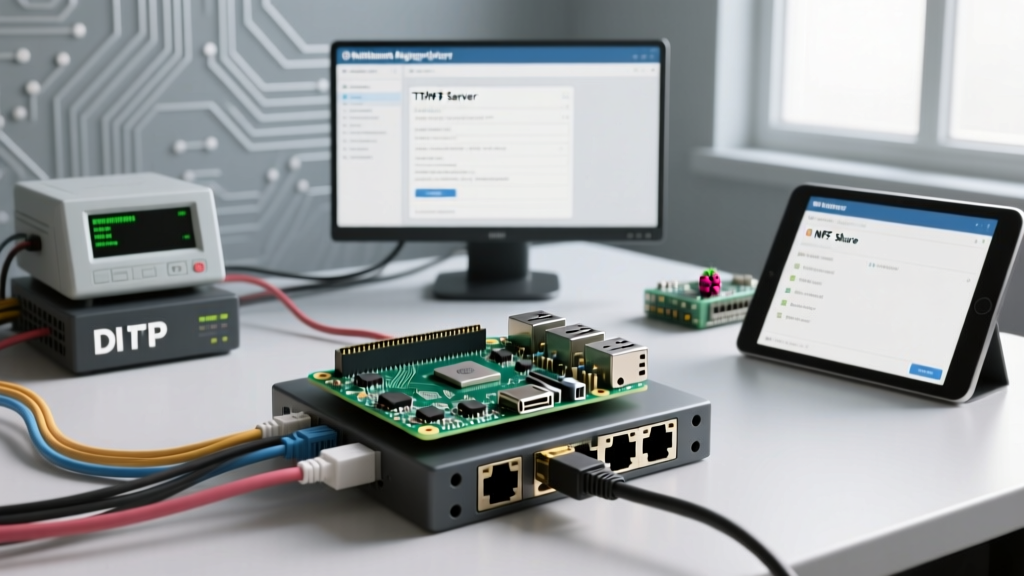
Network booting (often referred to as PXE boot in the x86 world) relies on three core protocols: DHCP for IP assignment, TFTP for transferring the initial bootloader and kernel, and NFS (Network File System) for mounting the root directory. While it sounds complex, modern Raspberry Pi 4 and 5 models have native network boot capabilities baked into their EEPROM, making the setup highly accessible.
Hardware Compatibility & Boot Matrix
Before diving into the configuration, it is critical to verify if your specific board supports network booting natively or requires a one-time OTP (One-Time Programmable) memory flash. Below is the compatibility matrix for modern deployments:
| Model | Native Netboot? | Bootloader Config Method | Required Host Services |
|---|---|---|---|
| Raspberry Pi 3B / 3B+ | Yes (OTP) | One-time vcgencmd flash | DHCP, TFTP, NFS |
| Raspberry Pi 4 Model B | Yes (EEPROM) | rpi-eeprom-update / config | DHCP, TFTP, NFS |
| Raspberry Pi 5 | Yes (EEPROM) | rpi-eeprom-update / config | DHCP, TFTP, NFS |
| Raspberry Pi Zero 2 W | No | N/A (Requires USB Boot) | N/A |
Phase 1: Preparing the Host Server Infrastructure
Your host server (which can be another Raspberry Pi, an Ubuntu desktop, or a NAS) will act as the central hub. It must serve the boot files via TFTP and the operating system via NFS. For this guide, we assume your host server is running a Debian-based Linux distribution (like Ubuntu 22.04 or Raspberry Pi OS) with a static IP address, for example, 192.168.1.50.
Configuring dnsmasq for DHCP and TFTP
Instead of configuring a full ISC-DHCP server, we use dnsmasq, a lightweight utility that handles both DHCP proxying and TFTP serving. Install it via your package manager:
sudo apt update
sudo apt install dnsmasq nfs-kernel-server
Next, edit the /etc/dnsmasq.conf file. If you already have a primary router handling DHCP on your network, you must configure dnsmasq as a DHCP proxy to avoid IP conflicts. According to the dnsmasq official documentation, a proxy setup looks like this:
port=0
dhcp-range=192.168.1.100,proxy
pxe-service=0,"Raspberry Pi Boot"
log-dhcp
enable-tftp
tftp-root=/tftpboot
Create the TFTP root directory and assign the correct permissions:
sudo mkdir -p /tftpboot
sudo chmod 777 /tftpboot
sudo systemctl restart dnsmasq
Setting Up the NFS Root Filesystem
The Pi needs a place to load its operating system. We will export a directory via NFS. Create the mount point and configure the exports file:
sudo mkdir -p /nfs/pi5-root
sudo nano /etc/exports
Add the following line to allow your local subnet read/write access to the root filesystem. The no_root_squash flag is vital; without it, the Pi will not be able to write to system directories during boot.
/nfs/pi5-root 192.168.1.0/24(rw,sync,no_subtree_check,no_root_squash)Apply the changes and start the NFS service:
sudo exportfs -ra
sudo systemctl enable nfs-kernel-server
sudo systemctl start nfs-kernel-server
Now, you must copy a fresh Raspberry Pi OS image into this directory. Flash the OS onto a spare SD card, insert it into your host server, and use rsync to clone the root partition into /nfs/pi5-root. Refer to the Ubuntu NFS Server Guide for advanced permission mapping if you encounter access denied errors.
Phase 2: Configuring the Raspberry Pi Bootloader
For the Raspberry Pi 4 and 5, the boot sequence is dictated by the EEPROM. By default, the boot order prioritizes the SD card. We need to modify the EEPROM configuration to prioritize network booting.
Modifying the Boot Order
On a Pi running from an SD card, open the terminal and extract the current EEPROM configuration:
rpi-eeprom-config > bootconf.txtOpen bootconf.txt in a text editor and locate the BOOT_ORDER parameter. Change it to 0xf21. This hexadecimal string tells the Pi to try Network (f), then USB (2), then SD (1), and finally restart (1) if all fail.
BOOT_ORDER=0xf21Flash the updated configuration back to the EEPROM:
sudo rpi-eeprom-update --apply bootconf.txtOnce the Pi reboots, it will natively search the network for a TFTP server.
Preparing the Boot Partition Files
When the Pi queries your TFTP server, it looks for a MAC-specific directory. You must create a folder named after your Pi's serial number (the last 8 characters) inside /tftpboot. Copy the contents of the /boot/firmware partition from your SD card into this directory. Crucially, you must edit the cmdline.txt file inside this TFTP folder to tell the kernel where to find the NFS root.
Modify cmdline.txt to include the following NFS parameters (ensure it remains a single continuous line):
console=serial0,115200 console=tty1 root=/dev/nfs nfsroot=192.168.1.50:/nfs/pi5-root,vers=4.1,proto=tcp rw ip=dhcp rootwaitNote: If your host server runs an older OS that does not support NFSv4.1, change vers=4.1 to vers=3.
Real-World Troubleshooting & Failure Modes
Network booting introduces variables that local storage does not. If your Pi fails to boot, consult the ACT (green) LED on the board. According to the Raspberry Pi Official Network Boot Documentation, specific blink patterns indicate exact failure points.
The Spanning Tree Protocol (STP) Timeout
The most common reason for a netboot failure in enterprise or advanced home networks is the switch's Spanning Tree Protocol. When the Pi powers on, it requests a DHCP address. However, managed switches place ports in a "blocking" state for 15-30 seconds to prevent network loops. By the time the port transitions to "forwarding," the Pi's bootloader has already timed out and moved on.
The Fix: Access your managed switch's configuration and enable PortFast (Cisco) or Edge Port (Netgear/Ubiquiti) on the specific port connected to the Raspberry Pi. This forces the port to forward packets immediately upon link detection.
LED Blink Code Diagnostics
- 4 Long, 5 Short: Fatal firmware error. The Pi found the TFTP server but the
start.elffile is corrupted or missing from the MAC-specific directory. - Continuous Fast Blinking: DHCP discovery failed. Verify your
dnsmasqproxy settings and ensure no firewall rules (like UFW) are blocking UDP ports 67 and 68. - Boot hangs at 'Waiting for root device': The kernel loaded, but NFS mount failed. Check your
/etc/exportssubnet mask and ensure thenfs-kernel-serveris actively running. Usetcpdump -i eth0 port nfson the host to verify the Pi is sending mount requests.
Conclusion: Is Netboot Worth the Effort?
Setting up a Raspberry Pi netboot environment requires an initial investment of time to configure DHCP, TFTP, and NFS services. However, the long-term benefits are undeniable. You eliminate SD card corruption, centralize your backups (simply snapshot the NFS directory on your host), and can manage a fleet of headless Pis without ever needing to physically access them. For smart home clusters running Home Assistant or Kubernetes nodes via k3s, network booting transitions your Pi from a fragile hobby toy into a robust, enterprise-grade appliance.