
The Legacy of XBMC: Transitioning to Modern Kodi
If you have been in the home theater DIY space for over a decade, the term XBMC (Xbox Media Center) likely brings back memories of modding original Xbox consoles to play DivX files. When users search for a raspberry pi xbmc kodi setup today, they are bridging a historical gap: XBMC officially rebranded to Kodi in 2014. Today, Kodi is a powerhouse, open-source media center that, when paired with a Raspberry Pi, creates an ultra-low-power, high-fidelity streaming device capable of rivaling commercial set-top boxes.
However, deploying a flawless media center in 2026 requires more than just flashing an SD card. Modern 4K UHD Blu-ray REMUX files feature H.265/HEVC video codecs, high-bitrate HDR10+ metadata, and lossless TrueHD/DTS-HD Master Audio streams. This software walkthrough will guide you through selecting the right hardware, choosing the optimal bare-metal operating system, and configuring the advanced decoding pipelines required for a stutter-free experience.
Hardware Matrix: Pi 4 vs. Pi 5 for Media Playback
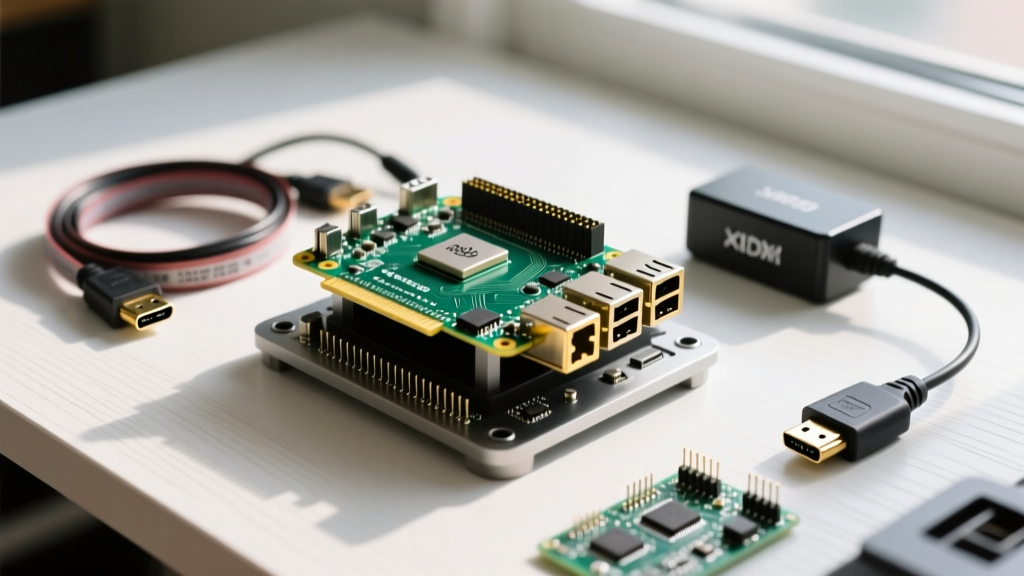
Before diving into the software, we must address the silicon. The Raspberry Pi 4 and Raspberry Pi 5 handle video decoding very differently. The Pi 4 relies on the BCM2711 SoC, which supports hardware decoding for H.264 and H.265 (HEVC) up to 4Kp60, but lacks hardware support for VP9. The Pi 5 (BCM2712) features a vastly improved video engine but requires robust thermal management and specific power delivery to maintain stable HDMI 2.0 output.
| Feature | Raspberry Pi 4 Model B | Raspberry Pi 5 |
|---|---|---|
| SoC | Broadcom BCM2711 (Cortex-A72) | Broadcom BCM2712 (Cortex-A76) |
| H.264 Decoding | Hardware (up to 4Kp30 / 1080p60) | Hardware (up to 4Kp60) |
| H.265 (HEVC) | Hardware (up to 4Kp60) | Hardware (up to 8Kp30 / 4Kp60) |
| VP9 Decoding | Software Only (High CPU usage) | Hardware Accelerated |
| Max HDMI Output | 2x Micro-HDMI (4Kp60 on one port) | 2x Micro-HDMI (Dual 4Kp60) |
| Required PSU | 5.1V / 3.0A USB-C | 5V / 5A (27W) USB-C PD |
Expert Tip: If you are building a dedicated Kodi box for a living room TV, the Raspberry Pi 4 remains a highly cost-effective choice for local NAS playback. However, if you rely heavily on YouTube (which utilizes VP9 and AV1 codecs) or plan to run heavy add-ons, the Pi 5's upgraded silicon is mandatory. Always use the official Raspberry Pi 27W USB-C PD power supply for the Pi 5 to prevent HDMI brownouts during high-bitrate playback.
Software Selection: LibreELEC vs. OSMC vs. Desktop
To achieve a true appliance-like experience, you should avoid installing Kodi on top of the standard Raspberry Pi OS Desktop. The desktop environment consumes vital RAM and GPU memory, leading to interface lag and dropped frames. Instead, you must choose a JeOS (Just enough Operating System) distribution.
- LibreELEC: The undisputed champion for dedicated media centers. It is a minimal Linux distribution built from the ground up specifically to run Kodi. It boots in seconds, uses less than 300MB of RAM, and includes pre-configured hardware acceleration out of the box.
- OSMC (Open Source Media Center): Based on Debian Linux. It offers a more traditional Linux environment underneath Kodi, allowing you to easily install background services like Pi-hole or a Samba server via apt-get. However, it is heavier and updates to the latest Kodi versions are often slightly delayed compared to LibreELEC.
For this walkthrough, we will use LibreELEC 12 (featuring Kodi 21 'Omega'), as it provides the most stable, bare-metal performance for modern HDR and audio passthrough requirements.
Walkthrough: Deploying Kodi Omega via LibreELEC
Phase 1: Image Flashing and Boot Configuration
Forget third-party balenaEtcher setups; the official Raspberry Pi Imager is now deeply integrated with LibreELEC's build servers.
- Download and install the Raspberry Pi Imager on your primary PC or Mac.
- Select your target device (e.g., Raspberry Pi 4 or Pi 5).
- Under Choose OS, navigate to Media Player OS -> LibreELEC -> Select the latest stable release (e.g., LibreELEC 12.x for Pi 4/5).
- Insert a high-endurance microSD card (SanDisk Max Endurance or Samsung PRO Endurance are highly recommended to prevent database corruption from Kodi's constant SQLite writes).
- Click Edit Settings (the gear icon). Here, you must pre-configure your Wi-Fi, set a unique hostname (e.g.,
kodi-livingroom), and enable SSH. Enabling SSH is critical for the advanced troubleshooting steps later in this guide. - Write the image, insert the SD card into your Pi, and connect it to your AV Receiver or TV via the HDMI 0 port (the port closest to the USB-C power connector).
Phase 2: Initial Kodi Setup and Library Optimization
Upon first boot, LibreELEC will resize the partition and launch Kodi. To optimize the interface for modern TVs, navigate to Settings (Gear Icon) -> System -> Display. Ensure the resolution is set to your TV's native 3840x2160p and the refresh rate is set to 59.94Hz / 60Hz. Next, enable Adjust display refresh rate to On start/stop. This crucial setting allows Kodi to dynamically switch your TV's refresh rate to match the cinematic 23.976fps of most movies, eliminating judder.
Advanced Configuration: CEC and Audio Passthrough
The true magic of a living room PC is controlling it with your existing TV remote. This is handled via HDMI-CEC (Consumer Electronics Control). LibreELEC enables this by default via the libCEC library. If your TV remote's directional pad isn't navigating Kodi, you need to verify your TV's CEC settings (often branded as Anynet+, Bravia Sync, or SimpLink) and ensure no unpowered HDMI splitters are interrupting the CEC pin (Pin 13) communication.
For audiophiles routing video through an AV Receiver, audio passthrough must be configured manually. Navigate to Settings -> System -> Audio. Toggle Settings level to Expert at the bottom left. Enable Allow passthrough, and manually check the boxes for your receiver's supported codecs (Dolby Digital, DTS, TrueHD, DTS-HD). Note that the Pi 4 and Pi 5 can bitstream lossless audio, but you must set the Passthrough output device to your specific HDMI ALSA endpoint, not the default PulseAudio/PipeWire mixer.
Network Throughput: SMBv3 vs. NFS for 4K REMUX
A common failure mode for Raspberry Pi media centers is network buffering during high-bitrate 4K UHD REMUX playback, which can peak at 100+ Mbps. The default Windows SMB (Samba) protocol is notoriously inefficient over Wi-Fi and even Gigabit Ethernet due to high protocol overhead.
The Solution: Configure your NAS (Synology, QNAP, or Unraid) to serve media via NFS (Network File System). NFS operates with significantly lower overhead and integrates perfectly with Linux-based JeOS systems like LibreELEC. When adding your video source in Kodi, select NFS instead of Windows network (SMB). If you must use SMB, ensure you force SMBv3 in Kodi's advancedsettings.xml to prevent legacy encryption bottlenecks.
Advanced Troubleshooting: Fixing Playback Stutters
Even with perfect hardware, software misconfigurations can cause micro-stutters. Here is how to diagnose the most common issues using SSH and Kodi's built-in OSD (On-Screen Display).
- The OSD Debug Overlay: During playback, press
Ctrl+Shift+O(or map a remote button to PlayerProcessInfo). This reveals the real-time decoder. If you seeff-hevc-rpi, hardware decoding is active. If you seeff-hevcorcpu, the Pi is software-decoding the file, which will cause massive frame drops on the Pi 4. This usually happens if the MKV container uses an unsupported HEVC profile. - Thermal Throttling: The Pi 4 will aggressively throttle the GPU at 80°C, causing immediate playback stutter. Use an aluminum passive cooling case (like the Argon ONE or Geekworm X825) to wick heat away from the BCM2711 SoC.
- Config.txt Overrides: If you experience HDMI handshake issues or black screens when switching HDR modes, you may need to edit the boot configuration. Access your Pi via SSH and mount the boot partition read-write using
mount -o rw,remount /flash. You can then edit/flash/config.txt. Addinghdmi_enable_4kp60=1(for Pi 4) or adjustingdtoverlay=vc4-kms-v3dparameters can force proper HDMI EDID reading. For a deep dive into boot parameters, consult the official Raspberry Pi config.txt Documentation.
Finalizing Your Media Hub
Building a Raspberry Pi media center is a rite of passage for DIY electronics enthusiasts. By understanding the transition from the legacy XBMC architecture to modern Kodi Omega, selecting the correct bare-metal OS like LibreELEC, and optimizing your network via NFS, you create a device that outperforms commercial streaming boxes in both flexibility and local playback fidelity. For further community support and add-on development, always refer to the Kodi Wiki: Raspberry Pi and the LibreELEC Official Downloads page to ensure your firmware remains aligned with the latest hardware revisions.