
The Intersection of Hardware Power and OS Stability
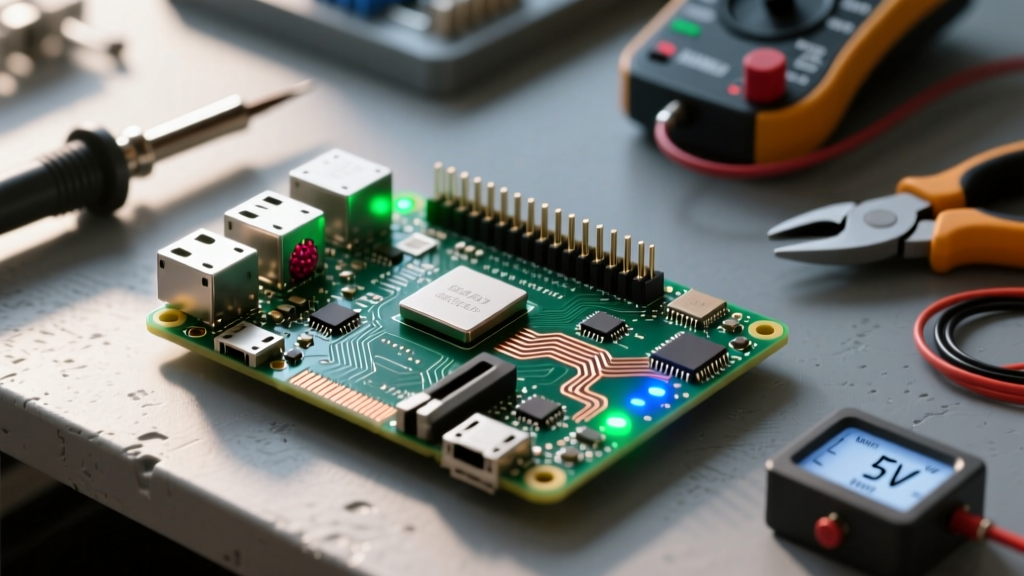
Understanding how to power up Raspberry Pi hardware is only half the battle; the true challenge lies in how that electrical energy translates into a stable operating system environment. When you apply 5V to the GPIO header or plug in a USB-C cable, you are not merely turning on a chip. You are initiating a complex, multi-stage boot sequence where the Power Management IC (PMIC) negotiates voltage, the EEPROM loads the bootloader, and the OS kernel takes control of hardware resources. A marginal power supply might successfully illuminate the power LED, but it can cause catastrophic file system corruption the moment your OS distribution attempts to mount partitions and initialize background services.
From the perspective of an OS and distribution guide, power delivery dictates system reliability. Headless setups running Home Assistant OS (HAOS), database-heavy Ubuntu Server instances, or lightweight Raspberry Pi OS Lite deployments all have distinct power-draw profiles during the boot phase. This guide bridges the gap between physical power topology and OS-level power management, ensuring your single-board computer boots cleanly and operates without thermal or voltage throttling.
Board-Specific Power Matrices and OS Overhead
Before exploring the software boot chain, we must establish the hardware baseline. Different Raspberry Pi models require specific voltage and amperage thresholds to support the peripheral overhead demanded by modern operating systems. The Pi 5, for instance, utilizes a dedicated Renesas DA9098 PMIC, which fundamentally changes how power is negotiated compared to the Pi 4.
| Pi Model | Connector | Min Voltage / Amperage | OS Boot Overhead & Notes |
|---|---|---|---|
| Raspberry Pi 5 | USB-C (PD) | 5V / 5A (25W) | Requires USB-C PD negotiation. If limited to 3A, the OS restricts downstream USB ports to 600mA total. |
| Raspberry Pi 4B | USB-C | 5.1V / 3A (15.3W) | Standard boot. Heavy OS desktop environments (like Wayfire on Pi OS) can spike to 7W+ under load. |
| Raspberry Pi Zero 2 W | Micro-USB | 5V / 2.5A (12.5W) | Highly sensitive to voltage drops. Headless Lite OS recommended to minimize boot-time current spikes. |
| Raspberry Pi 3B+ | Micro-USB | 5.1V / 2.5A (12.5W) | PoE HAT support available. Bootloader lacks advanced EEPROM recovery features of Pi 4/5. |
For comprehensive hardware specifications and official power recommendations, always refer to the official Raspberry Pi hardware documentation.
The Boot Sequence: From PMIC to OS Kernel
When you physically connect the power supply, a precise hardware-to-software handoff occurs. Understanding this sequence is vital for diagnosing boot failures in distributions like Ubuntu or HAOS.
1. PMIC Initialization and Boot ROM
Momentarily after power is applied, the PMIC stabilizes the 5V input into the various internal voltage rails (e.g., 3.3V, 1.8V, and the core VDD). The internal Boot ROM, which is hardcoded into the silicon, wakes up and checks the GPIO pins for boot mode strapping. It then attempts to read the SPI EEPROM.
2. EEPROM and the Bootloader Stage
The EEPROM contains the second-stage bootloader. This stage is responsible for initializing the DRAM and reading the boot partition on your microSD card, NVMe drive, or USB stick. If you are running a custom OS distribution, the bootloader looks for specific configuration files, primarily config.txt, which instructs the firmware on how to allocate GPU memory and which kernel image to load. For deep dives into boot configuration, consult the Raspberry Pi configuration guide.
3. OS Kernel Handoff
The firmware loads the GPU binary (start.elf) and the ARM kernel image (e.g., kernel8.img for 64-bit OS distributions). At this exact millisecond, power draw spikes dramatically as the CPU cores are energized and the OS begins unpacking the initial RAM disk (initramfs). If your power supply cannot handle this transient spike, the system will experience a brownout, resetting the PMIC and causing a boot loop.
Distribution-Specific Power Behaviors
Not all operating systems treat power management equally. Your choice of distribution heavily influences how the board handles power states, sleep modes, and undervoltage logging.
- Raspberry Pi OS (Bookworm/Bullseye): Features deep integration with the
vcgencmdfirmware tools. It natively supports USB power cycling and provides desktop-level warnings (the lightning bolt icon) when undervoltage is detected. - Ubuntu Server / Desktop: Relies on standard Linux kernel power governors. Ubuntu handles the
config.txtboot parameters slightly differently, often utilizing a FAT32 boot partition but managing kernel arguments vianobtcmd.txtor standard GRUB configurations depending on the exact image. USB power management is handled via standardudevrules. - Home Assistant OS (HAOS): HAOS uses a custom, read-only root filesystem with an A/B partition scheme for OTA updates. Power stability is absolutely critical here. If a power loss occurs while HAOS is writing to the inactive partition during an update, the bootloader may fail to find a valid kernel on the next power-up, requiring a complete re-flash of the microSD card.
OS-Level Diagnostics: Catching Brownouts
Even if your Raspberry Pi successfully boots to the command line, micro-fluctuations in your AC mains or a degrading USB cable can cause transient brownouts. The OS kernel logs these events, and you can query them directly from the terminal.
Pro Tip: Run the command
vcgencmd get_throttledin your terminal. If the output isthrottled=0x0, your power delivery is pristine. Any other hex value indicates a power or thermal anomaly.
Decoding the Throttled Hex Codes
| Hex Code Bitmask | Meaning | OS Impact |
|---|---|---|
0x1 |
Undervoltage detected currently | System instability, USB devices may drop offline. |
0x4 |
ARM frequency capped | Thermal throttling; OS processes will slow down. |
0x8 |
Currently throttled | Combined undervoltage and thermal limits applied. |
0x50000 |
Undervoltage has occurred since boot | Historical warning; check power supply and cabling. |
For advanced OS-level command references and firmware tools, the Raspberry Pi OS documentation provides exhaustive details on interpreting these hardware flags.
Advanced Power Topologies for Headless SBCs
When deploying a Raspberry Pi in a remote or headless environment, simply plugging it into a wall adapter is insufficient. You must integrate the physical power topology with the OS shutdown sequence to prevent filesystem corruption.
Implementing UPS HATs and Safe Shutdowns
Hardware like the Geekworm X735 or PiJuice UPS HATs provide battery backup, but their true value lies in their I2C or GPIO communication with the host OS. By installing the accompanying Python or systemd daemon scripts, the UPS HAT can send a logic HIGH signal to a specific GPIO pin when AC mains power is lost. The OS intercepts this GPIO interrupt and triggers a graceful systemctl poweroff sequence. This ensures that all databases (like InfluxDB or MariaDB) flush their write-ahead logs to the disk before the PMIC physically severs power to the SoC.
Power over Ethernet (PoE+) Integration
For rack-mounted clusters running Kubernetes (K3s) or distributed storage, PoE+ HATs are the standard. The Pi 4 and Pi 5 support PoE+ (802.3at), delivering up to 25W of power over standard Cat6 cabling. However, the OS must be configured to manage the PoE HAT's onboard fan. In Raspberry Pi OS, this is handled via the poe-fan overlay in config.txt, allowing the OS to dynamically adjust fan RPM based on the CPU thermal sensors.
Summary Checklist for a Clean Boot
- Verify the PSU: Ensure you are using an official power supply or a high-quality USB-C PD brick capable of the exact amperage required by your specific Pi model.
- Inspect the Cable: Avoid long, thin USB cables. Voltage drop over 20AWG wire can easily trigger OS-level undervoltage warnings.
- Monitor First Boot: Connect a monitor via HDMI for the initial OS flash and boot. Watch the bootloader text to ensure the kernel mounts the root filesystem without I/O errors.
- Validate via Terminal: Once logged into your distribution, immediately run
vcgencmd get_throttledto confirm a0x0status. - Configure Graceful Shutdowns: If using a UPS or smart plug, configure your OS
systemdtargets to handle power-loss signals gracefully.
Mastering how to power up Raspberry Pi hardware is the foundational step in building resilient, enterprise-grade SBC deployments. By aligning your physical power delivery with the specific demands of your chosen OS distribution, you eliminate the most common cause of single-board computer failure: silent, voltage-induced data corruption.