
Why Move Beyond Basic LED Circuits?
When children first dive into microcontroller programming, the classic 'blink' sketch and basic LED traffic light sequences are excellent starting points. However, kids aged 10 to 14 quickly outgrow these elementary circuits. To maintain engagement and foster genuine engineering skills, it is crucial to transition to advanced Arduino projects for kids that solve real-world problems, integrate internet connectivity, and require an understanding of physics and data science. Moving from isolated components to interconnected IoT (Internet of Things) ecosystems teaches systems thinking, a foundational skill in modern computer science and electrical engineering.
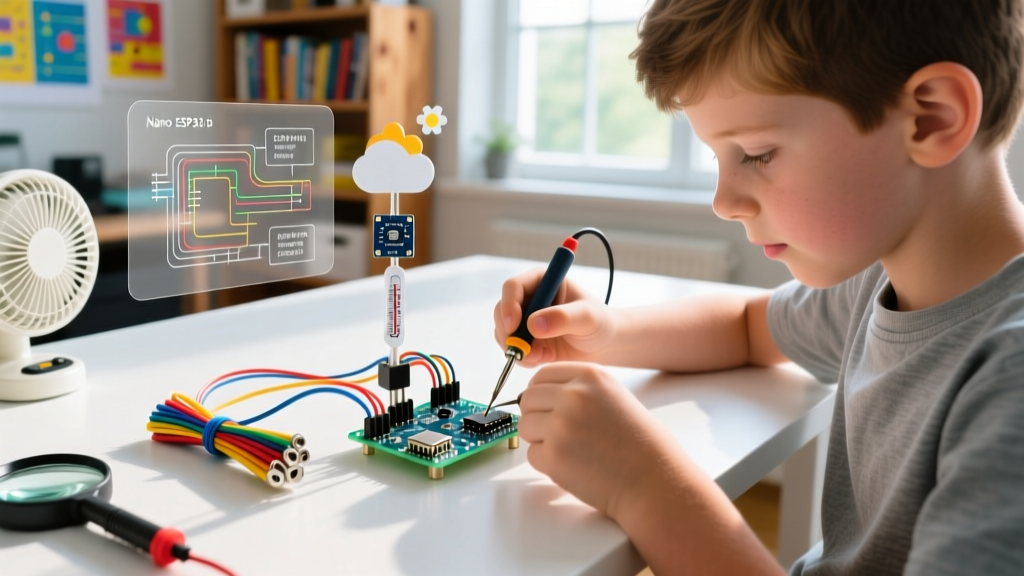
In this comprehensive guide, we will design and build an IoT-enabled Desktop Weather Station. Unlike basic thermometer projects that rely on inaccurate, slow-response thermistors, this build utilizes industrial-grade environmental sensors, native Wi-Fi connectivity for cloud data logging, and a high-contrast OLED interface. This project bridges the gap between simple coding and advanced embedded systems design.
The Sensor Pitfall: BME280 vs. BMP280 Clones
Before purchasing components, parents and educators must be aware of a common hardware trap in the DIY electronics market. Many budget marketplace listings advertise 'BME280' temperature and humidity sensors for under $3. In reality, these are frequently mislabeled BMP280 chips, which lack the on-chip humidity sensor entirely. Furthermore, cheap clones often omit the 3.3V voltage regulator and I2C pull-up resistors, leading to immediate component failure when connected to 5V logic systems. For this advanced build, we specify authentic, regulated breakout boards to ensure reliability and teach kids the importance of sourcing quality engineering components.
Bill of Materials (BOM) & Pricing
As of early 2026, the following components represent the optimal balance of performance, educational value, and cost for an advanced youth STEM project. The total hardware cost hovers around $65, excluding tools.
| Component | Exact Model / Part Number | Approx. Cost | Engineering Purpose |
|---|---|---|---|
| Microcontroller | Arduino Nano ESP32 (ABX00092) | $21.50 | Provides native Wi-Fi/Bluetooth, 3.3V logic, and dual-core processing for cloud telemetry. |
| Env. Sensor | Adafruit BME280 I2C Breakout (#2652) | $14.95 | High-precision I2C sensor for barometric pressure, relative humidity, and ambient temperature. |
| Display | 1.3' I2C OLED SSD1306 (128x64) | $6.50 | High-contrast, low-power local readout for immediate sensor feedback without network reliance. |
| Power Management | Adafruit PowerBoost 1000C (#2465) | $19.95 | Manages 3.7V LiPo charging and boosts output to a stable 5V for the Nano's VIN pin. |
| Battery | 2000mAh 3.7V LiPo (Adafruit #2011) | $12.50 | Provides portable, rechargeable power for field deployments and remote weather logging. |
Step-by-Step Assembly and I2C Bus Physics
The core of this weather station relies on the I2C (Inter-Integrated Circuit) communication protocol. I2C is a multi-master, multi-slave, packet-switched, single-ended, serial computer bus. Both the BME280 sensor and the SSD1306 OLED display will share the same two data lines: SDA (Serial Data) and SCL (Serial Clock).
Wiring the I2C Bus
- SDA (Data): Connect the SDA pins of both the BME280 and the OLED to the A4 pin on the Arduino Nano ESP32.
- SCL (Clock): Connect the SCL pins of both modules to the A5 pin on the Nano ESP32.
- Power (VIN/VCC): Connect the PowerBoost 5V output to the VIN pin of the Nano ESP32. Connect the 3.3V output pin of the Nano to the VIN/VCC pins of the BME280 and OLED.
- Ground (GND): Common ground is critical. Connect the GND pins of all modules and the PowerBoost to the Nano's GND.
Expert Troubleshooting Tip: The Arduino Nano ESP32 operates strictly at 3.3V logic levels. While the Nano's onboard regulator handles 5V input at the VIN pin, the I2C pins (A4/A5) output 3.3V. Ensure your OLED display is rated for 3.3V I2C logic, or use a bi-directional logic level shifter. Forcing 5V into the Nano ESP32's GPIO pins will permanently destroy the ESP32-S3 microcontroller.
Addressing I2C Collisions
Every I2C device requires a unique hexadecimal address. The SSD1306 OLED typically defaults to 0x3C. The Adafruit BME280 defaults to 0x77. Because these addresses are distinct, they can peacefully coexist on the same bus. However, if a student decides to add a second environmental sensor to measure outdoor vs. indoor temperature, they must physically bridge the address jumper pad on the back of the second BME280 to shift its address to 0x76. Teaching kids how to read a hardware datasheet to find these jumper configurations is a massive leap in their electrical engineering education.
Firmware Logic and Sensor Calibration
For the firmware, we utilize the Arduino IDE with the Adafruit_BME280 and Adafruit_SSD1306 libraries. The code structure should be divided into three distinct phases: Initialization, Data Acquisition, and Telemetry.
Handling ESP32 Deep Sleep
Advanced projects must consider power budgets. The ESP32-S3 chip on the Nano ESP32 is a power-hungry processor when actively transmitting over Wi-Fi. To maximize the 2000mAh LiPo battery life, the firmware must utilize the ESP32's deep sleep capabilities. By putting the microcontroller into deep sleep for 10-minute intervals and using the internal Real-Time Clock (RTC) to trigger a wake-up, the average current draw drops from 120mA to roughly 45 microamps. This optimization extends the battery life from a mere 16 hours to over 3 weeks of continuous autonomous logging.
Calibrating for the 'Stevenson Screen' Effect
A common failure mode in youth weather projects is thermal contamination. If the BME280 is mounted directly next to the Nano ESP32 or the OLED display, the heat generated by the voltage regulators and the screen will artificially inflate the temperature readings by 2°C to 4°C. Kids must learn to design a Stevenson Screen enclosure—a louvered, ventilated housing that shields the sensor from direct sunlight and radiant heat while allowing ambient air to flow freely. When 3D printing this enclosure, use PETG or ASA filament. Standard PLA will warp and deform when exposed to the UV radiation and heat of a sunny windowsill.
Troubleshooting Matrix: Common Hardware Failures
Even with careful assembly, hardware bugs occur. Use this diagnostic matrix to teach kids systematic troubleshooting rather than random guesswork.
| Observed Symptom | Root Cause Analysis | Engineering Fix |
|---|---|---|
| OLED displays snow/static; BME280 returns NaN (Not a Number). | I2C bus lacks sufficient pull-up resistance, causing signal degradation on the SDA line. | Add external 4.7kΩ pull-up resistors between the SDA/SCL lines and the 3.3V rail. |
| BME280 reads exactly 17.54°C and 1015 hPa constantly. | Firmware is reading the default power-on reset values from the sensor's internal register, meaning I2C communication has failed. | Verify wiring continuity. Run an 'I2C Scanner' sketch to confirm the sensor is visible at 0x77. |
| Nano ESP32 randomly reboots when Wi-Fi connects. | Voltage brownout. The Wi-Fi radio draws a 300mA spike, overwhelming the USB port or linear regulator. | Ensure the PowerBoost 1000C is supplying the VIN pin, which can handle 1A continuous current. |
Educational Outcomes and STEM Alignment
Integrating advanced hardware builds into a child's curriculum aligns perfectly with modern pedagogical frameworks. According to the principles outlined by PBLWorks (Project Based Learning), students retain significantly more knowledge when they are tasked with solving authentic, complex challenges over an extended period. Building an IoT weather station is not a one-afternoon craft; it is a multi-week engineering cycle involving prototyping, coding, debugging, and physical design.
Furthermore, mastering the Arduino Nano ESP32 introduces children to the official Arduino ESP32 ecosystem, which utilizes the FreeRTOS operating system under the hood. While kids may not write explicit RTOS code immediately, understanding that their microcontroller handles Wi-Fi stacks and sensor interrupts concurrently builds a mental model for advanced multitasking in computer science. For detailed sensor specifications and calibration curves, students should be encouraged to read the Adafruit BME280 Learning System, fostering the vital skill of extracting technical data from primary engineering documentation.
Final Thoughts on Advanced Youth Engineering
Transitioning to advanced Arduino projects for kids requires patience, a willingness to troubleshoot hardware anomalies, and a commitment to using quality components. By building an IoT weather station with the Nano ESP32 and BME280, young engineers move beyond copying basic tutorials and begin thinking like true systems architects. They learn that hardware is deeply intertwined with software, that power management is just as important as code logic, and that real-world data requires careful physical calibration. This project serves as a robust launching pad into the professional realms of embedded systems, meteorology, and cloud computing.