
The Core Concept: Redefining the Thumb-Sized Microcontroller
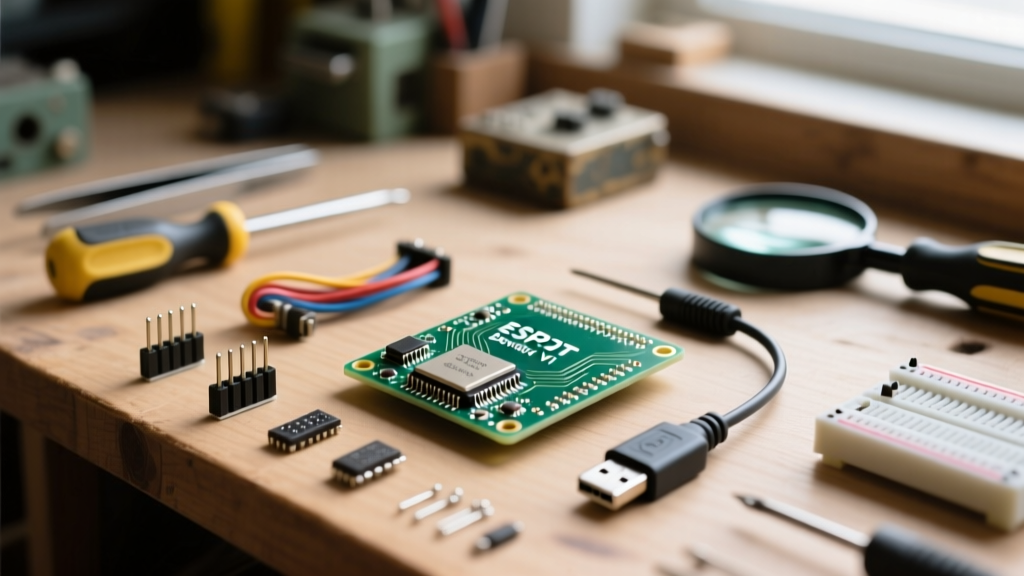
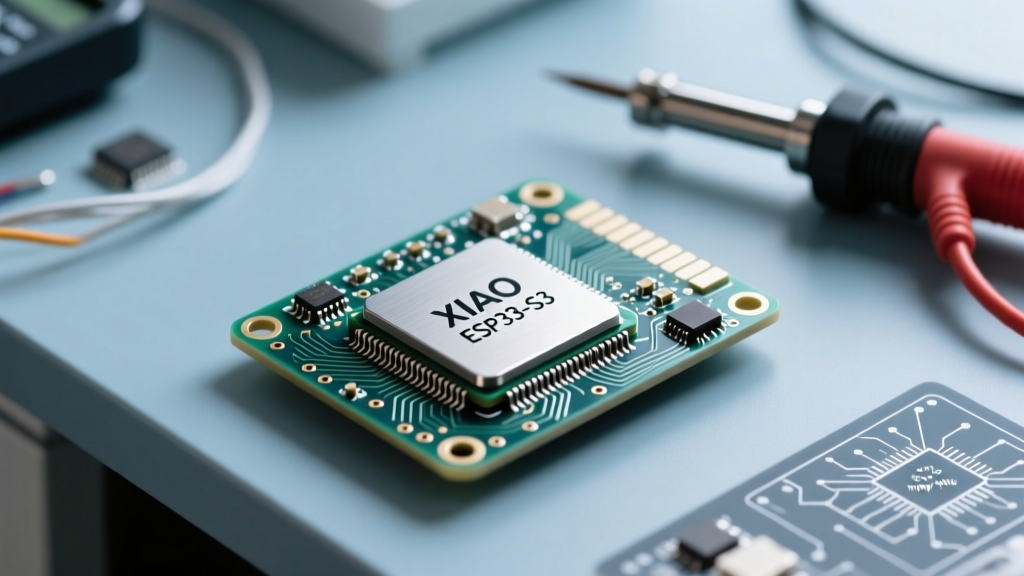
When Seeed Studio introduced the original XIAO series, the maker community was captivated by the idea of casting breadboard-friendly, high-powered silicon into a 21 × 17.5 mm footprint. However, the release of the XIAO ESP32-S3 marked a paradigm shift. It transitioned the XIAO line from simple IoT endpoints to viable edge-computing and TinyML powerhouses. As a concept, the XIAO ESP32-S3 represents the democratization of vector-accelerated AI, packing the capabilities of a much larger development board into a module smaller than a postage stamp.
For electrical engineers and advanced hobbyists, understanding this board requires looking past its diminutive size and examining the underlying ESP32-S3 architecture, its memory hierarchy, and the hardware nuances that dictate real-world project success.
Silicon Deep Dive: The Xtensa LX7 Advantage
At the heart of the XIAO ESP32-S3 is the Espressif ESP32-S3 SoC, featuring a dual-core Xtensa 32-bit LX7 microprocessor clocked at 240 MHz. To understand why this matters, we must contrast it with the legacy Xtensa LX6 found in the original ESP32.
The LX7 architecture introduces Processor Instruction Extensions (PIE), which are specifically designed to accelerate vector operations. In the context of Edge AI and TinyML, neural network inference relies heavily on matrix multiplications and vector additions. The PIE instructions allow the XIAO ESP32-S3 to execute these operations up to 3x faster than the LX6, making it highly efficient for running TensorFlow Lite for Microcontrollers models directly on the silicon without external accelerators.
Memory Hierarchy and Edge AI Readiness
Processing power is useless without the memory bandwidth to feed it. A common failure mode in early TinyML projects was attempting to load audio buffers or camera frames into the internal 512 KB SRAM, resulting in immediate out-of-memory crashes. Seeed Studio solved this on the XIAO ESP32-S3 by integrating 8 MB of Octal SPI PSRAM and 16 MB of Flash.
The use of Octal SPI (8 data lines) rather than Quad SPI drastically increases the bandwidth between the SoC and the PSRAM. This is a critical concept for developers working with the XIAO ESP32S3 Sense expansion board, as streaming 240x240 JPEG frames from an OV2640 camera requires rapid, high-volume memory buffering that standard SPI cannot handle efficiently.
| Feature | XIAO ESP32-S3 | XIAO ESP32-C3 | XIAO RP2040 |
|---|---|---|---|
| Core Architecture | Dual-Core Xtensa LX7 (240MHz) | Single-Core RISC-V (160MHz) | Dual-Core ARM Cortex-M0+ (133MHz) |
| AI Acceleration | Vector Instructions (PIE) | None | None |
| Wireless | Wi-Fi 4 + BLE 5.0 | Wi-Fi 4 + BLE 5.0 | None |
| Memory (Flash/PSRAM) | 16MB / 8MB (Octal) | 4MB / None | 2MB / None |
| Native USB | Yes (OTG + JTAG) | Yes (Serial Only) | Yes (OTG) |
The Native USB Concept: Eliminating the UART Bridge
One of the most significant architectural shifts in the XIAO ESP32-S3 is the inclusion of a native USB OTG (On-The-Go) controller. Legacy ESP32 boards required an external UART-to-USB bridge chip (such as the CH340 or CP2102) to handle serial communication and firmware flashing. This added BOM cost, board space, and quiescent power draw.
The XIAO ESP32-S3 routes the native USB D+ and D- lines directly to the SoC. This enables two massive benefits:
- USB CDC (Communication Device Class): The board can act as a native serial port, keyboard, or mouse without external hardware.
- USB Serial/JTAG Controller: Developers can perform hardware-level debugging directly through the Arduino IDE or ESP-IDF. You can set breakpoints and inspect registers without purchasing an external J-Link debugger.
Power Management: The Deep Sleep Reality
When designing battery-operated IoT sensors, engineers often look at the silicon datasheet and see that the ESP32-S3 can achieve a deep sleep current of roughly 10 µA. However, system-level power management requires a broader perspective.
Expert Insight: The XIAO ESP32-S3 module includes an onboard 3.3V LDO, a battery charging IC, and a WS2812B RGB LED. If you simply call
esp_deep_sleep_start()in your sketch, your multimeter will likely read 1.5 mA to 3 mA of draw, not 10 µA. To achieve true ultra-low power, you must physically cut the LED power trace on the underside of the board and ensure no external peripherals are back-feeding the 3V3 rail.
Furthermore, the board features a dedicated battery pad connected to a charging circuit. The BAT pin is tied to an internal ADC via a voltage divider, allowing you to read battery voltage in software. However, this voltage divider constantly draws a small amount of current. For mission-critical, multi-year deployments on a single CR2032 coin cell, the XIAO ESP32-S3's power management circuitry may be too 'leaky', and a bare ESP32-S3 WROOM module might be a better conceptual choice.
Pinout Nuances and Hardware Gotchas
The XIAO form factor exposes 11 digital/analog pins, but not all pins are created equal. Understanding the concept of Strapping Pins is vital to avoiding boot failures.
Navigating Strapping Pins and Peripherals
- GPIO0 (Boot Button): The XIAO ESP32-S3 features a tiny boot button tied to GPIO0. If this pin is pulled LOW during reset, the chip enters the serial bootloader. If your external circuit pulls GPIO0 low on startup, your code will never execute.
- GPIO21 (WS2812B Data): Pin GPIO21 is hardwired to the onboard RGB LED. If you attempt to use this pin for standard digital I/O or I2C, the LED will flicker erratically, and your signal will be corrupted.
- GPIO38 to GPIO40: These pins are often used for SPI interfaces, but on the S3, they are also tied to the Octal SPI PSRAM internally. While Espressif allows some multiplexing, it is highly recommended to avoid using these specific pins for external high-speed peripherals to prevent memory bus contention.
Software Ecosystem and TinyML Integration
To program the XIAO ESP32-S3, you must use the official esp32 Arduino Core maintained by Espressif Systems. Within the Arduino IDE Board Manager, the specific target is XIAO_ESP32S3. Selecting the generic 'ESP32S3 Dev Module' will work, but you will lose the optimized default partition schemes and PSRAM configurations that Seeed Studio has baked into the XIAO-specific board definition.
Deploying Edge AI Models
Because of the 8MB PSRAM and vector instructions, the XIAO ESP32-S3 is an ideal target for platforms like Edge Impulse. A standard workflow involves:
- Capturing audio via an I2S PDM microphone (like the INMP441) wired to the XIAO's I2S pins.
- Training a Keyword Spotting (KWS) model in the Edge Impulse cloud.
- Exporting the C++ library and compiling it via the Arduino IDE.
Thanks to the LX7's PIE instructions, a standard 20KB neural network designed for wake-word detection can achieve inference times of under 50 milliseconds, leaving plenty of CPU cycles for managing Wi-Fi backhaul or BLE beaconing.
Summary: When to Choose the XIAO ESP32-S3
The XIAO ESP32-S3 is not merely a smaller version of a standard development board; it is a specialized tool for edge computing. If your project requires simple temperature logging, the XIAO ESP32-C3 or RP2040 is more cost-effective. However, if your concept demands local audio processing, basic computer vision via the Sense expansion, or secure BLE 5.0 mesh networking in a severely space-constrained wearable, the XIAO ESP32-S3 is currently the undisputed champion of the micro-maker ecosystem.
For complete pinout diagrams, schematic downloads, and official firmware recovery guides, always refer to the Seeed Studio XIAO ESP32S3 Wiki. For deeper architectural understanding, reviewing the Espressif ESP32-S3 Datasheet is highly recommended before finalizing your PCB carrier board designs.