
Beyond the Blink: Mapping Real-World Applications
When beginners ask, 'What is Arduino used for?', the standard answer usually involves blinking LEDs or spinning simple motors. However, in 2026, the Arduino ecosystem has evolved far beyond classroom toys. Today, these microcontroller units (MCUs) are deployed in industrial predictive maintenance, edge-computing AI (TinyML), automated hydroponics, and low-power remote environmental monitoring.
Understanding what Arduino is used for is only the first step; the real challenge for makers and embedded engineers is translating those abstract use cases into physical wiring, proper power budgeting, and robust code. In this tutorial, we will map specific real-world applications to the correct hardware, and then walk through a step-by-step guide to building a robust I2C environmental data logger—a foundational project that demonstrates the platform's true utility.
The 2026 Hardware Selection Matrix
Choosing the wrong board is the most common point of failure in embedded prototyping. If you are building a battery-powered remote sensor, an Arduino Uno R4 will drain your battery in days due to its lack of deep-sleep optimization. Conversely, if you need to drive high-current relays for home automation, a 3.3V logic board like the Nano 33 BLE will require cumbersome logic-level shifters.
Below is a decision matrix to help you match your specific use case to the optimal Arduino board based on current architecture and pricing.
| Target Use Case | Recommended Board | Core MCU Architecture | Logic Level | Est. Price (2026) |
|---|---|---|---|---|
| General IoT & Home Automation | Arduino Uno R4 WiFi | Renesas RA4M1 + ESP32-S3 | 5V Tolerant | $27.50 |
| Edge AI / TinyML / Wearables | Arduino Nano 33 BLE Sense | Nordic nRF52840 (Cortex-M4) | 3.3V Strict | $35.00 |
| Industrial Vision & Robotics | Arduino Portenta H7 | STM32H747 (Dual Core M7/M4) | 3.3V Strict | $110.00 |
| High I/O Audio & HMI Displays | Arduino GIGA R1 WiFi | STM32H747 + Murata 1DX | 3.3V Strict | $75.00 |
Tutorial: Building an Environmental Data Logger
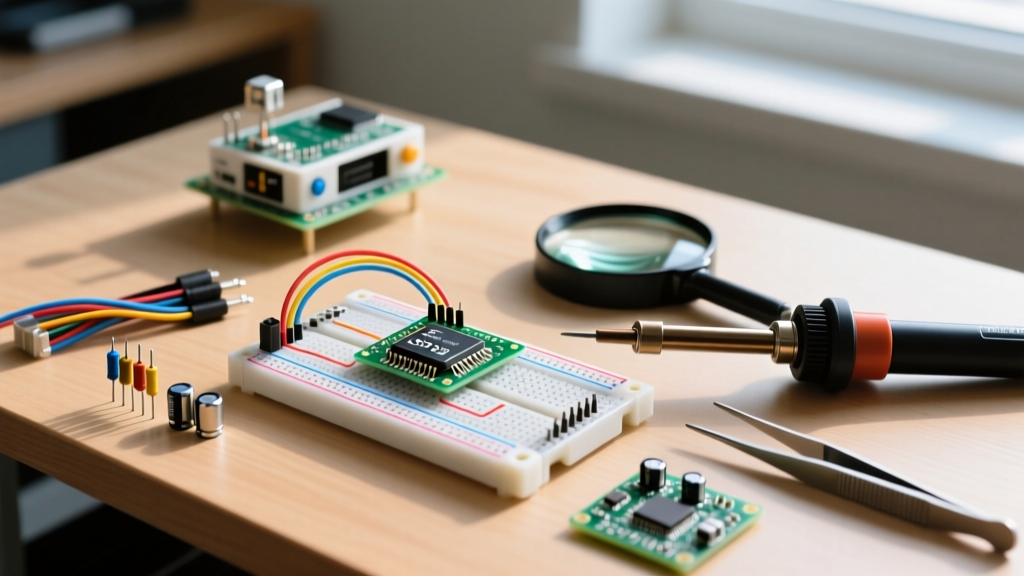
To practically demonstrate what Arduino is used for in commercial and scientific data gathering, we will build an environmental logger using the Arduino Uno R4 Minima and a Bosch BME280 sensor (measuring temperature, humidity, and barometric pressure). This setup is widely used in greenhouse automation and server-room monitoring.
Step 1: Wiring the I2C Bus (Avoiding Logic-Level Traps)
The BME280 communicates via the I2C protocol. A critical edge case that destroys sensors is logic-level mismatch. The BME280 operates strictly at 3.3V. While the Uno R4 Minima's microcontroller is 3.3V native, the board's default I/O pins output 5V unless configured otherwise in software. If you wire a 5V pin directly to a 3.3V sensor's SDA line without a level shifter, you risk degrading the sensor's silicon over time.
- VCC: Connect to the 3.3V pin on the Arduino (Do NOT use 5V).
- GND: Connect to any GND pin.
- SDA: Connect to the dedicated SDA pin (A4 on older Unos, or the specific SDA header on the R4).
- SCL: Connect to the dedicated SCL pin (A5 on older Unos, or the specific SCL header on the R4).
Step 2: Managing Pull-Up Resistors and Bus Capacitance
I2C is an open-drain protocol, meaning it requires pull-up resistors to function. Most Adafruit or SparkFun BME280 breakout boards include 4.7kΩ onboard pull-up resistors tied to 3.3V. However, if you are wiring multiple sensors on the same bus, the parallel resistance drops, and bus capacitance increases.
Engineering Rule of Thumb: Keep your total I2C bus capacitance under 400pF. If your wire runs exceed 30cm (12 inches) or you have more than 3 devices on the bus, switch to 2.2kΩ pull-up resistors to sharpen the signal rise times, or implement an active I2C bus extender like the PCA9615.
For deeper insights into I2C hardware design and capacitance limits, refer to the SparkFun I2C Design Guide.
Step 3: Implementing Deep Sleep for Remote Deployment
Understanding what Arduino is used for in remote locations means understanding power consumption. A standard Uno drawing 45mA will kill a 2000mAh LiPo battery in less than two days. To log data every hour, you must utilize the watchdog timer or RTC (Real-Time Clock) alarms to put the MCU into deep sleep.
Using the SleepMgr library on the R4 architecture, you can drop the board's idle current from 45mA down to roughly 1.2mA. Over a month, this extends battery life from 44 hours to over 60 days. Always remember to power down peripheral sensors (using a MOSFET to cut their VCC line) during sleep, or their quiescent current will negate the MCU's power savings.
Power Budgeting and Edge-Case Failure Modes
When deploying Arduino-based solutions in the field, theoretical schematics often fail due to real-world electrical noise and voltage drops. Here are three failure modes to design around:
- Brownout Resets on Motor Startups: If your Arduino shares a power supply with a 12V DC motor or a high-draw solenoid, the inrush current will cause a voltage sag. If the 5V regulator drops below 4.3V, the ATmega or Renesas chip will trigger a Brown-Out Detection (BOD) reset. Solution: Use separate power rails and opto-isolators for high-current loads.
- USB Ground Loops: When connecting an Arduino to a PC for serial logging while simultaneously measuring grounded analog sensors, a ground loop can introduce 50/60Hz hum into your ADC readings. Solution: Use an ISO7240 digital isolator on the TX/RX lines.
- Flash Memory Wear: If you are logging data to the internal EEPROM or SPI flash every second, you will hit the 100,000 write-cycle limit in just over a day. Solution: Buffer data in SRAM and write to an external SD card or FRAM (Ferroelectric RAM) which supports 10^14 cycles.
Frequently Asked Questions
Can Arduino be used for commercial products?
Yes. While the brightly colored development boards are for prototyping, companies frequently use Arduino's underlying schematics and the Arduino Core framework to design custom, cost-reduced PCBs for commercial goods. The Arduino Pro lineup is specifically engineered for industrial and commercial deployment, featuring conformal coating and extended temperature ranges (-40°C to +85°C).
What is the difference between Arduino and Raspberry Pi?
A Raspberry Pi is a Single Board Computer (SBC) running a full operating system (Linux), making it ideal for heavy computational tasks, web servers, and computer vision. An Arduino is a microcontroller that runs bare-metal C++ code without an OS, making it vastly superior for real-time hardware control, ultra-low power consumption, and deterministic timing where a microsecond delay matters.
Is Arduino still relevant in 2026?
Absolutely. While competitors like the ESP32-S3 and RP2040 offer aggressive pricing, the Arduino IDE 2.x and its massive library ecosystem remain the industry standard for rapid hardware abstraction. The introduction of boards like the GIGA R1 and Portenta H7 proves that Arduino continues to bridge the gap between hobbyist accessibility and enterprise-grade embedded engineering.