
The "Brain and Brawn" Paradigm in Modern Embedded Design
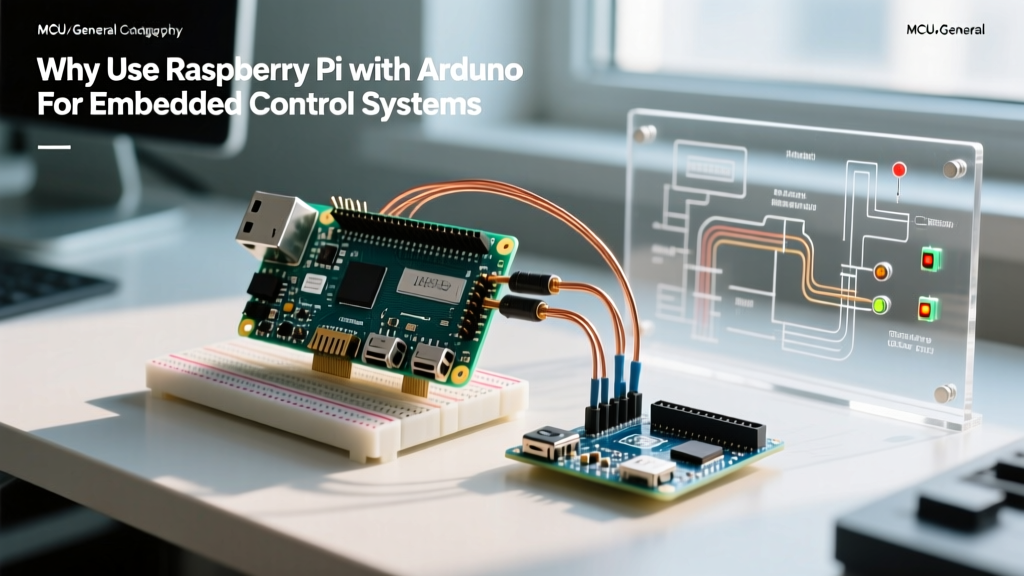
In the landscape of DIY electronics and industrial prototyping, a persistent debate often emerges: should you use a microprocessor or a microcontroller? The most robust answer for complex control systems is rarely an either/or choice. Instead, pairing a Raspberry Pi with Arduino creates a heterogeneous architecture that leverages the high-level computational power of Linux alongside the deterministic, real-time hardware control of a bare-metal microcontroller.
As of 2026, with the widespread adoption of the Raspberry Pi 5 and the Arduino Uno R4 series, this hybrid approach has become the gold standard for robotics, CNC routing, and advanced IoT sensor networks. This guide breaks down the architectural divide, communication protocols, and critical hardware protection schemes required to successfully bridge these two platforms.
The Architectural Divide: Microprocessor vs. Microcontroller
To understand why combining a Raspberry Pi with Arduino is so effective, we must first examine their fundamental hardware differences. The Raspberry Pi is a single-board computer (SBC) running a full operating system, while the Arduino is a microcontroller unit (MCU) executing a single compiled sketch in a continuous loop.
| Feature | Raspberry Pi 5 (4GB) | Arduino Uno R4 Minima |
|---|---|---|
| Core Processor | Broadcom BCM2712 (Quad Cortex-A76 @ 2.4GHz) | Renesas RA4M1 (Cortex-M4 @ 48MHz) |
| Operating Environment | Linux (Debian-based) / Python / C++ | Bare-Metal / RTOS / C++ |
| Logic Level | 3.3V (Strict, 5V intolerant) | 5V (Native, 3.3V tolerant on select pins) |
| Analog-to-Digital (ADC) | None (Requires external IC like MCP3008) | Native 12-bit ADC (up to 500k SPS) |
| Real-Time Determinism | Low (Subject to OS kernel jitter) | High (Microsecond precision) |
| Typical MSRP (2026) | ~$60.00 | ~$18.00 |
Why Not Just Use the Raspberry Pi?
Linux is a time-sharing operating system. If you attempt to generate a precise 50kHz PWM signal or read an encoder with microsecond timing using Python on a Raspberry Pi, OS interrupts, garbage collection, and background daemons will introduce jitter, resulting in missed steps in stepper motors or corrupted sensor data. Furthermore, the Pi lacks native analog inputs, making it unsuitable for reading potentiometers, thermistors, or load cells without external SPI/I2C ADC chips.
Why Not Just Use the Arduino?
While the Arduino excels at hardware manipulation, it lacks the bandwidth and native software ecosystems for advanced tasks. Running computer vision (OpenCV), hosting a secure MQTT broker, or executing local machine learning inference (TensorFlow Lite) is either impossible or painfully slow on a standard 8-bit or 32-bit MCU.
Bridging the Gap: Communication Protocols
When you connect a Raspberry Pi with Arduino, you must establish a reliable communication bus. The choice of protocol depends on your latency requirements and physical distance constraints.
1. USB Serial (The Reliable Standard)
Connecting the Arduino to the Pi via a standard USB-A to USB-C cable is the most foolproof method. The Pi mounts the Arduino as a serial device, typically at /dev/ttyACM0 (for native USB Arduinos) or /dev/ttyUSB0 (for CH340-based clones).
- Implementation: Use the Python
pyseriallibrary on the Pi. - Baud Rate: Set to 115200 bps for a balance of speed and reliability over USB.
- Edge Case: USB polling latency in Linux can introduce 1-5ms delays. This is acceptable for telemetry and high-level commands, but unacceptable for closed-loop PID motor control.
2. I2C (The Multi-Drop Bus)
Inter-Integrated Circuit (I2C) allows the Pi to act as the controller (master) and the Arduino as the peripheral (slave). This frees up the Pi's USB ports and allows multiple Arduinos to share the same two wires (SDA/SCL).
⚠️ CRITICAL HARDWARE WARNING: The Raspberry Pi operates strictly at 3.3V logic. The Arduino Uno R4 operates at 5V. Connecting a 5V Arduino I2C data line directly to the Pi's GPIO pins will permanently damage the Pi's Broadcom SoC. You must use a bidirectional logic level shifter (such as the BSS138 MOSFET-based TXS0108E) between the two boards. For a deep dive into voltage thresholds, refer to the SparkFun Logic Levels Tutorial.
Furthermore, the Raspberry Pi features built-in 1.8kΩ pull-up resistors on its hardware I2C pins (GPIO 2 and 3) tied to 3.3V. If you connect this directly to a 5V Arduino bus with its own pull-ups, you create a voltage divider that can cause communication corruption. A proper MOSFET-based level shifter isolates these pull-up networks, ensuring signal integrity.
3. The Firmata Protocol
If you want to avoid writing custom C++ serial-parsing code on the Arduino, the Arduino Communication Protocols Guide highlights the Firmata standard. By flashing the StandardFirmata sketch to the Arduino, you can use the pyFirmata library in Python to directly manipulate the Arduino's pins from the Pi as if they were native GPIO pins.
Real-World Implementation: CNC and Robotics
The most common professional application of pairing a Raspberry Pi with Arduino is in desktop CNC machines and 3D printers. In this architecture:
- The Raspberry Pi runs a web-based UI (like OctoPrint or a custom Flask dashboard), handles G-code file storage, and manages network connectivity.
- The Arduino runs a real-time motion control firmware like GRBL or Marlin. It calculates step-pulse timing and manages hardware limit switches without OS interruption.
This separation of concerns ensures that if the Pi's web server crashes or experiences a memory leak, the Arduino continues to safely execute the current motion trajectory and can trigger an emergency stop via hardware interrupts.
Expert Troubleshooting & Edge Cases
When integrating these two platforms in the field, makers and engineers frequently encounter specific failure modes. Here is how to resolve them:
Ground Loops and Backfeeding
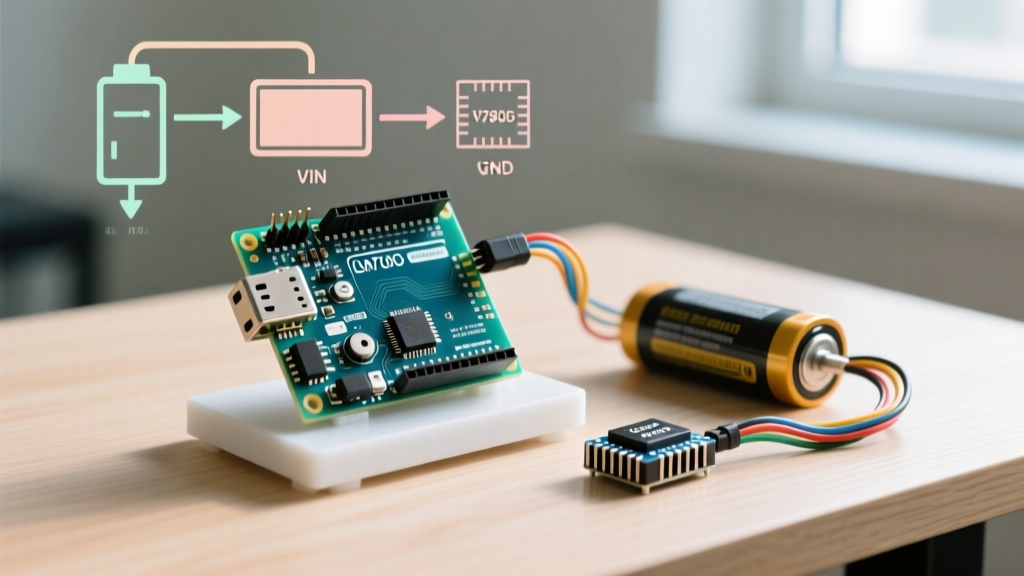
If your Arduino is powered by a 12V motor supply, and also connected to the Pi via USB, the Arduino's onboard 5V regulator may backfeed voltage into the Pi's USB port, or create a ground loop that introduces noise into the Pi's audio or analog sensor readings. Solution: Use a USB isolator (like the ADUM4160) or physically cut the 5V trace on the USB cable, ensuring only the Data+, Data-, and GND lines are connected, while sharing a common star-ground at the power supply.
Serial Buffer Overflows
When the Pi sends a massive G-code file to the Arduino over serial, the Arduino's 64-byte hardware serial buffer can easily overflow, resulting in lost commands and ruined prints. Solution: Implement a software handshake. The Pi should send one line of G-code and wait for an "OK\n" string from the Arduino before transmitting the next line. This serial flow control guarantees zero packet loss regardless of the Pi's CPU load.
Conclusion
Combining a Raspberry Pi with Arduino is not merely a workaround; it is a deliberate architectural choice that mirrors industrial PLC and edge-computing designs. By offloading high-level networking, UI, and data logging to the Pi's Linux environment, and delegating microsecond-precision hardware actuation to the Arduino's bare-metal environment, you build systems that are both intelligent and unyieldingly reliable. Always respect the logic-level boundaries, utilize proper serial handshakes, and your hybrid embedded systems will perform flawlessly in the field.
For further reading on SBC and MCU hardware specifications, consult the official Raspberry Pi Hardware Documentation.