
The Legacy Trap: Why Migrate Your Prop Gun Electronics?
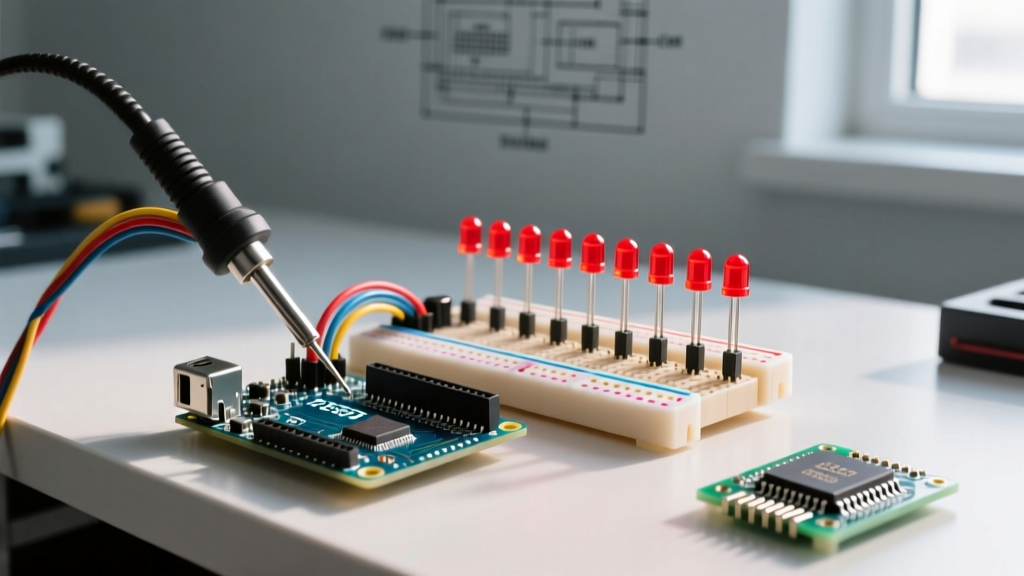
For years, the standard recipe for building a sci-fi blaster, cosplay repeater, or film prop gun has been remarkably consistent: an Arduino Uno, a DFPlayer Mini, and a handful of 5mm LEDs. While this legacy setup is an excellent entry point, it quickly becomes a bottleneck for advanced makers. The DFPlayer Mini is notorious for 25-millisecond audio latency, single-track polyphony limits (meaning your idle hum cuts out when you pull the trigger), and frequent MicroSD card corruption due to voltage spikes. Furthermore, the physical footprint of an Uno makes it nearly impossible to fit into the sleek, narrow grips of modern 3D-printed blaster replicas.
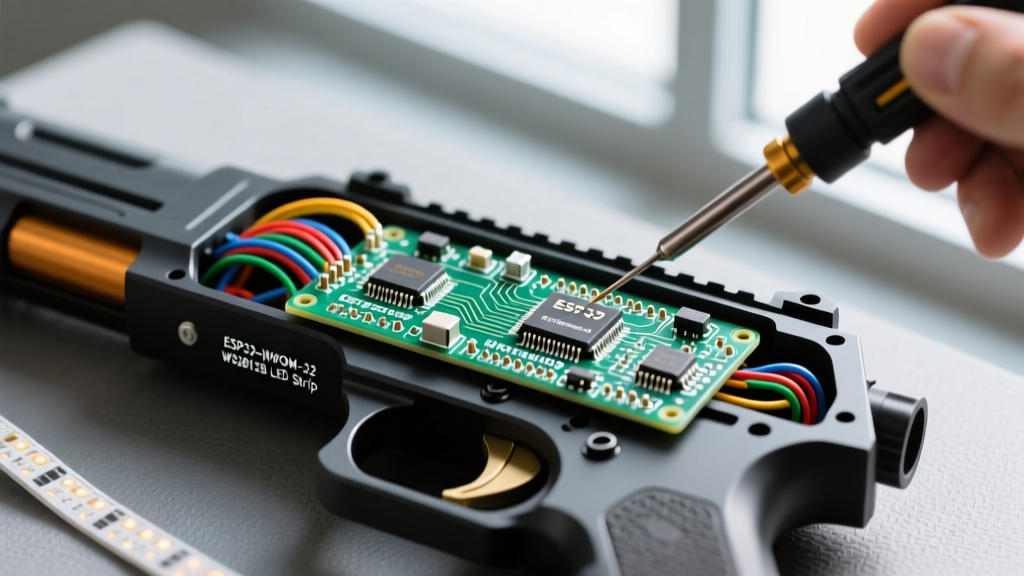
If you are building an arduino for prop gun applications in 2026, migrating to a modern, high-performance microcontroller ecosystem is no longer optional—it is essential for achieving professional-grade sound and lighting. This migration guide will walk you through upgrading from legacy 8-bit AVR boards to 32-bit powerhouses, focusing on audio polyphony, addressable LED management, and power distribution.
The 2026 Migration Matrix: Choosing Your New Brain
When upgrading your build, you need a board that balances processing power, physical footprint, and native audio capabilities. Below is a comparison of the legacy standard versus the top two modern contenders for prop gun integration.
| Feature | Arduino Uno R3 (Legacy) | Arduino Nano ESP32 | Seeed Studio XIAO ESP32S3 |
|---|---|---|---|
| Processor | ATmega328P (8-bit, 16MHz) | ESP32-S3 (Dual-core, 240MHz) | ESP32-S3 (Dual-core, 240MHz) |
| SRAM | 2 KB | 512 KB | 512 KB |
| Logic Level | 5V | 3.3V | 3.3V |
| Native Audio | No (Requires DFPlayer) | Yes (I2S Interface) | Yes (I2S Interface) |
| Approx. Cost | $27.00 | $19.50 | $14.99 |
| Footprint | Massive (68.6 x 53.3mm) | Compact (45 x 18mm) | Ultra-Compact (21 x 17.5mm) |
For most blaster builds, the Arduino Nano ESP32 offers the perfect balance of familiar pinouts and immense processing power. If you are building a highly constrained prop, such as a wrist-mounted gauntlet or a tiny holdout blaster, the Seeed XIAO ESP32S3 is the undisputed champion of miniaturization.
Audio Migration: Ditching the DFPlayer for I2S Polyphony
The most critical upgrade in any prop gun is the audio system. Moving to an ESP32 allows you to utilize the I2S (Inter-IC Sound) protocol, which streams digital audio directly from the MCU to a DAC (Digital-to-Analog Converter) amplifier without the need for a separate MP3 decoding chip.
The Hardware: MAX98357A I2S Amplifier
Replace your DFPlayer Mini with the MAX98357A I2S Class-D Mono Amp (typically $4.50). This chip handles the digital-to-analog conversion and amplifies the signal directly to a 4-ohm, 3-watt speaker. For detailed wiring and gain configuration, refer to the Adafruit MAX98357A guide.
Wiring the I2S Bus
- BCLK (Bit Clock): Connect to ESP32 GPIO 14
- LRC (Left/Right Clock): Connect to ESP32 GPIO 15
- DIN (Data In): Connect to ESP32 GPIO 22
- GND & VIN: Connect to 5V and common ground
Software Polyphony
By using the ESP8266Audio library (which fully supports ESP32 architectures), you can instantiate multiple AudioGeneratorWAV objects. This allows you to play a looping 'idle hum' track while simultaneously triggering a 'fire' sound effect and a 'servo whine' without any of them interrupting each other. You will need to store your WAV files on the ESP32's SPIFFS/LittleFS partition or stream them from a high-speed MicroSD card via SPI.
Lighting Upgrades: Addressable LEDs and Logic Shifting
Legacy builds often rely on simple 5mm LEDs driven by basic NPN transistors. Modern prop guns demand the dynamic, sequential lighting of SK6812 RGBW addressable LEDs to simulate plasma charging, heat dissipation, and ammo counting.
The 3.3V vs 5V Logic Level Trap
When migrating from a 5V Arduino Uno to a 3.3V ESP32, you will encounter a critical edge case: Logic Level Mismatch. SK6812 LEDs require a 5V data signal to reliably read the '1' bits. Feeding them a 3.3V signal from the ESP32 will result in flickering, random color flashes, or complete failure.
Expert Fix: Never wire an ESP32 GPIO directly to the DIN pin of a 5V LED strip. Always use a 74AHCT125 quad level shifter. Power the 74AHCT125 with 5V, feed the ESP32's 3.3V data signal into the input, and the chip will output a clean, 5V logic signal to the LEDs. This costs roughly $0.80 and saves hours of debugging.
Power Distribution: Managing High-Current Blaster Builds
A fully upgraded prop gun with 60 SK6812 LEDs and a 3W audio amplifier can easily draw over 3.5 Amps at peak load (e.g., when all LEDs flash white while firing). Powering this via standard AA battery holders or USB power banks will result in severe voltage sag, causing the ESP32 to brownout and reset mid-performance.
The 2026 Power Architecture
- Primary Source: Use a 3S (11.1V) LiPo battery with at least a 20C discharge rating, such as a Turnigy 1000mAh 3S pack ($18.00). This provides the raw current needed without sagging.
- Step-Down Conversion: Do not use the linear voltage regulator on the Arduino board; it will overheat and fail. Instead, use a high-efficiency buck converter like the Pololu D24V50F5 ($12.95) to step the 11.1V down to a stable 5V for your LEDs and audio amplifier.
- Decoupling: Solder a 1000µF electrolytic capacitor directly across the 5V and GND rails near the LED strip's injection point. This acts as a local energy reservoir to handle micro-second current spikes when the LEDs change color.
Peripheral Migration: Upgrading Trigger and Servo Controls
Prop guns often utilize microswitches for triggers and micro-servos for moving parts (like shell ejection ports or spinning barrels).
- Trigger Switches: Because the ESP32 operates at 3.3V, you can wire your trigger microswitch directly between the GPIO pin and GND. Enable the internal pull-up resistor in your code (
INPUT_PULLUP) and look for aLOWstate. No external resistors are required. - Servo Motors: Standard 5V servos (like the MG90S) expect a 5V PWM signal for precise positioning. While some tolerate 3.3V PWM, it is best practice to route your ESP32 servo PWM pins through the spare channels on your 74AHCT125 level shifter to ensure the servo receives a full 5V pulse width, preventing jitter and stalling.
Cost Breakdown: Legacy vs. Upgraded BOM
Many makers assume that upgrading to advanced ESP32 hardware and I2S audio will break the budget. In reality, the elimination of the DFPlayer Mini and the Uno's massive form factor actually reduces the overall Bill of Materials (BOM) cost while drastically increasing performance.
| Component Category | Legacy Build (Uno + DFPlayer) | Upgraded Build (XIAO + I2S) |
|---|---|---|
| Microcontroller | $27.00 (Uno R3) | $14.99 (XIAO ESP32S3) |
| Audio System | $6.00 (DFPlayer + SD Card) | $4.50 (MAX98357A) |
| Logic Shifting | $0.00 (Native 5V) | $0.80 (74AHCT125) |
| Power Regulation | $2.00 (LM2596 Module) | $12.95 (Pololu D24V50F5) |
| Total Core Electronics | $35.00 | $33.24 |
Final Troubleshooting Checklist
Before sealing up your 3D-printed blaster housing, run through these critical failure-mode checks:
- Audio Hum / Ground Loops: If you hear a high-pitched whine from your speaker when the LEDs turn on, your audio amplifier and LED strip are sharing the same ground return path. Run a dedicated, thick (18 AWG) ground wire directly from the battery's negative terminal to the MAX98357A's GND pin, separate from the LED ground.
- WiFi Interference: The ESP32 has native WiFi/Bluetooth. If you are not using it for a companion app, explicitly disable it in your setup code (
WiFi.mode(WIFI_OFF);). This reduces baseline current draw by roughly 80mA and eliminates RF interference that can cause audio DAC stuttering. - Flash Memory Wear: If you are logging trigger pulls or battery telemetry to the ESP32's internal flash memory, ensure you are using the LittleFS file system with wear-leveling enabled. Writing to raw SPIFFS blocks repeatedly will destroy the flash chip within a few months of heavy convention use.
Migrating your arduino for prop gun build to a modern ESP32 architecture transforms a clunky, single-sound toy into a cinematic, polyphonic masterpiece. By respecting 3.3V logic boundaries, implementing proper I2S audio routing, and designing a robust power distribution network, your prop will reliably survive the rigors of comic conventions and film sets for years to come.