
Why Migrate to the STM32F Arduino Ecosystem?
While 8-bit AVR microcontrollers like the ATmega328P remain staples for simple tasks, modern maker projects increasingly demand the computational headroom of 32-bit ARM Cortex-M architectures. Configuring your STM32F Arduino environment unlocks access to the STM32F1, F3, and F4 series, offering clock speeds from 72 MHz up to 180 MHz, native USB peripherals, and hardware floating-point units (FPUs). In 2026, the STM32duino core is highly mature, but improper IDE configuration and SWD wiring remain the primary bottlenecks for beginners transitioning from standard AVR boards.
Hardware Ecosystem: Selecting Your Target Board
Before modifying your IDE, you must understand the hardware landscape. The market offers diverse STM32F development boards, ranging from ultra-cheap community designs to official STMicroelectronics evaluation kits. Below is a breakdown of the most common targets used in maker spaces today.
| Board Type | MCU Core | Typical Price (2026) | Best For |
|---|---|---|---|
| Blue Pill (Genuine) | STM32F103C8T6 (72MHz) | $4.50 - $6.00 | Low-cost IoT, basic motor control |
| Blue Pill (Clone) | CS32F103 / CH32F103 | $1.80 - $2.50 | Disposable prototypes (requires core tweaks) |
| Nucleo-64 (F446RE) | STM32F446RE (180MHz) | $17.00 - $21.00 | DSP, audio processing, advanced robotics |
| Black Pill (F411) | STM32F411CEU6 (100MHz) | $6.50 - $8.50 | High-speed USB, compact wearable tech |
For absolute beginners, the Nucleo-64 F446RE is highly recommended because it features an onboard ST-Link programmer, eliminating the need for external wiring. For budget-conscious makers, the Blue Pill remains the undisputed king, provided you invest in a separate ST-Link V2 debugger.
Prerequisites: Tools and Drivers
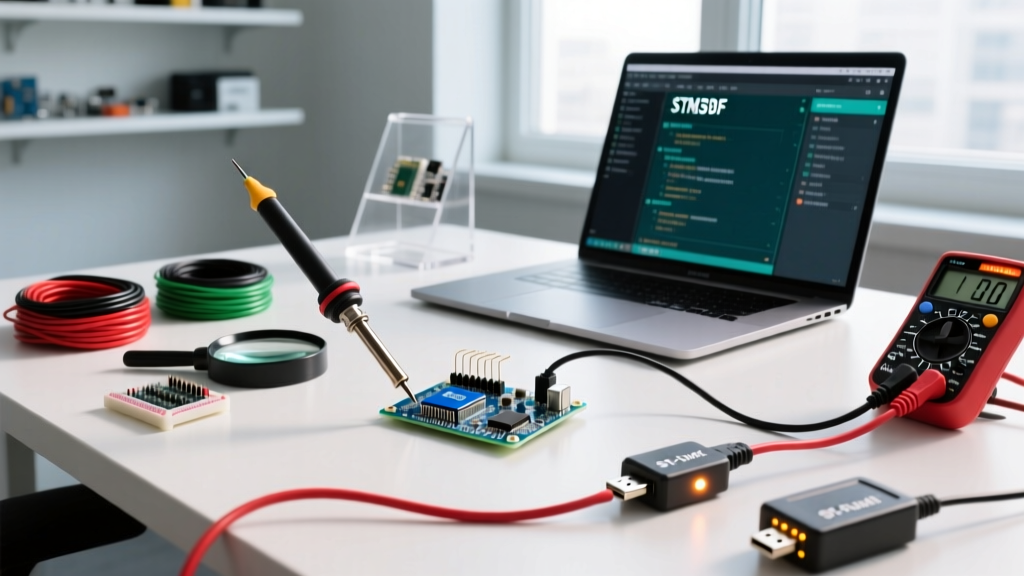
To successfully compile and flash code, ensure you have the following hardware and software ready:
- Arduino IDE 2.3.x or newer: The legacy 1.8.x branch struggles with the memory indexing required by modern STM32 HAL (Hardware Abstraction Layer) libraries.
- ST-Link V2 Debugger: Genuine ST-Link V3 modules cost around $35, but widely available V2 clones ($3 to $5) work perfectly for standard SWD debugging.
- STSW-LINK009 Driver: If you are on Windows, you must install the official ST-Link USB driver from the STMicroelectronics website before connecting the hardware.
Step-by-Step STM32F Arduino IDE Configuration
To compile sketches for ARM targets, you must bypass the default AVR toolchain and install the official STMicroelectronics core. Follow these exact steps to configure the board manager.
1. Injecting the Board Manager URL
Navigate to File > Preferences (or Arduino IDE > Settings on macOS). Locate the 'Additional boards manager URLs' field. If you already have URLs for ESP32 or RP2040, simply add a comma and paste the official STM32duino JSON endpoint:
https://github.com/stm32duino/BoardManagerFiles/raw/main/package_stmicroelectronics_index.json2. Installing the Core
Open the Boards Manager by clicking the board icon on the left sidebar or navigating to Tools > Board > Boards Manager. Search for STM32 and install the package titled STM32 MCU based boards by STMicroelectronics. This package is massive (over 800MB) because it includes the GCC ARM toolchain and CMSIS libraries. Allow up to five minutes for the extraction process to complete.
3. Selecting Your Target
Once installed, go to Tools > Board > STM32 MCU based boards. For a standard Blue Pill, select Generic STM32F103C series. For a Nucleo board, select the specific Nucleo-64 variant matching your silkscreen.
SWD Wiring Matrix: ST-Link to Target
Unlike standard UART serial uploads, STM32F boards utilize the Serial Wire Debug (SWD) protocol for reliable flashing and hardware debugging. If you are using an external ST-Link V2 clone, wire the 4-pin connector as follows:
| ST-Link V2 Pin | STM32F Target Pin | Function |
|---|---|---|
| 3.3V (Pin 1) | 3.3V | Target power (Do NOT use 5V) |
| SWCLK (Pin 2) | DCLK (PA14) | Serial Wire Clock |
| GND (Pin 3) | GND | Common Ground |
| SWDIO (Pin 4) | DIO (PA13) | Serial Wire Data I/O |
Critical Warning: Many cheap ST-Link V2 clones feature scrambled pinouts on the plastic housing. Always verify the 3.3V pin with a multimeter before connecting it to your STM32F board. Feeding 5V into the VDD line will instantly destroy the MCU's internal voltage regulator.
Edge-Case Troubleshooting: Upload Failures and Clone Quirks
Even with perfect STM32F Arduino configuration, hardware-level edge cases frequently halt uploads. Here is how to resolve the most common ST-Link and board-level failures documented in the STM32duino Getting Started Wiki.
The 'Init Mode Failed' SWD Lockout
When you encounter the Error: init mode failed (unable to connect to the target) message in the Arduino IDE output console, your STM32F is likely in a state where the SWD pins (PA13/PA14) have been reassigned as standard GPIOs in a previous sketch. To break this lockout, you must utilize the 'Connect Under Reset' feature. In Arduino IDE 2.x, go to Tools > Upload Method and select ST-Link (Connect Under Reset). Physically hold the RESET button on your board, click the Upload button in the IDE, and release the RESET button exactly one second later. This forces the MCU to halt at the system bootloader before user code can hijack the SWD lines.
Handling Fake Silicon (CS32/CH32 Clones)
The market is currently saturated with Blue Pill boards featuring CS32F103 or CH32F103 clone silicon. While the STM32duino core generally supports these, you may encounter a Flash size mismatch error during compilation. The IDE expects 64KB (STM32F103C8) but reads 128KB or 32KB from the clone's DBGMCU_IDCODE register. To bypass this, select the Generic STM32F103C board variant, then navigate to Tools > Board Part Number and manually select STM32F103CB (128k Flash). This safely overrides the hardware polling and allocates the correct linker script, allowing the upload to proceed.
USB Serial Conflicts on Windows
If your sketch utilizes the native USB CDC serial port (e.g., Serial.begin(115200) on a Black Pill F411), Windows may assign a conflicting driver. If the board appears as an 'Unknown Device' in Device Manager, download the Zadig utility. Select the STM32 USB CDC device from the dropdown and replace the default driver with WinUSB. This resolves 99% of native USB enumeration failures on Windows 11 environments.
Optimization: Reducing Binary Size and Clock Speeds
ARM Cortex-M binaries are inherently larger than AVR binaries due to the inclusion of the HAL and CMSIS startup code. A simple 'Blink' sketch on an STM32F103 can easily consume 15KB of flash. To optimize your STM32F Arduino builds for production:
- Disable Unused Peripherals: Navigate to Tools > U(S)ART Support and disable serial interfaces you are not using. This can save up to 8KB of flash space.
- Optimize for Size: Go to Tools > Optimize and select Smallest (-Os). This instructs the GCC ARM compiler to prioritize code density over raw execution speed, often reducing binary size by 20%.
- Clock Speed Tuning: For battery-powered sensor nodes, use the
SystemClock_Config()function to drop the core clock from 72 MHz down to 8 MHz using the internal MSI oscillator. This drastically reduces dynamic power consumption, extending CR2032 coin cell battery life from days to months.
For comprehensive core documentation and advanced HAL integration, always refer to the official STM32duino GitHub Repository and the STMicroelectronics ST-Link Documentation. Mastering these configuration nuances transforms the STM32F series from a frustrating hurdle into the most powerful tool in your electronics workbench.