
The Core Limitation: Why Hardware UART Isn't Always Enough
When working with ATmega328P-based boards like the Arduino Uno or Nano, you are hardware-limited to a single UART (Universal Asynchronous Receiver-Transmitter) interface mapped to digital pins 0 (RX) and 1 (TX). In modern maker projects, this single hardware serial port is almost always consumed by the USB-to-serial bridge for IDE debugging and sketch uploading. If your project requires communicating with a GPS module (like the ubiquitous $7 NEO-6M), a Bluetooth transceiver (HC-05/HC-06), or an MP3 decoder simultaneously, you hit an immediate hardware wall.
Enter the SoftwareSerial Arduino library. By utilizing a technique called "bit-banging"—where the microcontroller's CPU manually toggles pin states and samples voltage levels via timed interrupts—SoftwareSerial emulates a hardware UART in software. While incredibly useful, it is not a drop-in replacement for hardware UART. Misconfiguring pins, pushing baud rates too high, or ignoring interrupt service routine (ISR) overhead will result in corrupted data, dropped bytes, and system lockups. This configuration guide details the exact physics, pin restrictions, and implementation strategies required to deploy SoftwareSerial reliably in 2026.
Pin Selection Matrix: RX and TX Restrictions
A common misconception is that any digital pin can be used for SoftwareSerial. While the TX (transmit) pin can be assigned to almost any digital output, the RX (receive) pin is strictly bound by the microcontroller's Pin Change Interrupt (PCINT) architecture. The CPU must be instantly notified the millisecond a pin transitions from HIGH to LOW (the start bit of a serial byte). If the pin does not support hardware interrupts, the library cannot reliably catch incoming data.
Supported RX Pins by Board Architecture
| Board Model | Microcontroller | Valid RX Pins (SoftwareSerial) | Valid TX Pins | Concurrent Ports |
|---|---|---|---|---|
| Uno / Nano / Mini | ATmega328P | All digital pins (2-12) and Analog (A0-A5) | All digital and analog pins | Only ONE can listen at a time |
| Mega / Mega 2560 | ATmega2560 | 10, 11, 12, 13, 14, 15, 50, 51, 52, 53, A8-A15 | All digital and analog pins | Only ONE can listen at a time |
| Leonardo / Micro | ATmega32U4 | 8, 9, 10, 11, 14 (MISO), 15 (SCK), 16 (MOSI) | All digital pins | Only ONE can listen at a time |
Pro-Tip for Mega Users: The ATmega2560 actually has three additional hardware UARTs (Serial1, Serial2, Serial3) on pins 14-19. Before using SoftwareSerial on a Mega, verify you haven't overlooked the native hardware serial ports, which offer zero CPU overhead and flawless 115200+ baud reliability.
Step-by-Step Configuration Guide
Let's configure a standard NEO-6M GPS module on an Arduino Uno using pins 3 (RX) and 4 (TX). In 2026, standard GPS modules operate at 3.3V logic levels, while the Uno operates at 5V. Never connect a 5V TX pin directly to a 3.3V GPS RX pin without a logic level converter or a simple voltage divider, or you risk degrading the GPS module's silicon over time.
1. The Wiring Setup
- GPS VCC: 5V (or 3.3V depending on module regulator)
- GPS GND: GND
- GPS TX: Arduino Pin 3 (Configured as Software RX)
- GPS RX: Arduino Pin 4 (Configured as Software TX) via voltage divider
2. The Implementation Code
#include <SoftwareSerial.h>

// Define the pins: RX = 3, TX = 4
SoftwareSerial gpsSerial(3, 4);

void setup() {
  // Initialize hardware serial for USB debugging
  Serial.begin(115200);

  // Initialize software serial for GPS (NEO-6M defaults to 9600 baud)
  gpsSerial.begin(9600);

  Serial.println("SoftwareSerial GPS Configuration Initialized.");
}

void loop() {
  // Pass data from GPS to Serial Monitor
  if (gpsSerial.available()) {
    Serial.write(gpsSerial.read());
  }

  // Pass commands from Serial Monitor to GPS
  if (Serial.available()) {
    gpsSerial.write(Serial.read());
  }
}
Baud Rate Bottlenecks and Timing Drift
The most frequent cause of "garbage characters" in the serial monitor is pushing SoftwareSerial beyond its physical limits. To understand why, we must look at the CPU clock cycles. An Arduino Uno runs at 16 MHz, meaning each clock cycle takes 62.5 nanoseconds.
The Physics of Bit-Banging
At 9600 baud, a single bit takes approximately 104 microseconds. This gives the ATmega328P roughly 1,664 clock cycles to enter the ISR, save registers, sample the pin state, and exit. This is a massive window, making 9600 baud highly reliable.
At 115200 baud, a single bit takes only 8.68 microseconds. The CPU now has a mere 138 clock cycles per bit. By the time the interrupt latency is calculated and the context is saved, the CPU is already late sampling the second or third bit. The result? Framing errors and dropped bytes.
Baud Rate Reliability Matrix
| Baud Rate | Bit Duration | CPU Cycles (16MHz) | Reliability | Recommended Use Case |
|---|---|---|---|---|
| 4800 | 208.3 µs | 3,333 | Flawless | Low-speed sensors, legacy devices |
| 9600 | 104.2 µs | 1,667 | Excellent | GPS (NEO-6M), HC-05 Bluetooth, MP3 modules |
| 19200 | 52.1 µs | 833 | Good | Faster telemetry, short burst data |
| 38400 | 26.0 µs | 416 | Fair | Risky for long streams; prone to drift |
| 57600 | 17.4 µs | 278 | Poor | Not recommended; high error rate |
| 115200 | 8.68 µs | 138 | Unusable | Will drop bytes; use Hardware UART instead |
For authoritative timing specifications and library limitations, always consult the official Arduino SoftwareSerial Reference. The documentation explicitly warns against using baud rates higher than 57600, though in practice, 38400 is where reliability begins to degrade heavily under load.
Real-World Edge Cases: The Interrupt Conflict
SoftwareSerial is inherently "selfish." Because bit-banging requires microsecond precision, the library temporarily disables global interrupts (using the cli() command) while transmitting or receiving a byte, and re-enables them (sei()) afterward. At 9600 baud, a single byte takes roughly 1.04 milliseconds to transmit. During this 1ms window, all other interrupts on the microcontroller are blind.
The Servo Library Collision
If your project uses the standard Servo.h library alongside SoftwareSerial, you will experience severe motor jitter. The Servo library relies on Timer1 interrupts firing every 20 milliseconds to maintain precise PWM pulse widths (1000µs to 2000µs). If SoftwareSerial disables interrupts for 1ms during a serial transmission, the Servo timer misses its window, resulting in erratic pulse widths and physical servo twitching.
The Fix: If you must use Servos and serial communication simultaneously, avoid SoftwareSerial. Instead, use an alternative library like AltSoftSerial, developed by Paul Stoffregen. AltSoftSerial uses hardware timers (Timer1 on the Uno) to handle bit-banging in the background via ISRs, allowing it to coexist peacefully with other interrupt-driven libraries without disabling global interrupts.
Alternatives in 2026: When to Ditch SoftwareSerial
While SoftwareSerial is built into the Arduino IDE and requires zero external downloads, the maker ecosystem has evolved. Depending on your project constraints, consider these superior alternatives:
- Hardware Serial (UART): Always the first choice. If you are using an Arduino Mega, ESP32, or Raspberry Pi Pico, utilize the native secondary hardware UART pins (e.g.,
Serial1,Serial2). Hardware UART handles byte buffering in silicon, freeing the CPU entirely. - AltSoftSerial: Best for Uno/Nano users who need to transmit and receive simultaneously without blocking the CPU. It is restricted to specific pins (RX on Pin 8, TX on Pin 9 for the Uno) but offers vastly superior timing accuracy and interrupt compatibility.
- NeoSWSerial: An highly optimized fork designed specifically to handle baud rates up to 38400 with minimal CPU overhead. It is an excellent choice for parsing NMEA GPS sentences where standard SoftwareSerial fails to keep up with the data stream.
Final Troubleshooting Checklist
If you are staring at a serial monitor filled with question marks and inverted question marks, run through this diagnostic sequence:
- Verify Voltage Levels: Are you feeding 5V logic into a 3.3V module? Use a bidirectional logic level converter (costing roughly $1.50 in 2026) to protect your peripherals.
- Check Baud Rate Matching: Ensure the
begin()rate in your sketch exactly matches the hardware module's factory default. (e.g., HC-05 defaults to 9600 or 38400 depending on the manufacturer batch). - Confirm RX/TX Crossover: TX must always connect to RX, and RX to TX. A common mistake is wiring TX to TX.
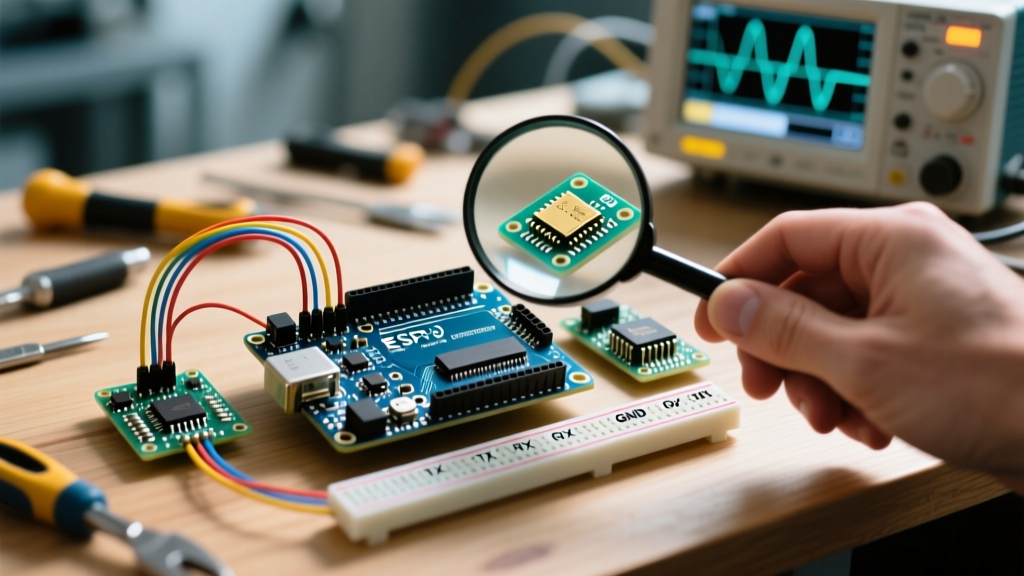
- Shared Ground: Serial communication requires a common ground reference. Ensure the GND pin of the Arduino is tied directly to the GND of the peripheral module.
For a deeper dive into the underlying electrical standards of asynchronous communication, review the SparkFun Serial Communication Tutorial, which provides excellent oscilloscope visualizations of start bits, stop bits, and parity framing. Mastering these fundamentals transforms SoftwareSerial from a frustrating bottleneck into a reliable tool for your embedded systems toolkit.