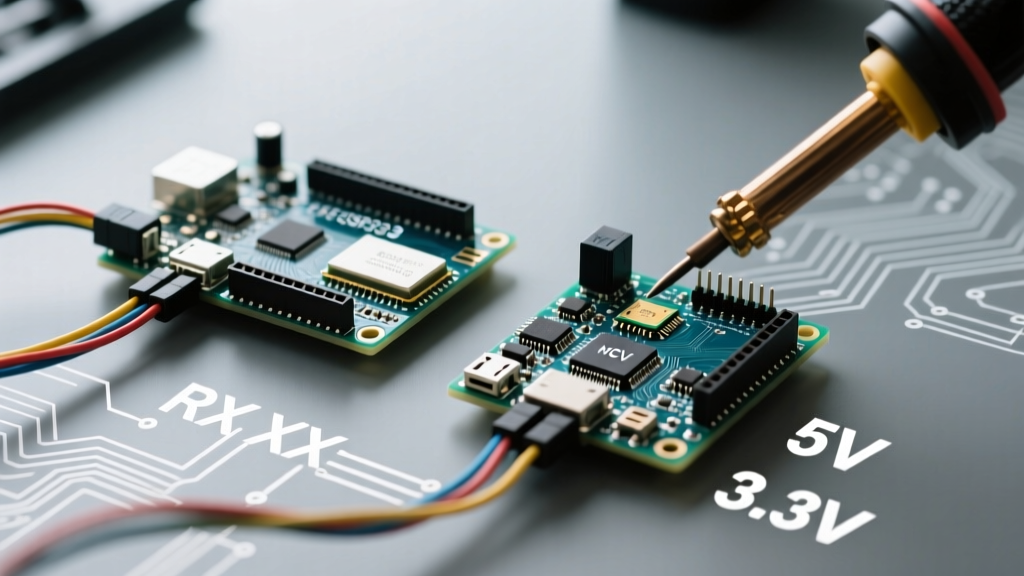

Decoding the 'Servosteuerung Arduino' Challenge
The search for a reliable servosteuerung arduino (servo control) workflow is a universal rite of passage for robotics engineers and advanced makers. While the standard Arduino IDE makes it trivial to sweep a single micro-servo using the default Servo.h library, scaling that workflow to multi-axis robotic arms, heavy-duty pan-tilt camera rigs, or automated manufacturing jigs introduces severe hardware and software bottlenecks. In 2026, as makers increasingly integrate high-torque digital servos and complex sensor arrays, relying on basic delay-based loops and onboard voltage regulators is a guaranteed path to system failure.
This guide deconstructs the traditional servo control workflow and replaces it with an optimized, industrial-grade architecture. We will address power delivery matrices, I2C PWM offloading, non-blocking state machines, and signal conditioning to ensure your microcontroller operates with absolute precision.
The Hardware Bottleneck: Why Basic Setups Fail
The most common failure mode in amateur servo projects is the brownout reset. Standard hobby servos like the TowerPro MG996R (a staple in heavy-duty maker projects, costing roughly $10-$14) draw a continuous current of 500mA during normal operation, but can spike to 2.5 Amps during stall conditions at 6V. If you attempt to power even two of these servos directly from an Arduino Uno R4's onboard 5V rail, the sudden current draw will cause the voltage to sag below the microcontroller's brownout detection threshold (typically 2.7V to 4.3V depending on the MCU). The result? The Arduino instantly reboots mid-movement, potentially causing mechanical damage to your rig.
Furthermore, the standard Arduino Official Servo Library Documentation notes that attaching servos disables hardware PWM (analogWrite) on specific pins because the library hijacks the MCU's 16-bit Timer1 to generate the 50Hz (20ms period) pulse train. This timer conflict severely limits your ability to run DC motors or LED fading routines simultaneously.
Power Delivery Matrix: Choosing the Right Architecture
Optimizing your workflow begins with isolating the logic power (MCU) from the actuation power (Servos). Below is a decision matrix for selecting the appropriate Battery Eliminator Circuit (BEC) or voltage regulator based on your payload.
| Power Method | Max Continuous Current | Efficiency | Estimated Cost | Best Use Case |
|---|---|---|---|---|
| Arduino Onboard Linear Reg | ~800mA (Thermal limited) | Low (~30%) | $0 (Included) | 1-2x Micro Servos (SG90) |
| LM2596 Buck Converter Module | 3A | High (~85%) | $2.50 - $4.00 | Up to 4x Standard Servos (MG996R) |
| Dedicated RC BEC (e.g., Hobbywing) | 5A - 10A | Very High (~92%) | $12.00 - $18.00 | Multi-axis robotic arms, high-torque digital servos |
Workflow Rule #1: Always use a dedicated buck converter or BEC for the servos. Crucially, you must tie the ground (GND) of the external power supply directly to the Arduino's GND. Without a common ground reference, the PWM signal will float, resulting in violent, unpredictable servo jitter. Additionally, solder a 470µF electrolytic capacitor and a 0.1µF ceramic decoupling capacitor across the power rails near the servo bank to absorb transient current spikes.
Workflow Shift 1: Offloading PWM via I2C
To eliminate timer conflicts and MCU overhead, professional workflows abandon the Servo.h library entirely in favor of hardware PWM drivers. The PCA9685 16-Channel PWM Driver (available on breakout boards for $5-$8) is the industry standard for I2C servo control.
By delegating pulse generation to the PCA9685, your Arduino only needs to send I2C commands to update the target position. The PCA9685 handles the precise 50Hz timing, pulse width modulation (500µs to 2500µs), and even features a dedicated V+ terminal for high-current servo power routing. As detailed in the Adafruit 16-Channel PWM Servo Driver Guide, this chip completely frees up your microcontroller's hardware timers, allowing you to run complex sensor fusion algorithms or motor control PID loops without interrupting servo actuation.
Workflow Shift 2: Non-Blocking State Machines
Using delay() to wait for a servo to reach its position is a critical anti-pattern. A standard servo moves at roughly 0.15 seconds per 60 degrees. If you command a 180-degree sweep, a delay(500) halts your entire program, rendering your system blind to emergency stop switches or sensor inputs.
Instead, implement a millis()-based state machine. Calculate the expected travel time based on the delta between the current angle and target angle, and use non-blocking time checks to update your system state.
Expert Tip: When using digital servos like the DS3218 (20kg-cm torque), they update their internal potentiometers at much higher frequencies than analog servos. Sending continuous, microscopic position updates via a tight loop can cause the servo's internal H-bridge to overheat. Always implement a deadband in your software—if the new target position is within 2 degrees of the current position, do not send a new I2C command.
Workflow Shift 3: Signal Conditioning for Analog Feedback
If your workflow involves reading an analog potentiometer to manually control a servo (e.g., a master-slave robotic arm), you will quickly encounter servo hunting. The Arduino's 10-bit ADC (0-1023) is susceptible to electromagnetic interference (EMI) from the servos themselves, causing the analog reading to fluctuate by ±3 to ±5 bits even when the physical knob is perfectly still. This translates directly into the servo rapidly vibrating back and forth, stripping its internal nylon gears.
To optimize this, apply an Exponential Moving Average (EMA) filter combined with a deadband threshold in your C++ code:
- Step 1: Read the raw ADC value.
- Step 2: Apply the EMA formula:
filtered = (alpha * raw) + ((1 - alpha) * filtered). An alpha of 0.15 provides excellent smoothing without introducing severe input lag. - Step 3: Map the filtered value to your servo's specific microsecond limits (e.g., 540µs to 2400µs, rather than the generic 0-180 degrees, to prevent mechanical binding at the end-stops).
- Step 4: Compare the new mapped value to the last commanded value. Only transmit the new position if the absolute difference is greater than your defined deadband (e.g., 10µs).
For an in-depth look at how internal servo potentiometers and control loops operate, the Pololu RC Servo Fundamentals guide provides excellent schematics on why signal noise causes physical gear wear.
The Ultimate Deployment Checklist
Before powering up your finalized servosteuerung arduino project, run through this hardware and software verification matrix to prevent catastrophic failures:
- Common Ground Verification: Use a multimeter in continuity mode to verify the GND of the external BEC is tied to the Arduino GND.
- Voltage Matching: Ensure the BEC output matches the servo rating. High-voltage (HV) servos can handle 7.4V to 8.4V, but standard servos will burn out their internal driver boards if fed more than 6.0V.
- I2C Pull-up Resistors: If using a PCA9685 on a custom PCB or long wire runs, ensure 4.7kΩ pull-up resistors are present on the SDA and SCL lines to prevent I2C bus lockups.
- End-Stop Calibration: Never rely on the software '0' and '180' degree limits. Physically map the exact PWM microsecond values where your mechanical linkages reach their physical limits to prevent stall-current draw.
- Capacitor Bank: Confirm bulk capacitance (minimum 100µF per standard servo) is installed at the power distribution board.
Conclusion
Mastering the servosteuerung arduino workflow requires moving beyond the beginner examples and treating your microcontroller as an embedded system rather than a simple hobby toy. By isolating power delivery with dedicated buck converters, offloading pulse generation to I2C hardware like the PCA9685, and implementing rigorous software filtering and non-blocking logic, you transform erratic, jittery movements into smooth, industrial-grade actuation. Whether you are building an automated camera slider or a 6-DOF robotic arm, these optimized workflows will ensure your hardware survives the rigorous demands of real-world physics.