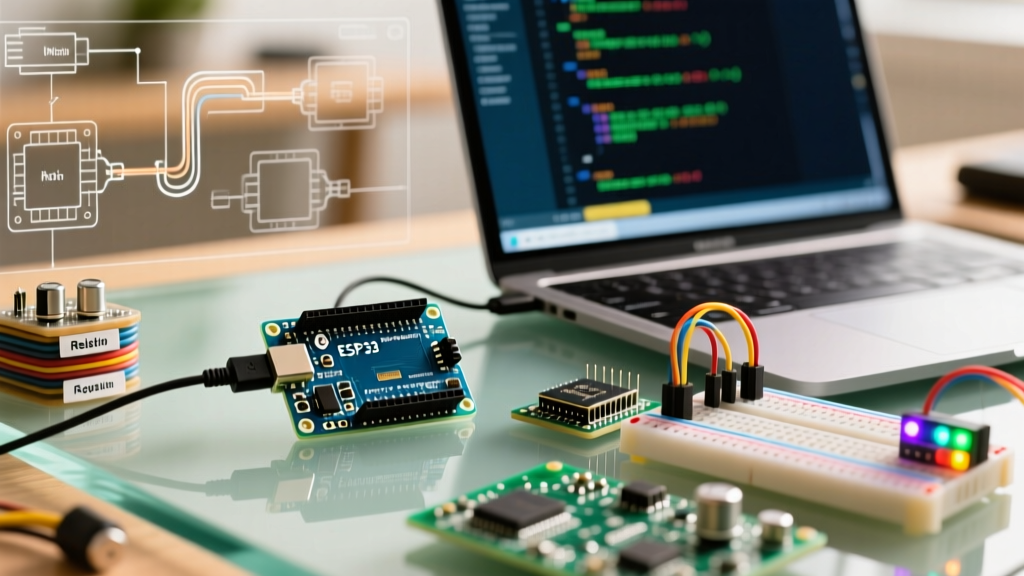

The Core Paradigm: Host-Client vs. Standalone
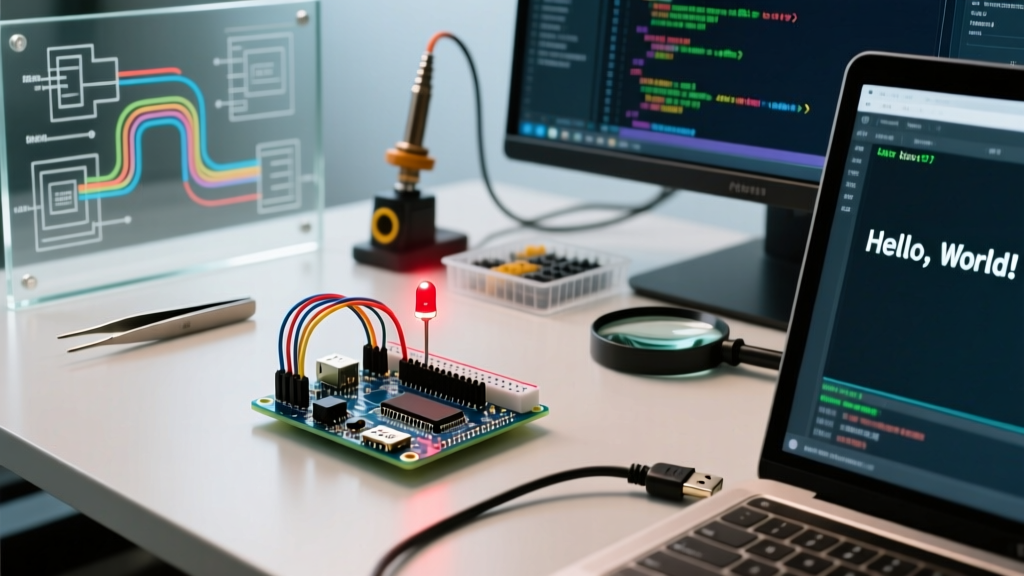
Integrating Python and Arduino is a foundational skill for modern makers, robotics engineers, and data scientists. Python offers unparalleled high-level capabilities—such as OpenCV for computer vision, TensorFlow for edge AI, and Pandas for data manipulation—while Arduino microcontrollers provide deterministic, real-time hardware control. However, bridging these two ecosystems requires a deliberate architectural choice. You must decide whether your Python script will act as a 'Host' commanding a 'Client' MCU over a serial link, or if the MCU itself will run a Python interpreter natively.
In 2026, the landscape of Python-to-MCU communication has evolved significantly. The legacy methods of the 2010s have been replaced by asynchronous protocols and native MicroPython implementations on modern ARM-based boards. This guide dissects the three primary integration methods, detailing exact hardware requirements, latency benchmarks, and the specific failure modes you will encounter in the wild.
Approach 1: pySerial and the DTR Reset Trap
The most common method for linking Python and Arduino is raw serial communication using the pyserial library. In this Host-Client model, the Arduino runs a standard C++ sketch (compiled via the Arduino IDE) that reads and writes bytes to the serial port, while Python parses these bytes on the host machine.
While conceptually simple, pyserial introduces a notorious hardware-level trap for beginners: the DTR (Data Terminal Ready) auto-reset circuit. On legacy AVR boards like the Arduino Uno R3, the USB-to-Serial chip routes the DTR line through a 100nF capacitor to the RESET pin of the ATmega328P. When Python opens the COM port, the OS asserts the DTR line, pulling the RESET pin low. This forces the Arduino into its bootloader, causing a 1.5-second delay and wiping all volatile memory before your sketch even begins.
Expert Bypass: To prevent the DTR reset in Python without modifying your hardware, initialize your serial port with the
dsrdtrparameter disabled, or manipulate the port settings immediately after instantiation. Alternatively, upgrading to an Arduino Uno R4 WiFi bypasses this issue entirely, as its RA4M1 ARM Cortex-M4 MCU handles USB CDC natively without a hardware auto-reset capacitor.
According to the official Arduino Serial documentation, managing buffer limits is equally critical. The ATmega328P features a mere 64-byte hardware serial buffer. If your Python script pushes 2KB of configuration data at 115200 baud without implementing software handshaking (XON/XOFF) or hardware flow control (RTS/CTS), the buffer will overflow, silently dropping bytes and corrupting your payload.
Approach 2: Moving Past Firmata to Telemetrix
For years, the StandardFirmata protocol was the default RPC (Remote Procedure Call) method for Python and Arduino integration. Libraries like pyfirmata allowed Python to directly manipulate Arduino pins without writing custom C++ sketches. However, Firmata's MIDI-based message structure is inherently bloated, and its Python implementations rely on blocking iterator threads that struggle to maintain polling rates above 50Hz.
The modern standard for Python-to-Arduino RPC is Telemetrix. Developed by Alan Yorinks, Telemetrix abandons the Firmata protocol in favor of a highly optimized, custom binary protocol. More importantly, it is built entirely on Python's asyncio library.
By utilizing asynchronous callbacks, Telemetrix allows your Python script to monitor dozens of analog and digital pins simultaneously without blocking the main execution thread. When paired with an Arduino Nano ESP32 (retailing around $18.00), Telemetrix can achieve sensor polling rates exceeding 500Hz over a standard USB-C connection, making it viable for high-speed telemetry and closed-loop PID control systems.
Hardware Showdown: Selecting the Right MCU for Python
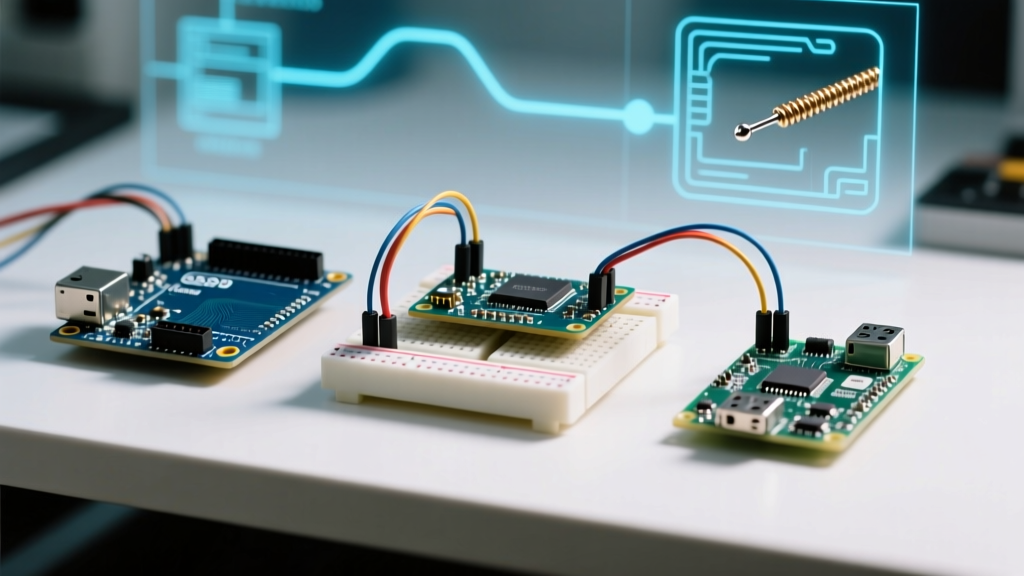
Not all microcontrollers interact with Python equally. The shift from 8-bit AVR architectures to 32-bit ARM and Xtensa cores has fundamentally changed what is possible. Below is a 2026 comparison matrix of the most popular boards for Python integration.
| Board Model | MCU Architecture | Primary Python Method | Avg. Price (2026) | Ideal Use Case |
|---|---|---|---|---|
| Arduino Uno R4 WiFi | ARM Cortex-M4 + ESP32-S3 | Telemetrix (WiFi/Serial) | $27.50 | Wireless IoT telemetry, remote CV actuation |
| Arduino Nano ESP32 | Xtensa LX7 (Dual-Core) | Telemetrix / MicroPython | $18.00 | High-frequency sensor polling, async networking |
| Raspberry Pi Pico | ARM Cortex-M0+ (RP2040) | Native MicroPython | $4.00 | Standalone data logging, PIO state machines |
| Arduino Uno R3 (Legacy) | AVR ATmega328P | pySerial (Raw Bytes) | $15.00 | Basic educational projects, simple relays |
Approach 3: MicroPython on the RP2040
If your goal is to eliminate the host PC entirely and run Python directly on the microcontroller, MicroPython is the definitive choice. However, you cannot run MicroPython on standard AVR Arduinos; the ATmega328P's 2KB SRAM and 32KB Flash are vastly insufficient for a Python runtime environment.
Instead, makers utilize the Raspberry Pi Pico (RP2040) or the Arduino Nano RP2040 Connect. The RP2040 features 264KB of SRAM and a dual-core ARM Cortex-M0+ processor running at 133MHz. According to the MicroPython RP2 Quick Reference, this architecture allows for complex floating-point math, native JSON parsing, and even local web server hosting directly on the chip.
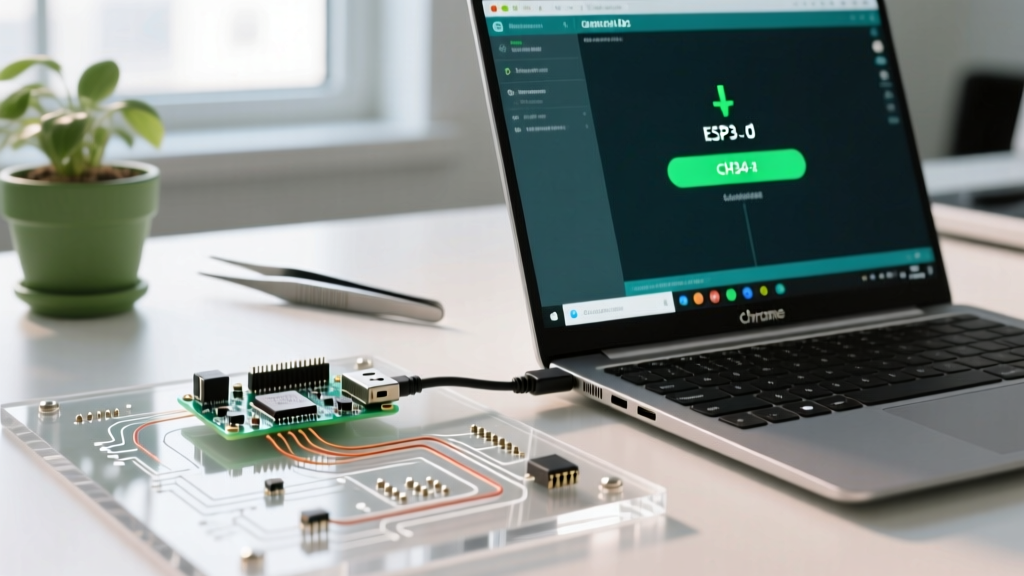
Flashing MicroPython requires holding the BOOTSEL button while plugging the board into USB, mounting it as a mass storage device, and dragging the .uf2 firmware file onto the drive. Once flashed, you interact with the board via a REPL (Read-Eval-Print Loop) over serial, or by deploying main.py scripts that execute on boot.
Real-World Failure Modes and Edge Cases
When deploying Python and Arduino systems outside the lab, you will encounter specific edge cases that tutorials rarely cover. Be prepared for the following:
- USB CDC Buffer Starvation: When using MicroPython on the RP2040 to log data to a host PC via
print(), the USB CDC buffer can easily saturate if the Python host script is busy processing heavy OpenCV frames. If the host doesn't read the serial buffer fast enough, the MicroPython script will block, halting your hardware control loop. Solution: Implement a circular buffer in MicroPython and send data in chunked binary packets rather than raw ASCII strings. - WiFi Latency Jitter in Telemetrix: If you use the Arduino Uno R4 WiFi to send Telemetrix data over a local network to a Python script, expect latency jitter ranging from 2ms to 45ms depending on your router's 2.4GHz congestion. Solution: Never rely on WiFi for hard-real-time motor commutation. Use USB-C for sub-1ms deterministic latency, and reserve WiFi for asynchronous telemetry.
- Ground Loop Noise in Serial Links: When connecting an Arduino to a desktop PC via a long USB cable while simultaneously driving high-current inductive loads (like stepper motors), ground loops can introduce noise onto the serial TX/RX lines, causing Python's
pyserialto throwSerialExceptiondisconnects. Solution: Use an optically isolated USB hub (e.g., Texas Instruments ISO7240 based hubs, approx. $35) between the PC and the MCU.
Summary Decision Framework
Choosing the right integration path for Python and Arduino depends entirely on your latency requirements and computational load. If your Python script needs to process heavy machine learning models and simply send trigger signals to hardware, use pySerial or Telemetrix with an Arduino Uno R4 WiFi as a dumb peripheral. If your project requires a standalone, low-cost device that logs data and performs moderate math without a host PC, flash MicroPython onto a $4 Raspberry Pi Pico. By matching the protocol to the hardware architecture, you eliminate buffer overflows, bypass legacy reset traps, and build robust, production-ready maker systems.