
Why Choose Zigbee and Arduino for Custom IoT Networks?
When building decentralized smart home or industrial sensor networks, Wi-Fi often falls short due to high power consumption and router congestion. This is where the combination of Zigbee and Arduino excels. Zigbee 3.0 offers a self-healing mesh topology, ultra-low sleep currents, and robust interference avoidance via Direct Sequence Spread Spectrum (DSSS). By pairing an Arduino microcontroller with a Digi XBee3 Zigbee 3.0 module, makers and engineers can deploy battery-operated sensor nodes that run for years on a single coin cell or AA battery pack.
According to the Connectivity Standards Alliance (CSA), Zigbee 3.0 unifies previous application profiles into a single standard, ensuring that your custom Arduino nodes can seamlessly communicate with commercial off-the-shelf smart home hubs like Philips Hue, Amazon Echo, or Home Assistant's ZHA integration.
Hardware Bill of Materials (2026 Estimates)
To avoid the most common pitfall in RF design—logic level mismatch and power brownouts—this tutorial uses a 3.3V native Arduino board. Using a standard 5V Arduino Uno without level shifters will permanently damage the XBee3's UART pins.
| Component | Model / Specification | Est. Price (2026) | Purpose |
|---|---|---|---|
| Zigbee Module | Digi XBee3 Zigbee 3.0 (XB3-24Z8PT-J) | $48.00 | RF Mesh Transceiver with integrated MCU |
| Microcontroller | Arduino Pro Mini 3.3V / 8MHz | $14.00 | Native 3.3V logic, low quiescent current |
| USB Adapter | Digi XBee Explorer USB | $26.00 | PC interface for XCTU configuration |
| Sensor | Bosch BME280 (I2C Breakout) | $7.50 | Temperature, Humidity, and Pressure |
| Power Filtering | 100µF Tantalum + 0.1µF Ceramic Capacitors | $1.50 | Transient current buffering for TX bursts |
Note: The Digi XBee3 series is the current industry standard for prototyping and low-volume production, featuring an ARM Cortex-M4 core that can even run custom MicroPython scripts independently of the Arduino if desired.
Phase 1: Provisioning the XBee3 via XCTU
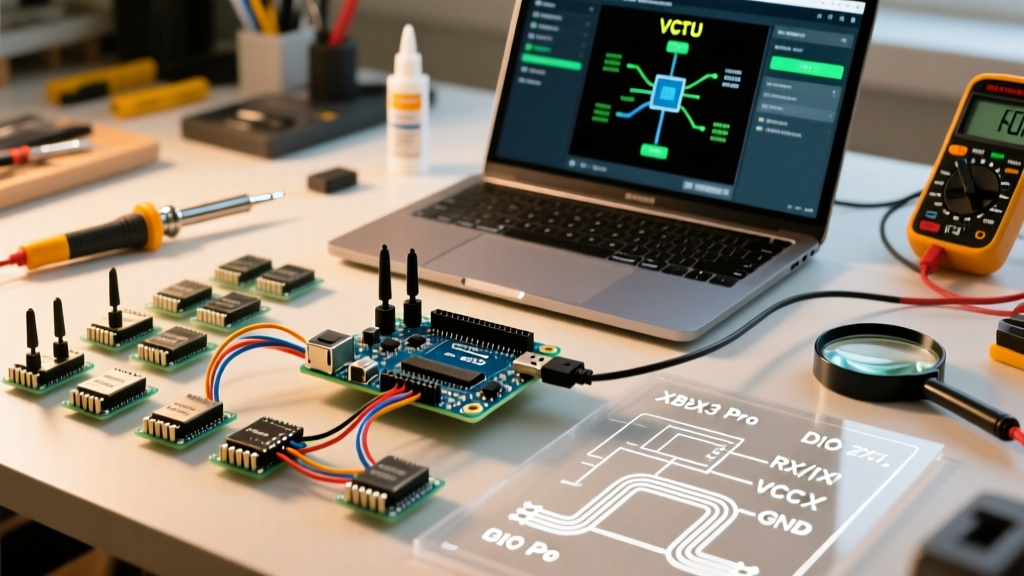
Before wiring the module to the Arduino, you must configure its firmware and network parameters using Digi's XCTU software. We will configure the module as a Zigbee Router using API Mode rather than Transparent (AT) mode. API mode frames the data, allowing the Arduino to distinguish between RF payload data and network status messages.
Step-by-Step XCTU Configuration
- Flash Firmware: Insert the XBee3 into the USB Explorer. In XCTU, select 'Zigbee 3.0 Router' firmware and update to the latest version (8009 or newer as of 2026).
- Set API Mode: Locate the
AP(API Enable) parameter. Set it to1(API without escapes). This is critical for the Arduino parsing library. - Configure PAN ID: Set the
ID(Operating PAN ID) to match your existing Zigbee coordinator (e.g.,0x1234567890ABCDEF). If building a standalone network, leave it to0to auto-assign. - Enable Channel Verification: Set
JV(Channel Verification) to1. This forces the router to verify with the coordinator that it is on the correct channel upon joining, preventing orphaned node edge cases. - Set Node Identifier: Give your node a readable name via the
NIparameter (e.g.,ARDUINO_BME280_01).
Expert Tip: Never use Transparent Mode (AP=0) for mesh networks. If the XBee3 drops off the network and rejoins, it will broadcast join status messages. In Transparent mode, these hex status strings will be injected directly into your Arduino's Serial buffer, corrupting your sensor data payload.
Phase 2: Wiring and Power Decoupling
RF modules are highly sensitive to power supply noise. During a transmit burst, the XBee3 can draw up to 200mA for a few milliseconds. If your Arduino's onboard 3.3V LDO (Low Dropout Regulator) cannot respond fast enough, the voltage will sag, causing the XBee3 to reset or drop off the mesh.
Wiring Matrix
| XBee3 Pin | Arduino Pro Mini (3.3V) Pin | Notes |
|---|---|---|
| 1 (VCC) | VCC (3.3V) | Connect 100µF Tantalum (+) and 0.1µF Ceramic to GND here. |
| 2 (TX/DOUT) | D10 (SoftwareSerial RX) | Use SoftwareSerial to leave Hardware Serial for USB debugging. |
| 3 (RX/DIN) | D11 (SoftwareSerial TX) | Native 3.3V logic; no level shifter required. |
| 9 (Sleep_RQ) | D2 (Interrupt Pin) | Used for Pin-Sleep wake-up signaling. |
| 10 (GND) | GND | Common ground reference. |
Capacitor Placement
Solder the 100µF Tantalum capacitor as physically close to the XBee3 VCC and GND pins as possible. The Tantalum provides the bulk charge needed for the 200mA TX spike, while the 0.1µF ceramic capacitor filters high-frequency switching noise from the internal DC-DC converter of the XBee3.
Phase 3: Arduino Firmware and API Parsing
To handle the Zigbee API frames, we utilize the community-maintained XBee-Arduino library. The library handles the checksum calculation and frame boundary detection (0x7E start byte).
Core Logic Flow
Below is the structural logic for reading a BME280 sensor and transmitting it via a Zigbee Transmit Request (Frame Type 0x10).
#include <SoftwareSerial.h>
#include <XBee.h>
#include <Adafruit_BME280.h>

SoftwareSerial xbeeSerial(10, 11); // RX, TX
XBee xbee = XBee();
Adafruit_BME280 bme;

void setup() {
  Serial.begin(115200);
  xbeeSerial.begin(9600);
  xbee.setSerial(xbeeSerial);
  bme.begin(0x76);
}

void loop() {
  float temp = bme.readTemperature();
  float hum = bme.readHumidity();

  // Pack data into a byte array
  uint8_t payload[8];
  memcpy(&payload[0], &temp, 4);
  memcpy(&payload[4], &hum, 4);

  // Send to Coordinator (SH/SL = 0x00000000)
  XBeeAddress64 addr64 = XBeeAddress64(0x00000000, 0x00000000);
  ZBTxRequest zbTx = ZBTxRequest(addr64, payload, sizeof(payload));

  xbee.send(zbTx);

  // Put Arduino and XBee to sleep for 5 minutes
  enterDeepSleep();
}
Advanced: Implementing Pin-Sleep for Ultra-Low Power
If you are building a battery-powered node, standard delay() functions are unacceptable because the microcontroller remains active, drawing ~15mA. To achieve a total system sleep current of under 50µA, you must synchronize the Arduino's sleep state with the XBee3's Pin Sleep mode.
- XCTU Setup: Set
SM(Sleep Mode) to2(Pin Sleep). In this mode, the XBee3 sleeps indefinitely until Pin 9 (DIO8) is pulled HIGH. - Arduino Wake Sequence: Use the
avr/sleep.hlibrary to put the ATmega328P intoPOWER_DOWNmode. - Timing: Use a low-power external RTC (like the DS3231) or a TPL5110 timer IC to trigger a hardware interrupt every 15 minutes. The interrupt wakes the Arduino, which then pulls XBee Pin 9 HIGH to wake the radio, takes a sensor reading, transmits, and returns to sleep.
Troubleshooting Common Edge Cases
1. Node Fails to Join the Network
Symptom: The XBee3 Association LED blinks rapidly but never turns solid.
Fix: This is almost always a security key mismatch. Zigbee 3.0 uses an Install Code or a predefined Network Encryption Key. Ensure the KY parameter on your Router matches the Coordinator's Link Key. If using a commercial hub like Home Assistant, you may need to enable 'Permit Join' and set the XBee3 CE (Device Type) to 2 to allow standard network joining.
2. High Packet Loss in Mesh Topology
Symptom: Sensor data arrives sporadically, or the Transmit Status frame returns an 0x21 (Network ACK Failure) error.
Fix: Zigbee operates on the 2.4GHz band, competing with Wi-Fi. Use XCTU's 'Active Scan' feature to view the RF spectrum. If your local Wi-Fi is saturating channels 1, 6, and 11, force your Zigbee coordinator to use Zigbee Channel 25 (2.475 GHz) via the CH parameter, which sits entirely outside standard Wi-Fi bandwidths.
3. Brownouts During Transmission
Symptom: The Arduino resets or the XBee3 drops off the network exactly when attempting to send data.
Fix: Your power supply lacks transient response capability. Verify the ESR (Equivalent Series Resistance) of your 100µF capacitor. Cheap electrolytic capacitors have high ESR and fail to deliver fast current spikes. Switch to a low-ESR Tantalum or Polymer capacitor placed directly across the VCC/GND rails of the XBee3 footprint.
Summary
Interfacing Zigbee and Arduino via the XBee3 platform provides a professional-grade, low-power mesh networking solution. By respecting 3.3V logic levels, implementing proper RF decoupling, and utilizing API mode for structured data parsing, you can build robust IoT sensor networks that rival commercial deployments. Always leverage XCTU to pre-configure network security and sleep parameters before deploying nodes into the field.