
The NodeMCU ESP8266 development board remains a cornerstone of IoT prototyping and general electronics DIY. However, transitioning from 5V Arduino ecosystems to the 3.3V environment of the ESP8266 introduces severe hardware and software compatibility hurdles. Mismatched logic levels, physical form-factor quirks, and boot-strapping pin conflicts can instantly destroy your microcontroller or cause inexplicable compilation and runtime failures. This comprehensive compatibility guide dissects the exact electrical, physical, and software parameters required to safely integrate the NodeMCU with legacy shields, modern sensors, and the Arduino IDE.
The 3.3V vs 5V Logic Threshold: Avoiding Silicon Death
The most critical compatibility barrier is the voltage logic threshold. The ESP8266EX chip operates at 3.3V, and its GPIO pins are not 5V tolerant. According to the Espressif ESP8266EX Datasheet, the absolute maximum voltage on any GPIO pin is 3.6V. Applying a 5V logic HIGH from a standard Arduino shield or sensor will permanently degrade the silicon, leading to shorted pins or total SoC failure.
Level Shifting Strategies for 5V Peripherals
When interfacing 5V modules (like the classic HC-SR04 ultrasonic sensor or 5V I2C LCD displays), you must step down the output signals.
- Voltage Dividers: For low-speed, unidirectional signals (like the HC-SR04 Echo pin), a simple resistor voltage divider using a 1kΩ and 2kΩ resistor will drop 5V down to a safe ~3.33V.
- MOSFET-Based Shifters: For bidirectional buses like I2C, use a BSS138 N-channel MOSFET logic level converter module. These safely translate 3.3V to 5V without the signal degradation seen in resistor networks.
- Dedicated ICs: For high-speed SPI or multi-line parallel shifts, the Texas Instruments TXB0108 or CD4050B non-inverting buffer ICs provide clean, low-latency translation.
Rule of Thumb: If a sensor datasheet specifies VCC as 4.5V-5.5V and outputs a digital HIGH at VCC, treat it as hostile to the NodeMCU GPIO pins until level-shifted.
Physical Form Factor: Breadboard and Shield Alignment
Unlike the Arduino Nano, the standard NodeMCU v3 (LoLin/Amica clone) features a wider PCB footprint. The distance between the two rows of header pins is typically 0.9 inches (22.86mm), though some wider clones measure up to 31mm. A standard solderless breadboard has a center gap of 0.3 inches, with 5-hole rows on either side.
If you plug a wide NodeMCU directly into a standard breadboard, it will cover all 5 holes on one side, leaving zero room for jumper wires. The Workaround: You must offset the board by one row (straddling the center gap asymmetrically) or invest in a dedicated NodeMCU breadboard adapter shield, which breaks the pins out to a standard 0.7-inch spacing while providing a secondary 5V/3.3V power rail.
Standard Arduino Shield Workarounds
Standard Arduino Uno shields will not physically align with the NodeMCU pinout. The NodeMCU lacks the ICSP header, and the GPIO mapping does not match the Uno's ATmega328P ports. To use Uno shields, you must use a generic "ESP8266 Shield Adapter" breakout board, which remaps the physical Uno R3 header footprint to the NodeMCU's edge pins via jumper wires.
Arduino IDE & ESP8266 Core Version Matrix
Software compatibility is just as fragile as hardware. The ESP8266 Community Arduino Core is maintained independently of Arduino's official AVR cores. Mismatched IDE versions and Board Manager URLs cause frequent "esptool" upload failures and missing library dependencies.
| Arduino IDE Version | Recommended ESP Core | Board Manager URL | Known Compatibility Notes |
|---|---|---|---|
| 1.8.19 (Legacy) | 3.0.2 | Stable JSON | Best for older libraries; lacks modern Serial Monitor features. |
| 2.2.x / 2.3.x | 3.1.2 | Stable JSON | Optimal. Handles 74880 baud bootloader garbage gracefully. |
| IDE Web / Cloud | Not Recommended | N/A | Fails to access local filesystem (SPIFFS/LittleFS) upload tools. |
Note: Always add http://arduino.esp8266.com/stable/package_esp8266com_index.json to your Additional Boards Manager URLs in the IDE preferences.
Boot Strapping Pins: The Hidden Compatibility Killer
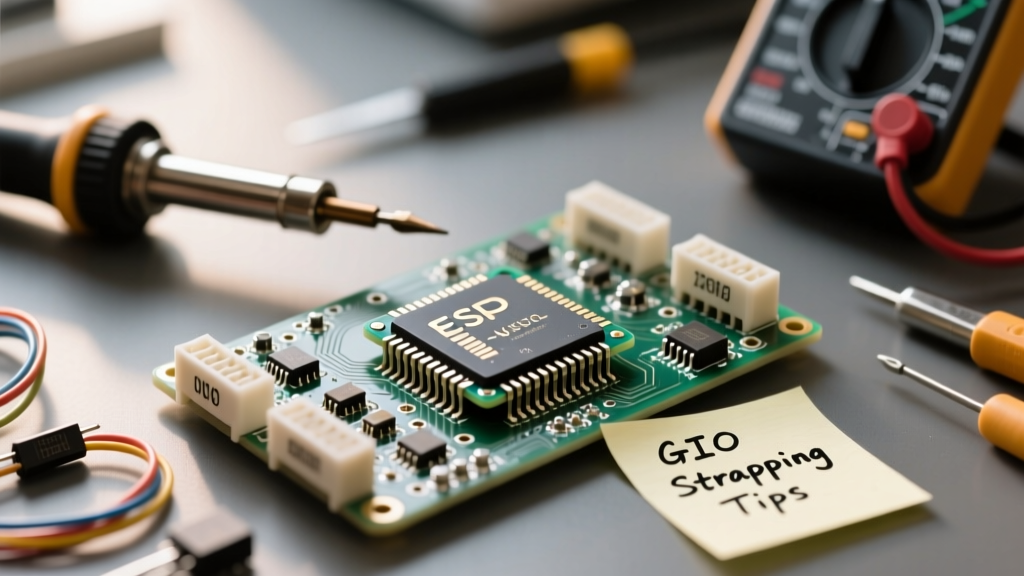
A frequent point of failure when connecting shields or sensors is ignoring the ESP8266 boot-strapping requirements. During power-on or reset, the chip reads specific GPIO pins to determine its boot mode. If your attached hardware forces these pins into the wrong state, the NodeMCU will fail to execute your sketch.
- GPIO15 (D8): Must be LOW at boot. If you connect an SPI device with a 10k pull-up resistor on the Chip Select (CS) line to GPIO15, the board will hang in SDIO boot mode.
- GPIO0 (D3): Must be HIGH at boot for normal execution. If held LOW, it enters UART download mode (flashing mode).
- GPIO2 (D4): Must be HIGH at boot. This pin is also tied to the onboard blue LED.
Always consult the Official NodeMCU Firmware Documentation regarding pin states before hardwiring SPI or I2C peripherals to strapping pins.
Peripheral Protocols: I2C, SPI, and UART Mapping
The silkscreen on the NodeMCU board uses "D" numbers (e.g., D1, D2), which map to internal ESP8266 GPIO numbers. Confusing these two naming conventions is the leading cause of "device not found" I2C errors.
Sensor Compatibility Quick-Reference Table
| Protocol | NodeMCU Silkscreen | Internal GPIO | Compatibility Notes & Pull-ups |
|---|---|---|---|
| I2C SDA | D2 | GPIO 4 | Requires 4.7kΩ pull-up to 3.3V if sensor lacks them. |
| I2C SCL | D1 | GPIO 5 | Standard 100kHz/400kHz supported. No 1MHz Fast Mode+. |
| SPI MOSI | D7 | GPIO 13 | Hardware SPI (HSPI). Use for SD cards and TFT displays. |
| SPI MISO | D6 | GPIO 12 | Do not use for high-impedance inputs without buffering. |
| SPI SCK | D5 | GPIO 14 | Max reliable clock speed is typically 20MHz on breadboards. |
| SPI CS | D8 | GPIO 15 | WARNING: Boot strapping pin. Must be LOW at boot. |
Power Delivery Constraints and Brownout Prevention
Finally, power compatibility dictates system stability. The NodeMCU v3 utilizes an AMS1117-3.3 linear voltage regulator. While the datasheet claims an 800mA output, the SOT-223 package on the PCB lacks adequate heatsinking. Pushing beyond 400mA continuous draw will cause thermal throttling and voltage droop.
Furthermore, when the ESP8266 transmits Wi-Fi data, it draws transient current spikes of up to 300mA. If you are powering the board via a low-quality USB cable or an unpowered USB hub, the cable's resistance will cause a voltage drop at the micro-USB port. This triggers the onboard brownout detector, resulting in endless reboot loops (visible as "wdt reset" or "Fatal exception" in the Serial Monitor).
Solution: Always use a high-quality, short USB cable with 22AWG power wires for development. If your project requires driving 5V servos, LED strips, or high-draw relays, bypass the NodeMCU's onboard regulator entirely. Supply 5V directly to the peripheral and use a dedicated 3.3V buck converter (like the MP1584EN) to feed the NodeMCU's 3V3 pin directly.