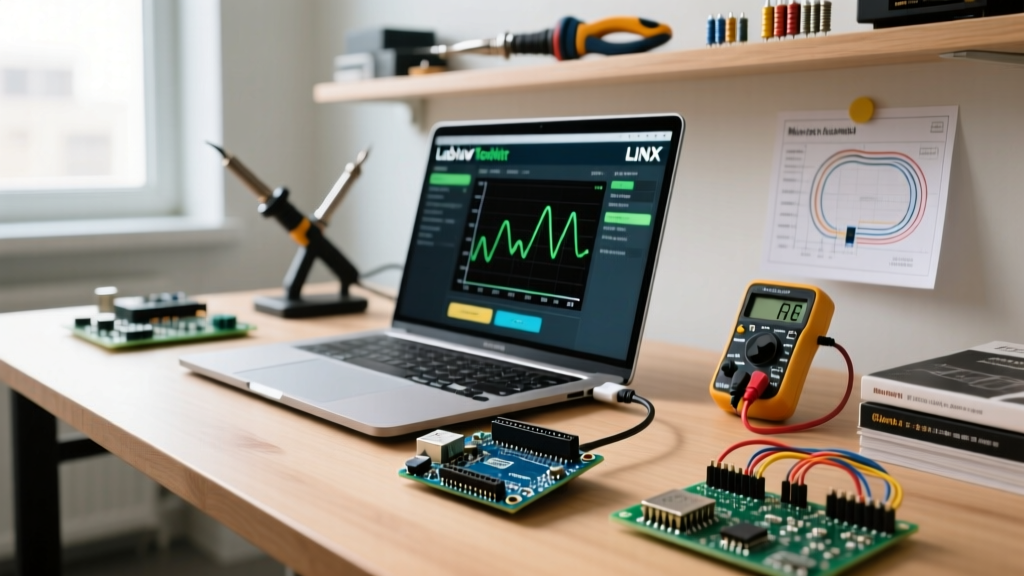

Why Integrate LabVIEW and Arduino?
For decades, engineers relied on National Instruments (NI) DAQmx hardware for high-fidelity data acquisition (DAQ). However, a standard PCIe-6363 multifunction I/O device costs upwards of $1,800. Today, the LabVIEW Arduino integration via the open-source LINX toolkit bridges this gap. It allows makers, researchers, and students to leverage LabVIEW's powerful graphical programming and analytics environment alongside accessible microcontrollers like the $45 Arduino Mega 2560 or the $28 Arduino Uno R4 Minima.
This tutorial provides a deep-dive, step-by-step guide to establishing a robust USB-serial DAQ pipeline, flashing the correct firmware, and building a Virtual Instrument (VI) that reads, scales, and logs analog sensor data without encountering common serial timeout errors.
Hardware Bill of Materials (BOM) & Prerequisites
Before opening the IDE, ensure you have the correct hardware. Not all Arduino clones handle the high-speed serial polling required by LabVIEW gracefully. We recommend genuine boards or high-quality clones with native USB-to-UART chips (like the ATmega16U2).
| Component | Estimated Cost | Role & Notes |
|---|---|---|
| Arduino Mega 2560 Rev3 | $45.00 | 16 analog pins, 5V logic, 10-bit ADC. Ideal for multi-sensor DAQ. |
| Arduino Uno R4 Minima | $28.00 | 14-bit ADC (defaults to 10-bit), USB-C. Great for compact setups. |
| Shielded USB Cable | $8.00 - $12.00 | Critical: Unshielded cables cause serial packet drops in noisy labs. |
| TMP36 Analog Temp Sensor | $2.50 | Test sensor for analog scaling (Vout = 10mV/°C + 500mV offset). |
Software Prerequisites: You need LabVIEW (2023 or newer recommended for full R4 compatibility), the NI Package Manager (NIPM), and the MakerHub LINX GitHub Repository toolkit installed. You can use the free LabVIEW Community Edition for non-commercial projects, available via the NI LabVIEW Official Product Page.
Phase 1: Installing the LINX Toolkit
The LINX toolkit replaces outdated VISA serial string-parsing methods with a structured, packet-based communication protocol. This ensures data integrity and allows LabVIEW to directly call hardware APIs on the microcontroller.
- Open NI Package Manager (NIPM) from your Windows Start Menu.
- Search for
LabVIEW LINXin the top search bar. - Select the LINX package and click Install. Ensure you select the add-on for your specific LabVIEW version (e.g., 2024 or 2025).
- Restart LabVIEW to allow the palette to compile. You will now find the LINX palette under Functions Palette > MakerHub > LINX.
Phase 2: Flashing the LINX Firmware
The most common point of failure in a LabVIEW Arduino setup is attempting to communicate with a board running standard user sketches. LINX requires a dedicated C++ firmware sketch to be uploaded to the Arduino to interpret LabVIEW's binary command packets.
Step-by-Step Firmware Upload
- Connect your Arduino to your PC via USB. Open the Arduino Software IDE momentarily to verify which COM port your board is assigned to (e.g., COM3).
- Close the Arduino IDE. If the IDE's Serial Monitor is open, it will lock the COM port, causing LabVIEW to throw a 'Port in Use' error.
- Open LabVIEW and navigate to Tools > MakerHub > LINX > Firmware Wizard.
- Select your target device (e.g., Arduino Mega 2560) and the correct COM port.
- Click Install Firmware. The wizard will compile and upload the LINX sketch via the bundled avrdude toolchain. Wait for the 'Success' prompt.
Pro Tip: If the Firmware Wizard fails with a timeout, check your Windows Device Manager. Some cheap Arduino clones use the CH340 UART chip, which requires a specific, manually installed driver that the LINX wizard does not bundle. Genuine boards use the ATmega16U2, which installs automatically.
Phase 3: Building Your First DAQ Virtual Instrument (VI)
Let's build a VI that reads the TMP36 temperature sensor connected to Analog Pin 0 (A0) and plots it on a waveform chart in real-time.
Front Panel Design
Right-click the Front Panel and add the following controls and indicators:
- Waveform Chart: To visualize temperature over time.
- Numeric Indicator: To display the exact scaled temperature in °C.
- Stop Button: A boolean switch to safely terminate the loop and close the serial port.
Block Diagram Architecture & Timing
Switch to the Block Diagram. The architecture must follow a strict Open-Read-Close lifecycle to prevent memory leaks and serial buffer overflows.
- Initialize: Place the
Opennode (from LINX palette). Wire a VISA resource name constant set to your COM port (e.g., ASRL3::INSTR) and a baud rate of 115200. - The While Loop: Enclose your read logic in a While Loop. Wire the Stop Button to the conditional terminal.
- Poll the Sensor: Inside the loop, place the
Analog Readnode. Wire theResourceoutput from the Open node to this node, and specify Channel 0. - Scale the Data: The Arduino Mega returns a 10-bit integer (0-1023). You must convert this to voltage, then to Celsius.
- Voltage Math: Multiply the raw integer by (5.0 / 1023.0).
- Temperature Math: Multiply Voltage by 1000 to get mV, subtract 500 (the TMP36 offset), and divide by 10.
- CRITICAL TIMING NODE: You must place a
Wait (ms)node inside the loop and wire a constant of 100 (for 10Hz sampling). Without this, the While Loop will execute thousands of times per second, flooding the Arduino's 64-byte serial buffer and causing LabVIEW to crash with Error -5001. - Cleanup: Outside the loop, place the
Closenode to free the COM port when the VI stops.
Troubleshooting Matrix: Common LINX Errors
Even with perfect wiring, environmental factors and software conflicts can disrupt serial DAQ. Use this matrix to diagnose issues rapidly.
| Error Code | Description | Root Cause & Exact Fix |
|---|---|---|
| Error -5001 | Serial Timeout / Buffer Overflow | Cause: LabVIEW is polling faster than the Arduino can process and reply. Fix: Ensure a Wait (ms) node (minimum 50ms) is inside your While Loop. |
| Error -2147220990 | VISA Resource Busy | Cause: Another application has locked the COM port. Fix: Close the Arduino IDE Serial Monitor, Cura (3D printing software), or any Python scripts using the port. |
| Error 1074003951 | Firmware Mismatch / Handshake Fail | Cause: The board is running a user sketch instead of the LINX firmware. Fix: Re-run the LINX Firmware Wizard and verify the COM port selection. |
| Garbage Data / NaN | Scaling Math Returns NaN | Cause: Dividing by zero or using 14-bit math on a 10-bit board. Fix: Verify your ADC resolution divisor (1023 for Mega/Uno R3, 16383 for R4 in 14-bit mode). |
Advanced 2026 Context: Network Streaming with Arduino R4 WiFi
While USB-serial is reliable for benchtop setups, modern test rigs often require isolation or remote placement. The Arduino Uno R4 WiFi introduces a native ESP32-S3 co-processor, allowing you to bypass USB entirely.
Using the LINX toolkit's TCP/IP resource mode, you can flash the WiFi variant of the LINX firmware, assign a static IP to the Arduino on your local subnet, and connect LabVIEW using a standard TCP socket. This eliminates USB ground loop noise—a massive advantage when measuring low-voltage analog signals (under 50mV) in environments with heavy AC mains interference. When using TCP mode, remember to implement a software handshake in your VI to handle network latency spikes, replacing the hardware flow control inherent to USB-serial connections.
Conclusion
Mastering the LabVIEW Arduino pipeline transforms a $45 microcontroller into a highly capable, GUI-driven data logger. By respecting the serial buffer limits, utilizing proper timing nodes, and applying correct ADC scaling math, you can build professional-grade test fixtures at a fraction of the cost of traditional DAQmx hardware. Always remember to close your VISA resources, and your VIs will run reliably for weeks on end.