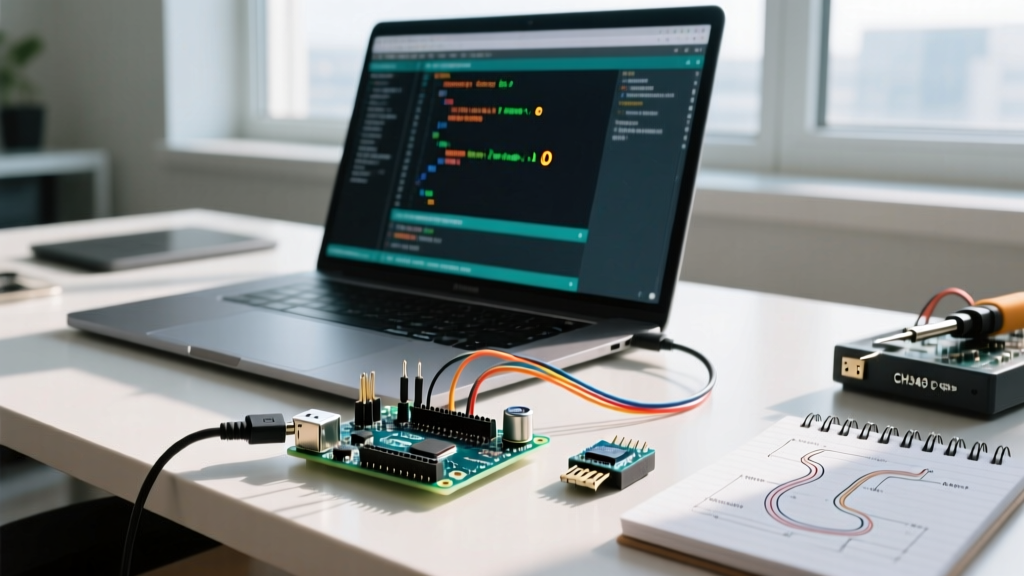

The AI-Thinker ESP32-CAM module remains one of the most popular, cost-effective development boards for DIY computer vision, IoT security cameras, and edge-AI projects. However, its low price point comes with a labyrinth of hardware quirks, proprietary pinouts, and power delivery bottlenecks that frequently trap both beginners and advanced makers. If you have ever experienced a fried voltage regulator, a boot-looping SD card slot, or a physically incompatible lens mount, you are not alone.
This comprehensive compatibility guide cuts through the guesswork. We will examine the exact hardware specifications, sensor ribbon cable orientations, optical threading limits, and power requirements necessary to build a reliable ESP32-CAM module project in 2026 and beyond.
Camera Sensor Compatibility: OV2640, OV5640, and the FPC Trap
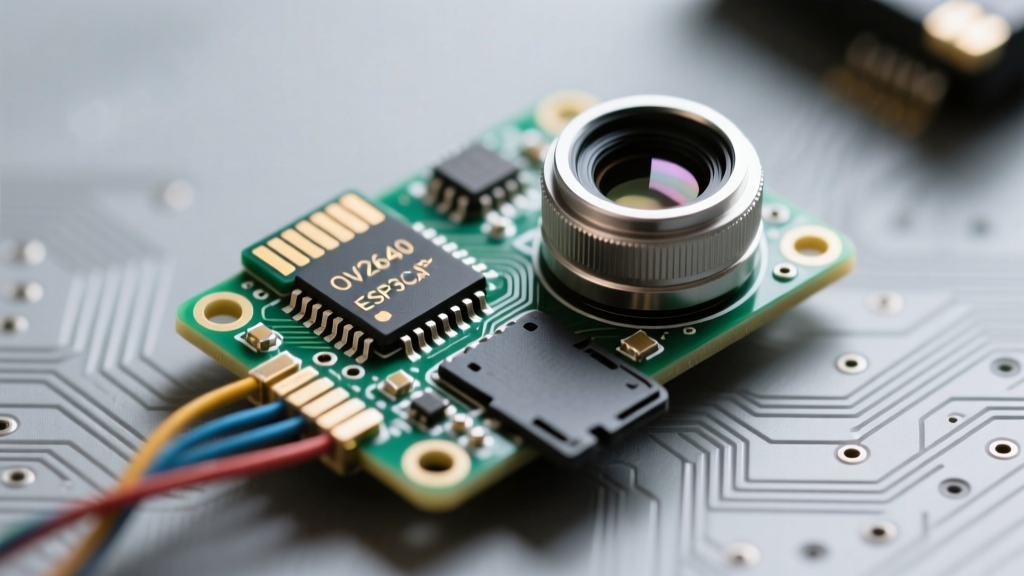
The standard ESP32-CAM ships with the OmniVision OV2640, a 2-megapixel sensor capable of 1600x1200 resolution at 15fps. Many makers attempt to upgrade to the 5-megapixel OV5640 or the low-light optimized OV7725. While the ESP32's XCLK and DVP (Digital Video Port) interfaces theoretically support these sensors, the physical Flexible Printed Circuit (FPC) connector is where most upgrades fail catastrophically.
The AI-Thinker board utilizes a 24-pin, 0.5mm pitch FPC connector. Crucially, this connector is wired for bottom-contact ribbon cables. Many third-party camera modules (including some designed for the Raspberry Pi or Arducam shields) use top-contact cables. If you plug a top-contact cable into the AI-Thinker's bottom-contact FPC latch, you will instantly short the 3.3V VCC line to ground or the data pins, permanently frying the onboard LDO or the ESP32-S chip.
Expert Troubleshooting Tip: Before seating any replacement camera module, use a multimeter in continuity mode to map the GND and VCC pins on the ribbon cable against the silkscreen on the ESP32-CAM PCB. Always ensure the blue stiffener tab on the FPC cable faces the correct direction as dictated by your specific board's FPC latch mechanism.
Optical Upgrades: M12 Lens Threading and Physical Clearance
The stock OV2640 sensor on the ESP32-CAM module features a standard M12x0.5 thread (S-mount). This allows you to swap the default 75-degree lens for telephoto, macro, or wide-angle alternatives. However, physical PCB clearance is a major compatibility hurdle.
The 160-Degree Wide-Angle Trap
When upgrading to a 160-degree or 170-degree fisheye M12 lens, the rear optical element and the threading barrel are often longer than the stock lens. As you thread the wide-angle lens into the OV2640 housing, the base of the lens will collide with the surrounding SMD components—specifically the flash LED resistor network and the EMI shielding—before the lens can reach the sensor's focal plane. This results in severe vignetting and an inability to focus.
The Solution: You must use an M12 spacer ring (typically 2mm to 4mm thick) or carefully desolder the onboard flash LED (GPIO 4) if it obstructs the lens barrel. For telephoto lenses (e.g., 12mm or 16mm focal length), clearance is rarely an issue, but you must ensure the lens includes an integrated IR-cut filter, as the OV2640 lacks one and will render colors incorrectly in daylight without it.
The GPIO 12 Boot Loop: MicroSD Card and SPI Conflicts
The ESP32-CAM includes a MicroSD card slot wired to the ESP32's VSPI bus. While this is excellent for local data logging, it introduces a notorious hardware conflict involving GPIO 12 (MTDI).
GPIO 12 is a strapping pin on the ESP32. During boot, if GPIO 12 is pulled HIGH, the chip enters SDIO boot mode and will fail to execute your sketch, resulting in a continuous boot loop or a rst:0x10 (RTCWDT_RTC_RESET) error in the serial monitor. Many MicroSD cards, particularly higher-capacity SDXC cards, have internal pull-up resistors on their data lines that inadvertently pull GPIO 12 HIGH during the boot sequence.
SD Card Compatibility Matrix
| Card Type | Capacity | File System | ESP32-CAM Compatibility |
|---|---|---|---|
| SDHC (Class 10) | 8GB - 32GB | FAT32 (Default) | Excellent. Highly recommended. SanDisk Ultra and Samsung EVO perform best. |
| SDXC (UHS-I) | 64GB - 128GB | exFAT / FAT32 | Poor. exFAT is unsupported by the default SD_MMC library. Formatting to FAT32 with 32KB clusters works intermittently but risks GPIO 12 boot loops. |
| MicroSD (Class 4) | 2GB - 4GB | FAT16 / FAT32 | Good. Reliable, but write speeds may bottleneck high-resolution JPEG capture. |
To mitigate the GPIO 12 strapping pin issue, always insert the MicroSD card after the ESP32 has booted, or use a customized baseboard that includes a hardware jumper to isolate the SD slot during programming. For deeper insights into SPI bus mapping and strapping pins, refer to the official Espressif SDSPI documentation.
Power Delivery Bottlenecks and Brownout Resets
The most common point of failure for the ESP32-CAM module is not the code, but the power supply. The board relies on an onboard AMS1117-3.3 linear voltage regulator. When transmitting over Wi-Fi while simultaneously initializing the camera sensor, the ESP32 can draw current spikes exceeding 500mA.
The AMS1117-3.3 is rated for 800mA continuous, but it lacks adequate heatsinking on the tiny PCB. During high-load operations, the regulator experiences thermal throttling, causing the 3.3V rail to sag to 2.8V or lower. This triggers the ESP32's internal brownout detector, resetting the board endlessly. You will see brownout detector was triggered in your serial output.
Hardware Power Fixes
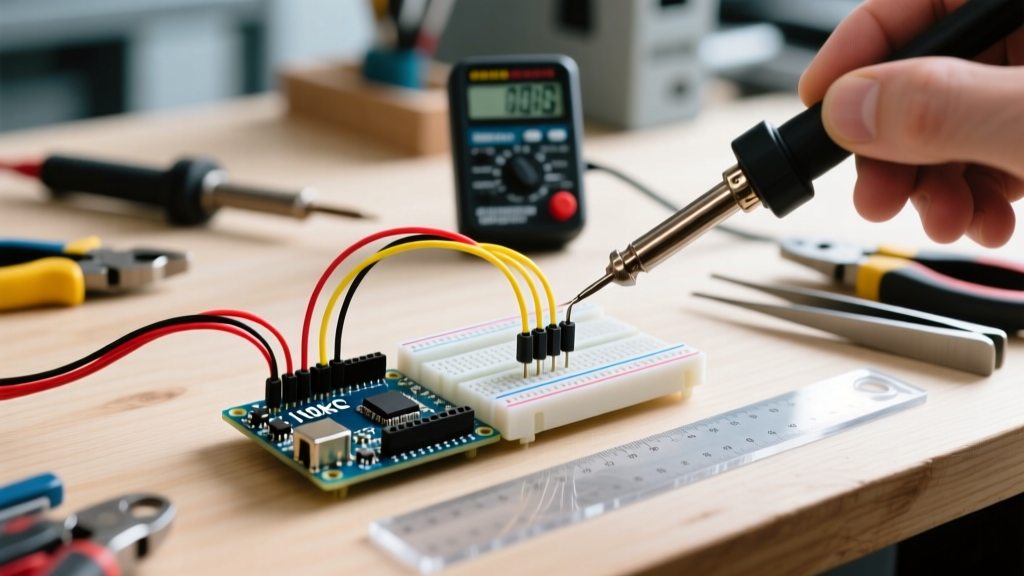
- Capacitor Upgrade: Solder a 470µF to 1000µF electrolytic capacitor (rated for 10V or higher) directly across the 5V and GND header pins. This provides a local energy reservoir to absorb Wi-Fi TX spikes.
- External LDO Bypass: For permanent installations, bypass the onboard AMS1117 entirely. Feed a clean, external 3.3V supply (capable of 1A+) directly into the 3.3V header pin, ensuring you do not simultaneously supply 5V to the board.
- Disable the Flash LED: If you do not need the onboard flash, ensure GPIO 4 is explicitly set to LOW in your setup code. Leaving it floating or accidentally HIGH drains an unnecessary 100mA+.
IDE and Board Manager Compatibility Matrix
Software compatibility is just as critical as hardware. The Espressif Arduino Core undergoes frequent changes that can break legacy camera sketches. Below is a compatibility guide for managing your development environment.
| IDE / Framework | ESP32 Core Version | Camera API Status | Notes & Required Actions |
|---|---|---|---|
| Arduino IDE 2.x | 2.0.14 - 2.0.17 | Stable | Best for legacy esp_camera.h sketches. Ensure 'AI Thinker ESP32-CAM' is selected in the board manager. |
| Arduino IDE 2.x | 3.0.0+ | Refactored | Core 3.0.x updated the underlying ESP-IDF to v5.1. Some older camera pin definitions and PSRAM allocation methods require syntax updates. |
| PlatformIO (VS Code) | espressif32 @ 6.5.0+ | Highly Stable | Recommended for production. Allows precise pinning of the ESP-IDF framework version, preventing unexpected OTA breakage. |
When compiling, always ensure that PSRAM is enabled in your board definitions. The OV2640 requires the external 4MB PSRAM to buffer frames at resolutions above QVGA. Without PSRAM enabled in the IDE, the camera initialization will silently fail or return a Camera init failed with error 0x20004.
Final Pre-Flight Checklist
Before deploying your ESP32-CAM module into an enclosure or field environment, verify the following:
- FPC ribbon cable orientation matches the bottom-contact requirement.
- A 470µF+ capacitor is installed on the 5V rail to prevent brownouts.
- MicroSD card is SDHC (32GB max) and formatted to FAT32 with 32KB clusters.
- PSRAM is explicitly enabled in the Arduino IDE or PlatformIO
platformio.inifile. - M12 lens threading does not physically compress the SMD components on the PCB.
By respecting the hardware limitations and understanding the pinout quirks of the ESP32-CAM, you can transform this $8 module from a frustrating prototype into a highly reliable, long-term edge computing node. For further debugging steps regarding serial monitor errors, the Random Nerd Tutorials ESP32-CAM Troubleshooting Guide remains an invaluable community resource.