
Mastering the DHT11 for Arduino: A Complete 2026 Guide
The Aosong DHT11 remains one of the most ubiquitous entry-level environmental sensors in the maker community. Despite the rise of more advanced I2C alternatives, the DHT11 for Arduino projects is still a rite of passage due to its ultra-low cost and simple single-bus digital interface. However, its reliance on strict microsecond timing often leads to frustration for beginners encountering "NaN" (Not a Number) errors or checksum failures.
This comprehensive tutorial moves beyond basic copy-paste code. We will dissect the single-bus protocol, provide a robust wiring strategy for both bare sensors and PCB modules, and detail advanced troubleshooting techniques to eliminate read errors permanently.
Hardware Specifications and Real-World Limitations
Before wiring the sensor, it is critical to understand the physical limitations of the DHT11. As of 2026, a bare DHT11 sensor costs roughly $1.20 to $1.80, while a 3-pin PCB module (which includes the necessary pull-up resistor and filter capacitor) ranges from $3.50 to $5.00.
| Parameter | Specification | Real-World Note |
|---|---|---|
| Operating Voltage | 3.3V to 5.5V DC | Tolerant of 3.3V logic (ESP32/RP2040) and 5V (Uno R3/R4). |
| Temperature Range | 0°C to 50°C | Accuracy is ±2°C. Not suitable for freezing environments. |
| Humidity Range | 20% to 90% RH | Accuracy is ±5% RH. Condensation will permanently damage the sensor. |
| Sampling Rate | 1 Hz (1 reading/sec) | Polling faster than 1000ms will cause the sensor to lock up or return stale data. |
| Communication | Single-bus Digital | Requires precise microsecond timing; highly susceptible to interrupt jitter. |
The Single-Bus Protocol: Why Timing Matters
Unlike I2C or SPI, the DHT11 uses a proprietary single-bus protocol. The host microcontroller (your Arduino) must initiate communication by pulling the data line LOW for at least 18 milliseconds. It then releases the line HIGH for 20-40 microseconds. The DHT11 responds by pulling the line LOW for 80 microseconds, followed by 80 microseconds HIGH.
After this handshake, the sensor transmits 40 bits of data (16 bits for humidity, 16 bits for temperature, and an 8-bit checksum). Each bit begins with a 50-microsecond LOW pulse; a short HIGH pulse (26-28µs) indicates a '0', while a long HIGH pulse (70µs) indicates a '1'. If background interrupts (like Serial buffering or timer routines) disrupt the Arduino micros() function during this sequence, the bitstream desynchronizes, resulting in a checksum error. For a deeper dive into the library implementation, refer to the Adafruit DHT Sensor Guide.
Wiring the DHT11: Bare Sensor vs. PCB Module
The wiring topology changes depending on whether you are using the raw 4-pin blue package or a 3-pin breakout module.
Scenario A: Using the 3-Pin PCB Module
Modules are highly recommended for prototyping. They feature an onboard 4.7kΩ pull-up resistor and a 100nF decoupling capacitor.
- VCC / + : Connect to 5V on the Arduino Uno R4 (or 3.3V for ESP32).
- GND / - : Connect to Arduino GND.
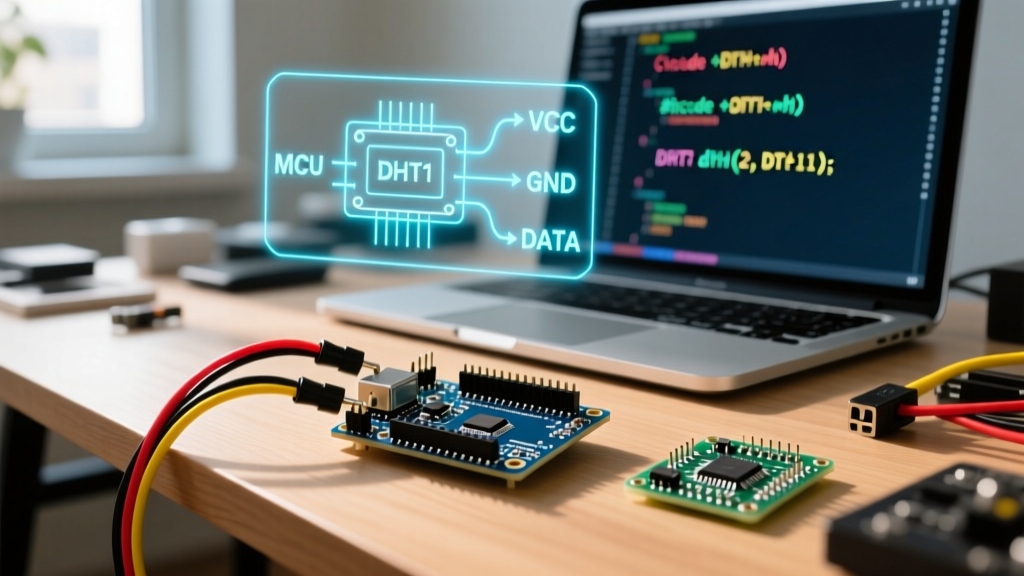
- DATA / OUT : Connect to Digital Pin 2.
Scenario B: Using the Bare 4-Pin Sensor
The bare sensor lacks a pull-up resistor. Without it, the data line will float, causing random garbage values.
- Pin 1 (Left): VCC (5V).
- Pin 2: Data. Connect to Digital Pin 2 AND connect a 4.7kΩ resistor between Pin 2 and VCC.
- Pin 3: NC (No Connect). Leave this pin completely unconnected.
- Pin 4 (Right): GND.
Pro-Tip for Long Wire Runs: If your DHT11 is mounted more than 2 meters away from the Arduino, the parasitic capacitance of the wire will degrade the square-wave edges. Reduce the pull-up resistor to 2.2kΩ or 1kΩ to provide a stronger pull-up current and sharpen the signal rise times.
Arduino C++ Sketch: Robust DHT11 Reading
We will use the modern Adafruit DHT library, which handles the low-level interrupt disabling and timing much more gracefully than legacy libraries. Install the "DHT sensor library" and its dependency "Adafruit Unified Sensor" via the Arduino Library Manager.
#include "DHT.h"

// Define the pin and sensor type
#define DHTPIN 2
#define DHTTYPE DHT11

// Initialize DHT sensor
DHT dht(DHTPIN, DHTTYPE);

void setup() {
  Serial.begin(115200);
  Serial.println("DHT11 Initialization Sequence...");

  // The library requires a brief stabilization period
  dht.begin();
  delay(2000); // DHT11 requires 1-2 seconds to stabilize on boot
}

void loop() {
  // Wait a minimum of 2 seconds between readings (1Hz max sampling rate)
  delay(2000);

  // Reading temperature or humidity takes about 250ms
  float humidity = dht.readHumidity();
  // Read temperature as Celsius (the default)
  float tempC = dht.readTemperature();
  // Read temperature as Fahrenheit
  float tempF = dht.readTemperature(true);

  // Check if any reads failed and exit early (to try again)
  if (isnan(humidity) || isnan(tempC) || isnan(tempF)) {
    Serial.println("ERROR: Failed to read from DHT11 sensor! Check wiring.");
    return;
  }

  // Compute heat index in Fahrenheit
  float hif = dht.computeHeatIndex(tempF, humidity);
  // Compute heat index in Celsius
  float hic = dht.computeHeatIndex(tempC, humidity, false);

  Serial.print("Humidity: ");
  Serial.print(humidity);
  Serial.print("% | Temp: ");
  Serial.print(tempC);
  Serial.print("°C (");
  Serial.print(tempF);
  Serial.print("°F) | Heat Index: ");
  Serial.print(hic);
  Serial.println("°C");
}
Advanced Troubleshooting: Fixing Common DHT11 Errors
Even with perfect wiring, the DHT11 is notorious for throwing errors. Here is how to diagnose and fix the most common failure modes.
1. The "NaN" (Not a Number) Error
Cause: The microcontroller failed to read a valid 40-bit sequence within the timeout window. This is almost always caused by interrupt jitter. If your sketch uses heavy `Serial.print()` statements, software serial, or timer interrupts, the CPU pauses the DHT11 read routine, ruining the microsecond timing.
Fix: Ensure you are using the latest version of the Adafruit DHT library, which temporarily disables interrupts during the 5ms read window. If using an ESP32, ensure the DHT11 data pin is not assigned to a pin used by the internal flash memory or ADC2 (which conflicts with Wi-Fi).
2. Checksum Mismatch Errors
Cause: The sensor transmitted data, but the sum of the first 4 bytes did not match the 5th byte (checksum). This indicates data corruption in transit, usually due to Electromagnetic Interference (EMI) from nearby motors, relays, or unshielded AC wiring.
Fix: Route the DHT11 data cable away from high-current DC lines or AC mains. If using a breadboard, ensure the contacts are tight; loose breadboard contacts introduce micro-disconnects that mimic EMI corruption.
3. Consistently High Temperature Readings (+3°C to +5°C)
Cause: Self-heating and thermal coupling. If the DHT11 is mounted directly above the Arduino's linear voltage regulator or the main ATmega/SAMD microcontroller chip, the heat radiating from the PCB will artificially inflate the ambient temperature reading.
Fix: Mount the DHT11 at least 10cm away from the main MCU board using a 3-wire extension cable, or enclose the sensor in a ventilated, radiation-shielded housing (like a Stevenson screen) if deploying outdoors.
Should You Upgrade? DHT11 vs. Modern Alternatives
While the DHT11 is excellent for learning the basics of single-bus protocols, its ±2°C accuracy and inability to read below 0°C limit its use in professional or precision DIY applications. Consider upgrading if your project demands higher fidelity.
| Sensor Model | Temp Accuracy | Humidity Accuracy | Interface | Best Use Case |
|---|---|---|---|---|
| DHT11 | ±2.0°C | ±5.0% RH | Single-Bus | Basic classroom demos, simple indoor logging. |
| DHT22 (AM2302) | ±0.5°C | ±2.0% RH | Single-Bus | Greenhouses, incubators, wider temp ranges (-40 to 80°C). |
| Sensirion SHT31-D | ±0.3°C | ±2.0% RH | I2C | Precision weather stations, HVAC monitoring, fast sampling. |
| BME280 | ±1.0°C | ±3.0% RH | I2C / SPI | Altitude tracking, drone telemetry (includes barometric pressure). |
Final Thoughts on Sensor Longevity
When deploying the DHT11 for Arduino projects in the field, be aware of sensor drift. The capacitive polymer layer inside the DHT11 degrades over time, especially when exposed to high humidity (>85% RH) or volatile organic compounds (VOCs) like solvents and cleaning agents. Expect a baseline drift of roughly 1% to 2% RH per year. For mission-critical environmental logging where long-term calibration stability is required, bypass the DHT series entirely and invest in an I2C-based Sensirion SHT40 or SHT31 module.