
The Bottleneck: Why Standard Polling Fails in Production
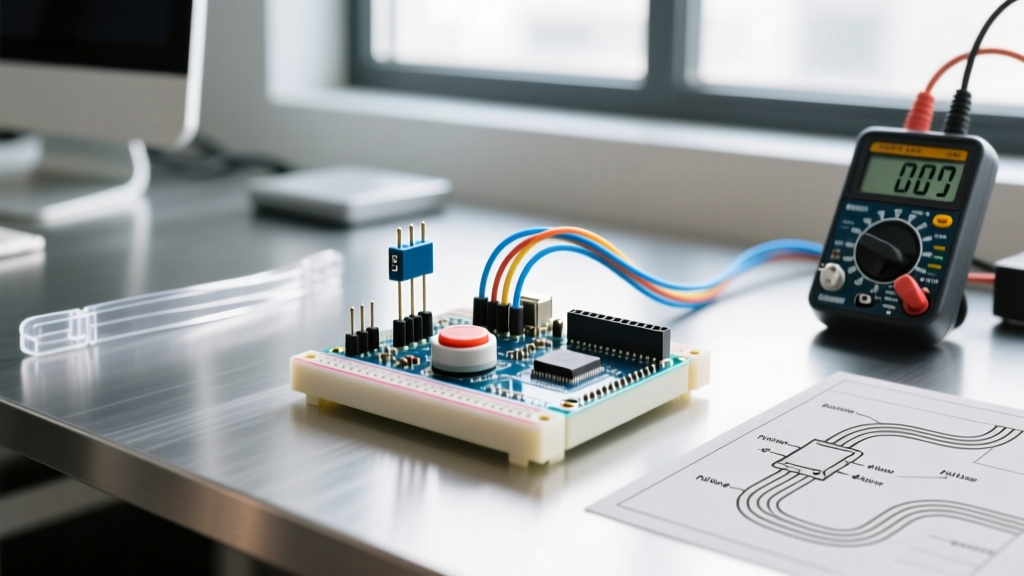
When integrating an arduino key pad into a larger microcontroller project, most makers default to direct GPIO polling. A standard 4x4 membrane matrix requires 8 digital pins and constant CPU cycle expenditure to scan rows and columns. In a simple standalone project, this is acceptable. However, in complex 2026 IoT workflows involving Wi-Fi stacks, sensor fusion, or real-time displays, blocking the main loop for keypad polling introduces latency, missed interrupts, and watchdog timer resets.
Optimizing your keypad workflow isn't just about writing cleaner code; it's about fundamentally shifting how hardware resources are allocated. By moving from direct-wired polling to I2C port expansion and interrupt-driven scanning, you can reclaim precious GPIO pins and reduce CPU overhead to near zero.
Hardware Selection Matrix: Choosing the Right Input Layer
Before writing a single line of code, selecting the correct physical interface dictates your entire wiring topology. Below is a comparative analysis of the three most common keypad architectures used in modern MCU prototyping.
| Keypad Type | Typical Cost (2026) | Pin Requirement | Actuation & Lifespan | Best Workflow Use Case |
|---|---|---|---|---|
| Standard 4x4 Membrane | $2.50 - $4.00 | 8 GPIO (Direct) | ~160g / 100k presses | Rapid proof-of-concept, sealed enclosures |
| I2C TTP229 Capacitive | $4.50 - $6.00 | 2 (SDA/SCL) | Touch / Infinite | Low-profile consumer electronics, wet environments |
| Mechanical w/ Hot-Swap | $25.00 - $45.00 | 8 GPIO + Diodes | ~45g / 50M presses | High-reliability industrial control, macro pads |
Phase 1: GPIO Reclamation via I2C Port Expansion
If your project requires a physical tactile membrane or mechanical arduino key pad but you are starved for pins (e.g., using an ESP8266 or a heavily loaded Arduino Nano), the PCF8574 I2C port expander is the industry-standard solution. Priced at roughly $2.50 per module on breakout boards, the PCF8574 translates I2C serial data into 8 parallel I/O pins.
Wiring the Expander for Matrix Scanning
Connect the 4 row pins of your keypad to P0-P3 on the PCF8574, and the 4 column pins to P4-P7. The I2C bus (SDA/SCL) connects to your microcontroller's hardware I2C pins (A4/A5 on an Uno, GPIO 21/22 on an ESP32).
Expert Hardware Note: The PCF8574 features quasi-bidirectional I/O. It lacks internal pull-up resistors for the I2C bus itself. For a standard 100kHz I2C bus, use 4.7kΩ pull-up resistors on SDA and SCL. If you push the bus to 400kHz Fast Mode to reduce scanning latency, drop the pull-ups to 2.2kΩ to overcome bus capacitance and prevent signal degradation. Reference the NXP PCF8574 Data Sheet for exact timing diagrams.
Phase 2: Interrupt-Driven Scanning vs. Polling
The traditional Arduino Playground Keypad Library relies on a getKey() function that iterates through pins. When adapted for an I2C expander, this means generating dozens of I2C transactions per second, clogging the bus and slowing down other peripherals like OLED displays.
Implementing the Hardware Interrupt (INT) Pin
Most PCF8574 breakout boards expose an active-low INT pin. This pin goes LOW whenever any of the P0-P7 pins change state.
- Wire the INT pin to a hardware-interrupt-capable GPIO on your MCU (e.g., Pin 2 or 3 on an Arduino Uno, or GPIO 4 on an ESP32).
- Configure your MCU to trigger an ISR (Interrupt Service Routine) on the
FALLINGedge. - Inside the ISR, simply set a volatile boolean flag:
volatile bool keypadEvent = true; - In your main
loop(), check the flag. If true, perform one targeted I2C scan to identify the exact key pressed, then clear the flag.
Phase 3: Eradicating Ghosting and Contact Bounce
Two silent killers of keypad workflows are ghosting and contact bounce. Understanding the physics of these failure modes is critical for production-ready firmware.
The Ghosting Phenomenon and the 1N4148 Solution
Ghosting occurs in a matrix when three keys forming a rectangle are pressed simultaneously, causing the controller to falsely register the fourth corner key as pressed. This happens because current flows backward through the closed switches.
- The Fix: Place a 1N4148 signal diode in series with every single switch, with the cathode (stripe) facing the column lines.
- Cost Impact: At roughly $0.02 per diode, a 16-key pad costs an extra $0.32 in BOM (Bill of Materials) but entirely eliminates ghosting logic errors.
- Workflow Tip: If using mechanical switches (like Gateron Milky Yellows), ensure your PCB footprint or hand-wiring schematic accounts for the diode's forward voltage drop (~0.7V), which slightly reduces the logic HIGH threshold but remains well within the TTL/CMOS tolerance of the PCF8574.
Hardware vs. Software Debouncing
Mechanical and membrane switches exhibit contact bounce lasting anywhere from 1ms to 15ms. While software debouncing (waiting 10ms before accepting a state change) is common, it introduces latency. For ultra-responsive workflows, implement hardware debouncing:
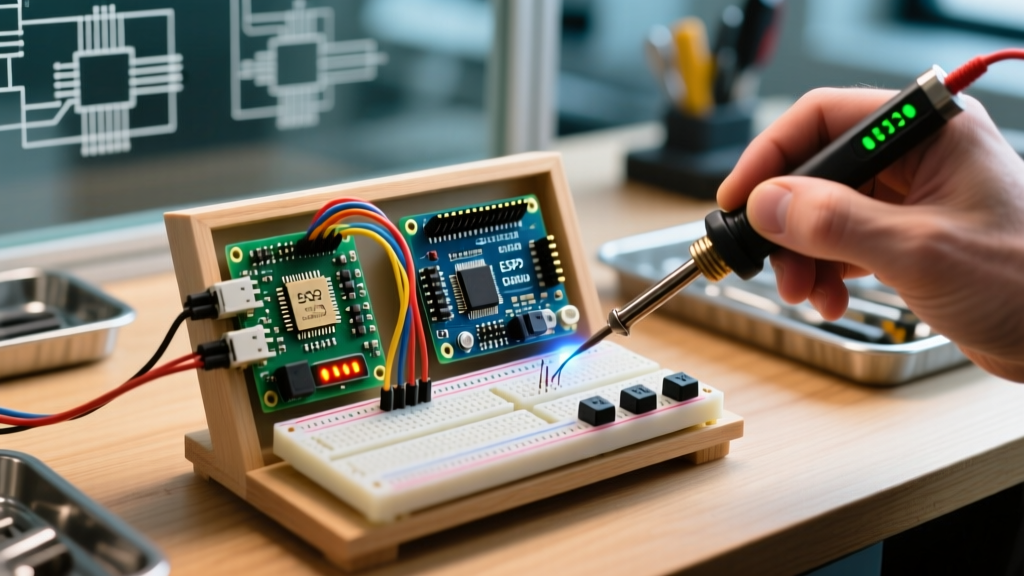
- Solder a 100nF (0.1µF) ceramic capacitor across the row and column lines of the matrix.
- Pair it with a 10kΩ resistor to form a low-pass RC filter.
- This smooths the voltage transient, presenting a clean digital edge to the microcontroller and allowing you to remove software delay loops entirely.
Real-World Troubleshooting Checklist
When your optimized workflow hits a snag, use this targeted diagnostic sequence before rewriting your code:
- I2C Address Conflicts: The default PCF8574 address is
0x20(or0x38for the PCF8574A variant). If you have multiple peripherals, solder the A0, A1, and A2 jumper pads on the expander to shift the address space. - Phantom Key Presses: If keys register without being touched, check for flux residue between the matrix traces on your PCB. Clean with 99% isopropyl alcohol. Flux is mildly conductive and can trigger the high-impedance inputs of the port expander.
- Missed Interrupts: If rapid typing drops keystrokes, your ISR might be taking too long, or the keypad's physical bounce is re-triggering the INT pin before the MCU clears the I2C buffer. Increase the hardware RC capacitor to 220nF to widen the debounce window physically.
Conclusion: Scaling Your Input Architecture
Treating an arduino key pad as a simple array of switches is a beginner's approach. By leveraging I2C port expansion, hardware interrupts, and passive RC filtering, you transform a basic input device into a highly efficient, non-blocking peripheral. This workflow optimization not only frees up your microcontroller's processing power for complex tasks but also ensures your hardware is robust enough to transition from the prototyping breadboard to a finalized, manufactured PCB.