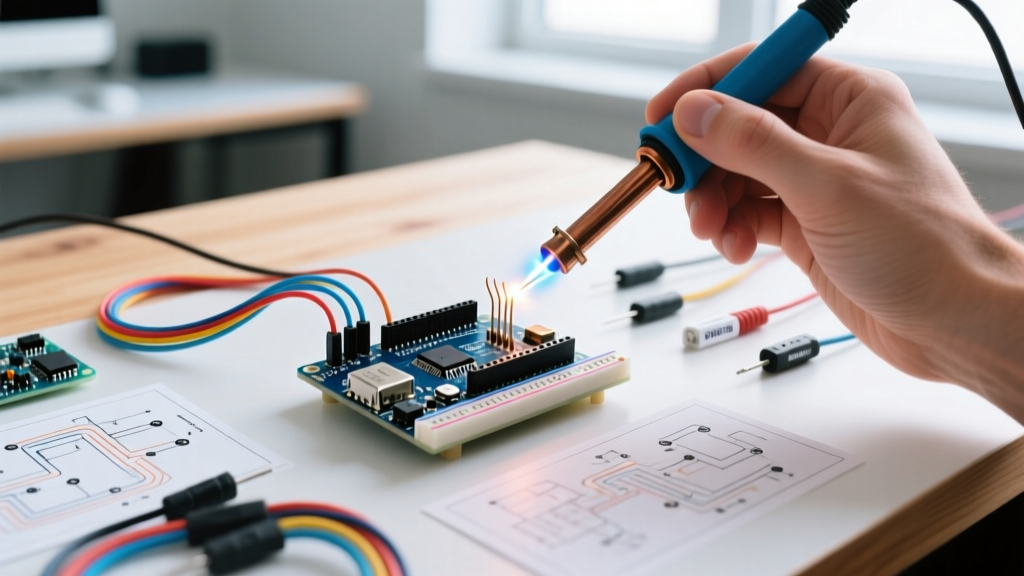

The Evolution of Open-Source Hardware Communities in 2026
The landscape of open-source hardware has matured significantly. Gone are the days when makers relied solely on blurry breadboard photos and incomplete Fritzing diagrams. Today, sourcing reliable arduino circuits requires navigating a sophisticated ecosystem of version-controlled repositories, professional-grade EDA (Electronic Design Automation) community libraries, and deeply technical forums. Whether you are designing a low-power ATmega328P sleep node or a high-speed ESP32-S3 motor controller, leveraging community-verified schematics is the fastest way to avoid releasing the 'magic smoke'.
In this 2026 roundup, we dissect the most authoritative community hubs for Arduino circuits, compare their utility for different skill levels, and highlight the critical electrical engineering 'gotchas' that frequently plague copied community designs.
Platform Comparison Matrix: Where to Find What You Need
Not all community platforms are created equal. Depending on whether you need a quick sensor wiring diagram or a production-ready 4-layer PCB layout, your destination will vary. Below is a comparative breakdown of the top hubs for Arduino circuits this year.
| Platform | Primary Focus | Schematic Standard | Best Use Case | Audience |
|---|---|---|---|---|
| Hackaday.io | Hackable hardware & complex builds | KiCad 9 / Altium PDFs | Mixed-signal Arduino circuits, robotics | Intermediate to Advanced |
| Arduino Forum | Software, IDE, and basic wiring | Hand-drawn / Fritzing | Beginner troubleshooting, pinout mapping | Beginner to Intermediate |
| GitHub (Awesome-ESP / KiCad Libs) | Version-controlled hardware | KiCad Native / Eagle | Production-ready ESP32/Arduino modules | Advanced / Commercial |
| EEVblog Forum | Deep electrical engineering theory | Professional EDA Formats | Power supply design, EMC compliance | Professional Engineers |
Hackaday.io: The Goldmine for Mixed-Signal Arduino Circuits
For complex builds that push the boundaries of standard microcontrollers, Hackaday.io remains the undisputed champion. In 2026, the platform has seen a massive influx of projects utilizing the Arduino IDE to program RISC-V based chips and ESP32-C6 Matter-compliant smart home nodes.
What makes Hackaday superior for advanced arduino circuits is the mandatory project log structure. Creators are forced to document their iteration process, including the exact failure modes of their V1 and V2 PCB revisions. When you download a schematic from a top-rated Hackaday project, you aren't just getting a static PDF; you are getting the engineering rationale behind the 100nF decoupling capacitor placement and the specific choice of an MCP23017 I/O expander over a standard shift register.
The KiCad 9 Revolution: Leaving Fritzing Behind
If you are still using Fritzing for anything beyond basic educational illustrations, it is time to upgrade. The open-source KiCad EDA suite (now in its highly refined version 9) has become the de facto language of the serious maker community.
Modern community repositories on GitHub are increasingly sharing native KiCad project files rather than static images. This allows you to open a community-designed Arduino shield, run an immediate Design Rule Check (DRC), and export the Gerber files directly to a fab house like JLCPCB or PCBWay. In 2026, a standard 5-layer prototype PCB run costs roughly $15 to $25; leveraging community KiCad libraries ensures your via sizes and trace clearances are optimized for these specific manufacturing tolerances.
Critical Failure Modes in Community Arduino Circuits
Blindly copying a schematic from a forum post is a rite of passage, but it often leads to unstable hardware. As an electrical engineer reviewing hundreds of community-submitted arduino circuits, I consistently see three major hardware-level oversights. Understanding these will save you hours of oscilloscope debugging.
1. I2C Bus Capacitance and Pull-Up Sizing
Many community circuits chain multiple I2C sensors (like the BME280, MPU6050, and an OLED display) onto a single Arduino Uno R4 Minima bus, blindly using 10kΩ pull-up resistors for each module.
- The Physics: Every wire and module adds parasitic capacitance to the I2C lines. If the total bus capacitance exceeds 400pF, the voltage rise time becomes too slow, causing data corruption at 400kHz (Fast Mode).
- The Fix: Calculate your pull-ups based on bus capacitance. For a heavily loaded community bus, drop the pull-ups to 2.2kΩ or even 1kΩ, and ensure only ONE set of pull-ups is active on the entire bus to avoid exceeding the I2C sink current limit (typically 3mA).
2. Inductive Kickback in Relay Modules
A ubiquitous community circuit involves driving a 5V relay module directly from an Arduino digital pin to switch a 12V solenoid or motor. While many 'smart' relay modules include an optocoupler (like the PC817) and a flyback diode, raw community schematics often omit the flyback diode across the relay coil.
Expert Warning: When the Arduino pin goes LOW, the collapsing magnetic field in the relay coil generates a massive reverse voltage spike (inductive kickback). Without a 1N4148 or 1N4007 flyback diode placed in reverse-bias across the coil, this spike will arc across the internal transistor, eventually destroying the ATmega328P's GPIO pin or causing system-wide brownout resets.
3. Logic Level Translation Oversights
With the industry's shift toward 3.3V logic (spearheaded by the ESP32 and STM32 ecosystems), mixing 5V Arduino components with 3.3V sensors is a common trap. Community circuits frequently connect a 5V Arduino TX pin directly to a 3.3V ESP32 RX pin via a simple voltage divider. While this works for low-speed serial (9600 baud), it fails miserably for high-speed SPI or I2C due to the RC time constant introduced by the resistors, rounding off the square waves into unusable sine waves.
Actionable Advice: For any bus exceeding 100kHz, discard the voltage divider. Use a dedicated bi-directional logic level shifter like the TXS0108E or build a discrete MOSFET-based shifter using BSS138 N-channel MOSFETs. The BSS138 method is a staple in professional arduino circuits because it handles the capacitance gracefully without the propagation delay inherent in cheap IC shifters.
Step-by-Step: Validating a Community Schematic
Before you order components or etch a board based on a community diagram, run it through this 4-point validation checklist:
- Verify Decoupling: Ensure every IC (including the microcontroller and motor drivers) has a 100nF ceramic capacitor placed physically within 2mm of the VCC and GND pins. Bulk electrolytic capacitors (10µF+) should be placed near the power entry point.
- Check Current Sourcing: Sum the maximum current draw of all peripherals. If your circuit includes an RGB LED matrix and a Wi-Fi module, the Arduino's onboard 5V regulator (often an NCP1117 rated for 500mA-1A) will overheat and thermal-throttle. Design an external buck converter (e.g., LM2596) into the schematic.
- Inspect Reset Pin Handling: For ATmega-based circuits, ensure the RESET pin is pulled HIGH via a 10kΩ resistor and optionally buffered with a 100nF capacitor to ground to prevent noise-induced resets in electrically noisy environments (like near stepper motors).
- Review the BOM (Bill of Materials): Community creators often specify generic components. Verify the exact footprint (e.g., 0805 vs 1206 for resistors) and ensure the voltage rating of all capacitors exceeds the rail voltage by at least 50%.
Contributing Back: How to Format Your Own Circuits
The strength of the open-source hardware movement relies on high-quality contributions. If you are designing arduino circuits and wish to share them with the community, adhere to these 2026 best practices:
- Ditch the Breadboard Photos: Always provide a clean, annotated schematic PDF alongside your code.
- Use Standardized Symbols: Follow IEEE 315 standards for schematic symbols. Do not use custom, unrecognizable blocks for standard components like op-amps or MOSFETs.
- Include a Truth Table or Timing Diagram: If your circuit involves complex multiplexing or shift-register cascading, a timing diagram is worth a thousand words and saves the community hours of reverse-engineering your code.
- Host on GitHub with a License: Use a clear open-source hardware license (like the CERN-OHL-P or MIT) so other makers know they can legally manufacture and modify your PCB layouts.
Final Thoughts
The community resources available for arduino circuits in 2026 are more robust, professional, and accessible than ever before. By migrating from basic forum diagrams to version-controlled KiCad repositories and applying rigorous electrical engineering validation to the designs you find, you bridge the gap between hobbyist tinkering and reliable, production-grade hardware. Bookmark your preferred hubs, verify your pull-up resistors, and keep building.