
The Hardware Reality: Moving Beyond 8-Bit Limitations
When makers first explore arduino 3d graphics, they inevitably hit a brutal hardware wall: SRAM starvation. The classic ATmega328P offers a mere 2KB of SRAM. A single 320x240 pixel frame buffer in 16-bit RGB565 color requires 153,600 bytes (150KB)—making native 3D rendering mathematically impossible without severe, performance-killing tile buffering. To build a viable, high-framerate 3D rendering workflow today, you must transition to 32-bit architectures equipped with external PSRAM or massive internal SRAM.
Optimizing your workflow begins with selecting the right microcontroller. Below is a comparison of the most viable boards for MCU-based 3D rendering, factoring in clock speed, memory, and current market pricing.
| Microcontroller Board | Clock Speed | SRAM / PSRAM | 3D Viability | Approx. Cost (2026) |
|---|---|---|---|---|
| Arduino Uno (ATmega328P) | 16 MHz | 2 KB SRAM | Non-Viable (Wireframe only) | $25.00 (Official) |
| Raspberry Pi Pico (RP2040) | 133 MHz | 264 KB SRAM | Moderate (No FPU, requires fixed-point math) | $4.00 - $6.00 |
| ESP32-S3 DevKitC-1 (N8R8) | 240 MHz (Dual-Core) | 512 KB + 8MB Octal PSRAM | Excellent (Double-buffering capable) | $7.00 - $10.00 |
| Teensy 4.1 | 600 MHz (Cortex-M7) | 1 MB SRAM + External RAM | Superior (Hardware FPU, massive L1 cache) | $32.00 - $35.00 |
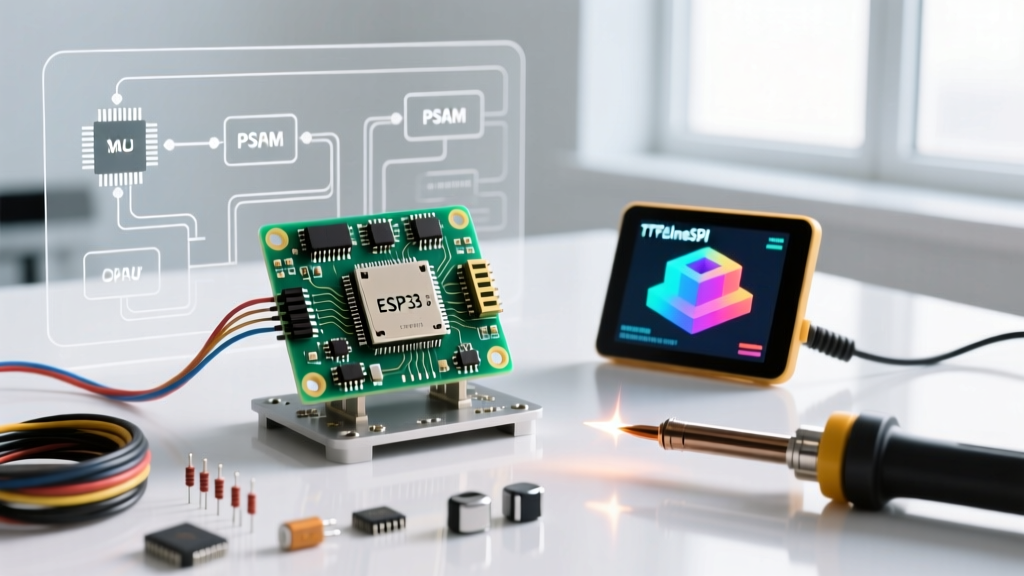
For the optimal balance of cost and performance, the ESP32-S3 with 8MB Octal PSRAM is the undisputed king of budget 3D graphics. It allows you to allocate two 150KB frame buffers in PSRAM for flicker-free double buffering while keeping the internal SRAM free for Z-buffers and vertex calculations.
Phase 1: The 3D Asset Preparation Pipeline
The most common point of failure in arduino 3d graphics is attempting to push desktop-grade 3D models to a microcontroller. Your workflow must include a strict asset decimation and baking pipeline before a single line of C++ is written.
Polygon Decimation and Texture Baking
An ESP32-S3 running at 240 MHz can comfortably push between 10,000 and 15,000 filled triangles per second to an SPI display. However, real-time lighting calculations (Phong or Gouraud shading) will slash that framerate by 80%.
Workflow Rule #1: Never calculate lighting on the MCU. Use Blender to bake ambient occlusion, directional shadows, and material colors directly into a UV-mapped texture or vertex colors. The MCU should only handle geometric transformations and texture mapping.
- Import to Blender: Load your high-poly model.
- Decimate Modifier: Apply the Decimate modifier. Target a strict budget of under 500 triangles for complex scenes, or under 1,500 triangles for single-object showcases.
- Bake Lighting: Bake your lighting to a 256x256 or 512x512 texture atlas.
- Export to C-Array: Export the UV coordinates and vertex positions as a C-style header file. Use tools like
obj2cor custom Python scripts to convert floating-point coordinates into 16-bit fixed-point integers.
Phase 2: Display Libraries and DMA Configuration
Pushing pixels via standard SPI using digitalWrite() or standard SPI.transfer() functions will bottleneck your CPU. To achieve smooth 3D rotation, you must utilize Direct Memory Access (DMA). DMA allows the SPI peripheral to read directly from your frame buffer in the background, freeing the CPU to calculate the next frame's matrix transformations.
For ESP32 and RP2040 ecosystems, the TFT_eSPI library remains the gold standard for optimized pixel pushing. However, configuring it for 3D requires specific User_Setup.h modifications.
Critical TFT_eSPI Configurations for 3D
#define USE_DMA_BUFFER: Enables DMA transfers. Essential for preventing screen tearing when swapping frame buffers.#define SPI_FREQUENCY 80000000: Overclocks the SPI bus to 80MHz. Most modern ILI9341 and ST7789 displays can handle this, drastically reducing the pixel-push time from ~45ms to ~12ms per full screen.#define LOAD_GLCDand#define LOAD_FONT2: Comment these out. In a 3D workflow, standard text fonts consume precious flash and RAM. Render text as 3D billboards or bake it into your UI textures.
Phase 3: Math and Memory Optimization
3D graphics rely heavily on matrix multiplication (scaling, rotation, translation). How your MCU handles the underlying math dictates your maximum framerate.
Fixed-Point vs. Floating-Point Arithmetic
The ESP32-S3 and Teensy 4.1 feature hardware Floating-Point Units (FPUs). You can safely use standard float variables for your 4x4 transformation matrices. However, if your workflow incorporates the Raspberry Pi Pico (RP2040), you must adapt. The RP2040's Cortex-M0+ core lacks an FPU; using standard floats forces the compiler to invoke software-based floating-point emulation, which is catastrophically slow for 3D math.
The RP2040 Solution: Integrate a library like libfixmath. By representing a 3D coordinate like 1.543 as a 32-bit integer (e.g., 1543 with an implicit decimal shift), you leverage the RP2040's hardware integer multiplier, increasing matrix calculation speeds by up to 400%.
Z-Buffering vs. Painter's Algorithm
Handling occlusion (what happens when one polygon is behind another) is a major memory sink.
- Z-Buffer (Depth Buffer): Requires an additional 16-bit integer array matching your screen resolution. For a 320x240 display, this consumes another 153,600 bytes. On an ESP32-S3, store this in PSRAM to save internal SRAM for the stack and heap.
- Painter's Algorithm: Sorts polygons by distance from the camera and draws back-to-front. Requires zero extra RAM, but sorting algorithms (like Quicksort) consume heavy CPU cycles. Only use this if your scene has fewer than 50 polygons.
Troubleshooting Common 3D Rendering Failures
Even with optimized code, hardware-level edge cases will disrupt your workflow. Here is how to diagnose and fix the most common issues encountered in MCU 3D graphics.
1. Screen Tearing and Flickering
Symptom: The top half of the display shows the current frame, while the bottom half shows the previous frame, creating a horizontal 'tear' line during rotation.
Cause: The display's refresh cycle is reading the frame buffer while the MCU is actively writing the next frame to the same memory address.
Fix: Implement strict double buffering. Allocate Buffer_A and Buffer_B in PSRAM. Draw to Buffer_A while DMA pushes Buffer_B to the display. Once DMA finishes, swap the pointers. Never use tft.pushImage() synchronously without DMA.
2. SPI Bus Contention (SD Card + TFT)
Symptom: Framerate drops to 2 FPS or the display shows random noise when loading new 3D textures from a MicroSD card.
Cause: The TFT display and the SD card module are sharing the same SPI bus (MOSI/MISO/SCK). The SD card operates at much lower SPI speeds (often capped at 25MHz) and hogs the bus during block reads.
Fix: Never share the SPI bus for high-performance 3D. Use the ESP32-S3's secondary SPI peripheral (HSPI) for the SD card, and the primary (VSPI) for the TFT. Alternatively, upgrade to an SPI/Quad-SPI PSRAM chip to store textures directly on the board, eliminating the SD card entirely.
3. PSRAM Cache Misses
Symptom: Rendering is stable, but unexpectedly slow, despite using DMA.
Cause: The ESP32 accesses PSRAM via a cache. If your frame buffer crosses certain memory boundaries or is accessed in non-sequential patterns, cache misses occur, stalling the CPU.
Fix: Ensure your frame buffers are allocated using heap_caps_malloc(size, MALLOC_CAP_DMA | MALLOC_CAP_SPIRAM) and align the memory allocation to 64-byte boundaries to match the ESP32's cache line size.
Advanced Hardware: Moving to Parallel RGB Interfaces
If your project demands 60 FPS at higher resolutions (e.g., 480x480 or 800x480), SPI is no longer sufficient. The ESP32-S3 features an LCD peripheral capable of driving Parallel RGB displays directly. By utilizing the Espressif LCD peripheral drivers, you can bypass SPI entirely, pushing 16-bit color data across an 8-bit or 16-bit parallel bus synchronized with HSYNC/VSYNC clocks. This requires a display with an integrated RAM-less RGB controller (like the ST7262E43), but it transforms the ESP32-S3 into a genuine 3D handheld console capable of running simplified OpenGL-style pipelines.
Conclusion
Mastering arduino 3d graphics is less about writing clever C++ code and more about rigorous workflow optimization. By decimating assets in Blender, baking lighting into textures, leveraging DMA-backed PSRAM double buffering, and respecting the mathematical limitations of your chosen MCU's FPU, you can achieve stunning, fluid 3D environments on hardware that costs less than $15. For deeper hardware specifications, always refer to the official Teensy 4.1 specifications or Espressif datasheets to ensure your memory allocation strategies align with the silicon's actual capabilities.