
The Core Architecture Divide in Fault Handling
When transitioning from 8-bit or entry-level 32-bit maker boards to professional ARM Cortex-M microcontrollers, the most jarring shift is not the clock speed or peripheral count—it is the paradigm of error diagnosis. The 'STM32 vs Arduino' debate often centers on performance, but for embedded engineers, the true differentiator lies in how each ecosystem handles, reports, and allows you to debug catastrophic failures. In 2026, with Arduino IDE 2.x maturing and STM32CubeIDE integrating deeper AI-assisted static analysis, understanding the diagnostic boundaries of both platforms is critical for reducing development time.
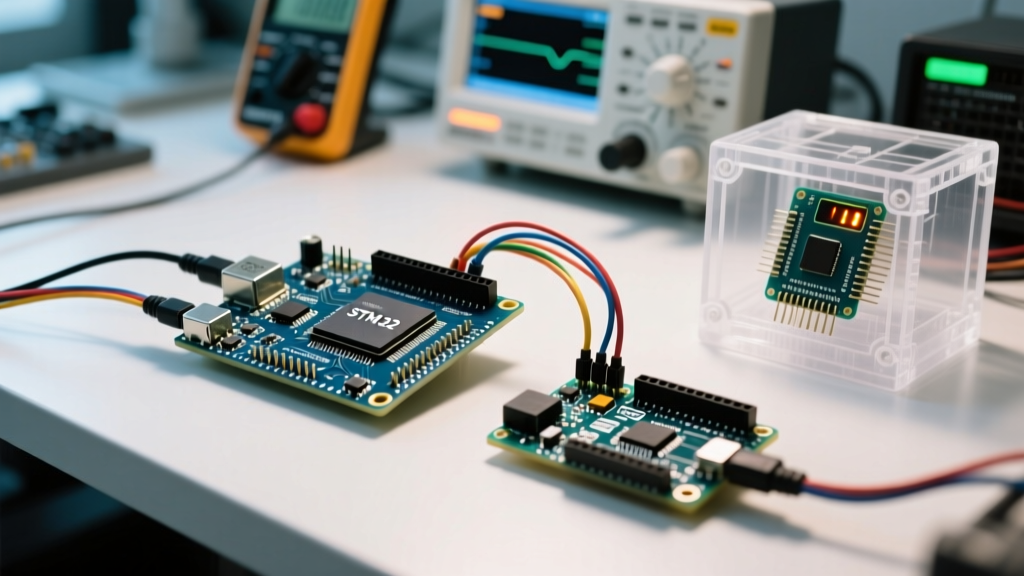
Arduino boards, primarily based on the Microchip ATmega328P (AVR) or the SAMD21/RP2040 architectures, historically rely on software-level diagnostics. You are largely confined to serial printing, LED toggling, and external logic analyzers. Conversely, STM32 microcontrollers are built on the ARM Cortex-M architecture, which includes the CoreSight Debug and Trace module. This hardware-level integration allows for non-intrusive breakpoints, real-time variable watching, and precise fault exception handling without halting the CPU's background tasks.
Toolchain and IDE Debugging Capabilities
The diagnostic experience is heavily dictated by the IDE and the hardware debugger interface. Below is a comparative matrix of the diagnostic capabilities inherent to both ecosystems as of modern development workflows.
| Diagnostic Feature | Arduino Ecosystem (AVR/SAMD) | STM32 Ecosystem (Cortex-M) |
|---|---|---|
| Primary IDE | Arduino IDE 2.x / PlatformIO | STM32CubeIDE / Keil / IAR |
| Hardware Debugger | Serial Bootloader (Optiboot/BOSSA) | SWD/JTAG via ST-Link V3 or J-Link |
| Breakpoints | Software (halts execution, alters flash) | Hardware (CoreSight, zero-overhead) |
| Memory Inspection | Limited to serial dumps or ISP reading | Real-time RAM/Flash/Peripheral Register view |
| Fault Analysis | Watchdog resets, Brownout detection | HardFault handlers, NVIC, MPU violation logs |
| Trace & Profiling | Not natively supported on AVR | SWO/ITM trace for non-intrusive profiling |
Common Arduino Errors and Diagnostic Workarounds
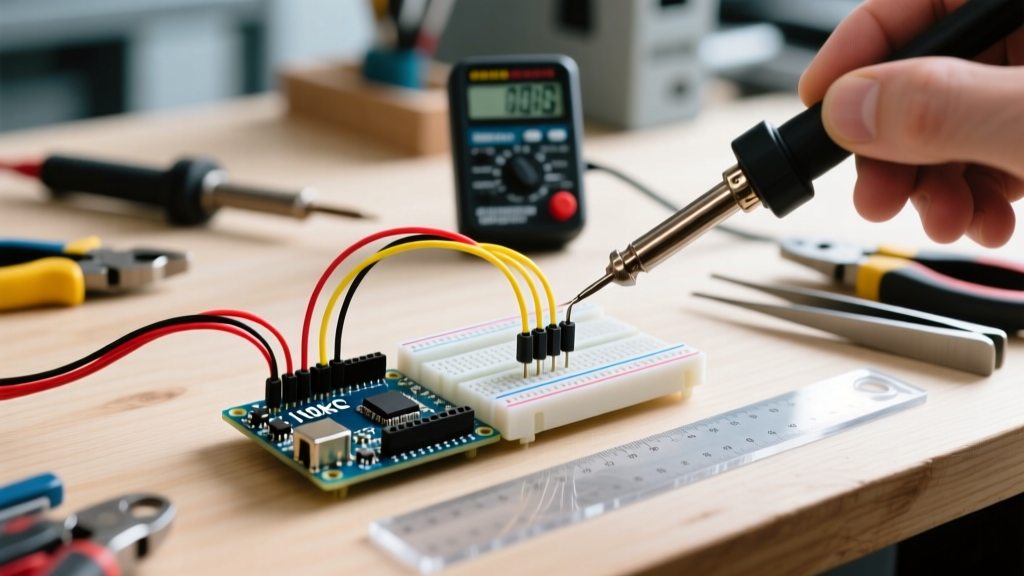
Diagnosing errors on an Arduino often feels like working in the dark. Because the standard ATmega328P lacks an on-chip debug interface, the bootloader acts as your only bridge. When things go wrong, the errors usually manifest in three specific ways:
1. Bootloader Sync and 'avrdude' Failures
The most common Arduino error is the avrdude: stk500_getsync() attempt 10 of 10: not in sync message. This occurs when the host PC cannot establish a serial handshake with the Optiboot bootloader. Diagnostic steps:
- Check the DTR Line: The auto-reset circuit relies on a 0.1µF capacitor coupling the DTR line to the RESET pin. If the capacitor is damaged or the trace is broken, the MCU won't reset into the bootloader. Use a multimeter in continuity mode to verify the capacitor path.
- USB-to-Serial Chip Lockup: Clone boards using the CH340G chip are notorious for driver lockups on Windows 11. Uninstall the device from Device Manager, physically disconnect the board, and reinstall the official WCH drivers.
2. Silent Reboots and Stack Overflows
Unlike desktop applications, an AVR stack overflow doesn't throw an exception; it simply overwrites adjacent SRAM variables or the return address, leading to erratic behavior or a silent watchdog reset. To diagnose this without a hardware debugger, inject a 'canary' value at the base of the stack in your setup() function and check it periodically in your loop(). If the canary changes, you have a stack collision.
STM32 HardFault Diagnosis: A Step-by-Step Approach
The most intimidating aspect of STM32 development for beginners is the HardFault_Handler. When a Cortex-M4 (such as the STM32F407VG) encounters an unrecoverable exception—like an unaligned memory access or executing code from a non-executable RAM region—it halts and jumps to this handler. According to the ARM Cortex-M Exception Handling documentation, the processor automatically pushes eight registers (R0-R3, R12, LR, PC, xPSR) onto the active stack (MSP or PSP).
Here is the exact diagnostic workflow to extract the root cause using STM32CubeIDE:
- Identify the Faulting Instruction: In the Debug perspective, open the Registers view. Look at the stacked PC (Program Counter). This is the exact memory address of the instruction that caused the fault. Cross-reference this address with your
.mapfile or the Disassembly view to find the offending C/C++ line. - Read the CFSR (Configurable Fault Status Register): Located at
0xE000ED28, this 32-bit register is the holy grail of STM32 diagnostics. It combines the MemManage, BusFault, and UsageFault status registers. - Check the BFARVALID Flag: If bit 15 of the CFSR is set, it means the Bus Fault Address Register (BFAR) holds the exact memory address that triggered a bus error. This usually indicates a null pointer dereference or accessing an uninitialized peripheral.
- Utilize the Fault Analyzer: Modern versions of STM32CubeIDE include a dedicated Fault Analyzer view that automatically parses these registers and translates the hex codes into human-readable explanations, drastically reducing diagnosis time.
Pro-Tip for STM32 Debugging: Never rely solely on printf() over UART for timing-critical code. The latency of serial transmission can mask race conditions. Instead, use the Serial Wire Output (SWO) pin with ITM (Instrumentation Trace Macrocell) to stream debug variables non-intrusively at speeds up to 2.25 MBaud without halting the CPU.Hardware Debugging Interfaces: SWD vs. Serial Bootloader
The physical connection used to diagnose the board fundamentally limits what errors you can catch. Arduino's reliance on the serial bootloader means you cannot diagnose a chip that has crashed before setup() executes. If a bad clock configuration or a corrupted peripheral initialization halts the MCU immediately upon boot, the serial port never initializes, and you are entirely blind.
STM32 utilizes the Serial Wire Debug (SWD) protocol, requiring only two pins (SWDIO and SWCLK) plus ground and 3.3V. Using an ST-Link V3MINI (retailing around $32 in 2026) or a reliable third-party clone ($4 to $8), you can connect to the MCU even if it is completely 'bricked' by bad firmware. The SWD interface operates independently of the user code, allowing you to halt the core, wipe the flash, and reprogram the device via the hardware BOOT0 pin or by halting the core under reset.
Edge Case: Bricking via Clock Configuration
A classic STM32 failure mode occurs when a developer configures the external high-speed oscillator (HSE) incorrectly in STM32CubeMX, but the physical crystal on the custom PCB is missing or the load capacitors are miscalculated. The PLL fails to lock, the system clock defaults to the internal HSI, but the code hangs waiting for the HSE ready flag. On an Arduino, a bad clock_prescale_set() call might just slow down the baud rate, but on an STM32, it can lock the debug interface if the SWD clock speed exceeds the core clock. The Fix: Hold the RESET button down, click 'Debug' in the IDE, and release the RESET button exactly when the IDE attempts to connect. This catches the core before the faulty clock initialization code executes.
Memory Protection and Advanced Diagnostics
For complex RTOS-based projects, diagnosing memory leaks and buffer overflows requires hardware assistance. The STM32's Memory Protection Unit (MPU) allows you to define up to 8 memory regions with specific access rights. By configuring an unprivileged RAM region at the top of your stack space and marking it as 'No Access', any stack overflow will immediately trigger a MemManage Fault rather than silently corrupting your heap. The STMicroelectronics Cortex-M Programming Manual provides the exact bitfield configurations required to set up these MPU guard bands.
Arduino environments, particularly on AVR chips, lack an MPU. To diagnose heap fragmentation on an ATmega2560, developers must manually implement functions like freeMemory() that calculate the distance between the heap pointer and the stack pointer. This is a reactive, software-based workaround that pales in comparison to the proactive, hardware-enforced diagnostics of the ARM ecosystem.
Summary: Choosing Your Diagnostic Path
The choice between STM32 and Arduino should not be made solely on processing power, but on your tolerance for diagnostic friction. If your project involves simple sensor polling, basic state machines, and you are comfortable diagnosing issues via serial logs and multimeters, the Arduino ecosystem remains highly efficient. However, if you are developing motor control algorithms, RTOS applications, or safety-critical systems where silent failures are unacceptable, the STM32's hardware debugging, CoreSight trace, and structured exception handling are not just luxuries—they are absolute necessities. For comprehensive software-level troubleshooting on maker boards, always refer to the official Arduino Troubleshooting Guide before assuming hardware failure.