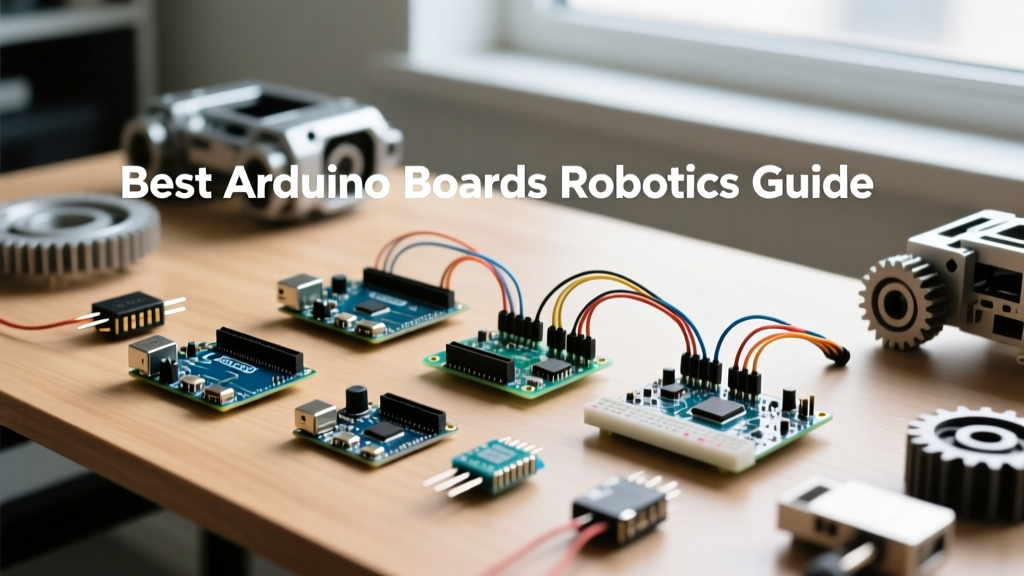

When engineers and makers search for the best Arduino boards for robotics, they often fall into the trap of defaulting to the classic Uno without considering the specific kinematic and computational demands of their project. Building a robot is an exercise in managing constraints: processing latency, I/O pin availability, logic voltage thresholds, and power distribution. Selecting the wrong microcontroller can result in audible motor whine, fried logic gates from back-EMF, or insufficient SRAM for inverse kinematics calculations.
This tutorial provides a comprehensive framework for evaluating, selecting, and wiring the right Arduino board for your robotic application, whether you are building a simple differential-drive rover, a 6-DOF robotic arm, or a machine-vision autonomous vehicle.
The C-K-I Decision Framework for Robotics
To systematically choose the right board, roboticists should apply the C-K-I Framework:
- Compute (C): Does the MCU have the clock speed and SRAM to handle PID loops, sensor fusion (IMU/LiDAR), or inverse kinematics matrices?
- Kinematics (K): How many independent axes (motors) must be controlled simultaneously, and what PWM resolution is required for smooth motion?
- I/O and Ecosystem (I): Does the board's form factor support existing motor shields, and are the logic levels compatible with your sensors and drivers?
Step 1: Matching Microcontroller Architecture to Kinematics
The physical movement of your robot dictates the silicon you need. Here is how the top contenders stack up for specific robotic archetypes.
Arduino Uno R4 Minima: The Modern Rover Standard
For differential-drive rovers, line-followers, and basic obstacle-avoidance bots, the Arduino Uno R4 Minima is the current gold standard. Unlike the legacy ATmega328P, the R4 utilizes a 32-bit Renesas RA4M1 (Arm Cortex-M4) clocked at 48 MHz. Crucially for robotics, it features a 14-bit ADC (up from the 10-bit ADC on older models). This provides 16,384 discrete steps for analog sensors, dramatically improving the distance resolution of analog Sharp IR sensors or LiDAR modules without requiring an external I2C ADC. Priced around $20, it offers the perfect balance of cost and compute for ground-based rovers.
Arduino Mega 2560: The Multi-Axis Workhorse
If you are designing a 4-to-6 axis robotic arm or a heavy-duty omnidirectional platform, I/O density is your primary bottleneck. The Arduino Mega 2560 provides 54 digital I/O pins and 15 PWM channels. While its 16 MHz ATmega2560 is slow for complex floating-point math, its massive pin count makes it the native host for the RAMPS 1.4 shield ecosystem. RAMPS allows you to drive up to five NEMA 17 stepper motors and control high-current end-stops, making the Mega the undisputed champion for stepper-driven robotic arms and CNC-based robotics.
Arduino Portenta H7: Vision and SLAM Integration
For robots requiring Simultaneous Localization and Mapping (SLAM), machine vision, or integration with ROS 2 (Robot Operating System) via micro-ROS, you need desktop-class compute. The Arduino Portenta H7 features a dual-core STM32H747XI (Cortex-M7 at 480 MHz and Cortex-M4 at 240 MHz) with 1 MB of SRAM. This board can process camera frames for object detection while simultaneously running high-frequency PID loops for balance control on bipedal or self-balancing robots. At approximately $110, it is an investment for advanced autonomous platforms.
Step 2: Evaluating PWM Frequencies and Motor Shield Ecosystems
A common failure mode in beginner robotics is 'motor whine' and poor low-speed torque. This is caused by the default PWM frequency of the Arduino analogWrite() function, which typically operates at 490 Hz (or 980 Hz on specific pins). At these frequencies, the rapid switching of the motor driver coils generates an audible hum and causes the motor to cog rather than spin smoothly at low duty cycles.
How to fix it: For robotics, you want a PWM frequency of at least 20 kHz to push the switching noise above human hearing. On the Uno R4 and Mega, you must reconfigure the hardware timer registers. For example, manipulating the TCCR1B register on the Mega can push Timer1 to 31.25 kHz. When selecting a motor shield, ensure it supports high-frequency PWM. The Pololu Robotics Motor Guide highly recommends drivers based on the TI DRV8833 or ST VNH5019 chips, which handle 20kHz+ PWM efficiently without excessive thermal throttling.
Step 3: Power Distribution and Logic Level Translation
Mixing 5V and 3.3V logic is the fastest way to destroy a modern microcontroller. Legacy motor drivers like the L298N operate on 5V logic. If you pair an L298N with a 3.3V board like the Arduino Nano 33 IoT or the Portenta H7, you face two risks:
- Undefined Logic Thresholds: While a 3.3V HIGH signal might barely register as a HIGH on a 5V driver, noise from the motors can cause erratic triggering.
- Feedback Frying: If the motor driver sends a 5V signal back to the MCU (e.g., via an I2C encoder or fault pin), it will permanently damage the 3.3V silicon.
The Solution: Always use a bi-directional logic level shifter (like the TI TXB0108) when bridging 3.3V MCUs and 5V peripherals. As detailed in the SparkFun Logic Levels Tutorial, never rely on internal pull-up resistors on a 3.3V board if the I2C bus is shared with 5V devices; the 5V pull-up will back-feed current into the MCU's VCC rail.
Troubleshooting Common Robotics Wiring Pitfalls
Even with the best Arduino boards for robotics, poor wiring will lead to catastrophic failures. Watch out for these specific scenarios:
Inductive Kickback (Back-EMF): When a DC motor stops or reverses, the collapsing magnetic field generates a massive voltage spike in the opposite direction. If your motor driver lacks built-in flyback diodes, this spike will travel back through the ground plane and reset or fry your Arduino's voltage regulator. Always use opto-isolated motor drivers or add external Schottky diodes across the motor terminals.
Shared Ground Loops: In high-current robots, the ground wire connecting the battery, motor driver, and Arduino must be thick enough to handle return currents. If the ground wire is too thin, the voltage drop across the wire will cause the Arduino's ground reference to float, leading to random brownouts and corrupted I2C sensor data. Always use a 'star ground' topology where the battery ground, motor driver ground, and MCU ground meet at a single, heavy-gauge terminal block.
Specification Matrix: Top Arduino Boards for Robotics
Use this reference table to match your project requirements to the correct hardware.
| Board Model | MCU Core & Speed | I/O & PWM | Ideal Robotic Application | Est. Price |
|---|---|---|---|---|
| Uno R4 Minima | Cortex-M4 @ 48 MHz | 14 Digital / 6 PWM | Differential Rovers, Sensor Fusion | $20 |
| Mega 2560 | AVR @ 16 MHz | 54 Digital / 15 PWM | Stepper Arms, RAMPS CNC Rovers | $45 |
| Nano 33 IoT | Cortex-M0+ @ 48 MHz | 14 Digital / 11 PWM | Micro-Swarm Bots, Wearable Robotics | $22 |
| Portenta H7 | Dual M7/M4 @ 480/240 MHz | High-Density Carrier | SLAM, Machine Vision, ROS 2 Nodes | $110 |
For further reading on configuring these boards and managing their specific libraries, refer to the Arduino Official Documentation. By aligning your compute requirements, I/O density, and power topology with the right board, you eliminate hardware bottlenecks and ensure your robot operates with precision and reliability.