
The Anatomy of the Arduino Barrel Jack Power Circuit
When your microcontroller project suddenly dies, the Arduino barrel jack is often the first suspect. Standard Arduino boards (like the Uno R3 and Mega 2560) utilize a 2.1mm inner diameter, 5.5mm outer diameter center-positive DC power connector. But the jack itself is merely the gateway to a complex power management circuit. Understanding this path is critical for accurate troubleshooting in 2026, especially as modern third-party clones sometimes alter the protection circuitry to cut costs.
According to Digikey's technical guide on DC power connectors, the mechanical mating of the barrel plug and jack relies on spring-loaded internal contacts. Over time, insertion fatigue can cause these contacts to lose tension, resulting in voltage drops under load.
Once power enters the jack, it passes through three critical stages:
- Reverse Polarity Protection: On the genuine Uno R3, this is handled by a P-channel MOSFET (often an FDN340P), which drops only ~0.05V. Cheaper clones may use a standard 1N4007 diode, dropping 0.7V and generating excess heat.
- PTC Resettable Fuse: A polymeric positive temperature coefficient (PTC) fuse protects the USB port and onboard traces from overcurrent events (typically tripping at 500mA to 1A).
- Linear Voltage Regulator (LDO): Usually an NCP1117ST50T3G or equivalent, stepping the input voltage down to a stable 5V rail.
Diagnostic Matrix: Where is the Power Failing?
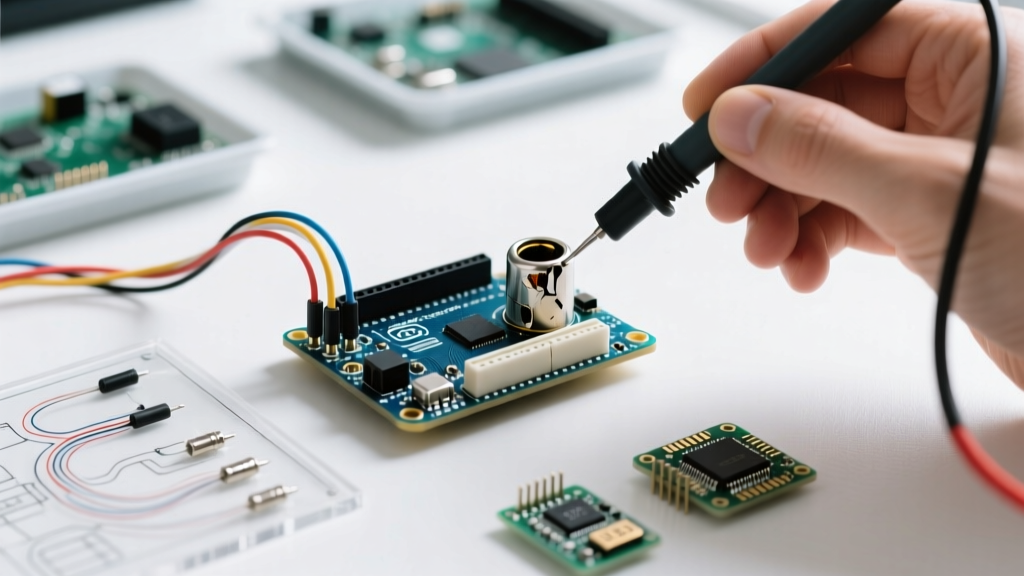
Before grabbing a soldering iron, use a digital multimeter (DMM) to isolate the failure point. Set your DMM to DC Voltage and probe the following test points while the board is plugged into a known-good 9V power supply.
| Test Point | Expected Voltage | Failure Indication |
|---|---|---|
| Barrel Jack Center Pin (Input) | ~9.0V | Power supply or cable failure. |
| Post-MOSFET / Vin Pin | ~8.95V (Genuine) or ~8.3V (Clone) | Blown polarity protection component or cracked solder joint on the jack. |
| 5V Output Pin | 4.95V - 5.05V | LDO thermal shutdown, dead LDO, or short circuit on the 5V rail. |
| 3.3V Output Pin | 3.28V - 3.32V | Secondary LDO failure (often fed by the onboard USB interface chip). |
Common Arduino Barrel Jack Failure Modes & Fixes
1. Intermittent Power and Physical Wobble
The Symptom: The board resets when you tap the enclosure or wiggle the power cable. The onboard "ON" LED flickers.
The Root Cause: Mechanical fatigue of the internal spring contact inside the barrel jack, or micro-fractures in the through-hole solder joints connecting the jack to the PCB. This is incredibly common in educational environments where boards are frequently moved.
The Fix: You must replace the jack. Attempting to bend the internal pin back into place rarely yields a reliable long-term connection. See the replacement guide below.
2. The LDO Thermal Shutdown (Overheating Regulator)
The Symptom: The board works for 30 seconds, then dies. The voltage regulator chip is too hot to touch. The barrel jack area feels warm.
The Root Cause: Linear regulators dissipate excess voltage as heat. If you supply 12V to the barrel jack and draw 300mA from the 5V pin to power sensors, the LDO must dissipate (12V - 5V) * 0.3A = 2.1 Watts. The SOT-223 package has a thermal resistance of roughly 50°C/W. This results in a 105°C temperature rise above ambient, instantly triggering the LDO's internal thermal shutdown protection (typically set at 150°C). For deeper thermal specifications, refer to the Texas Instruments LM1117 datasheet, which shares identical thermal characteristics with the NCP1117 series.
The Fix: Do not replace the LDO; the physics will remain unchanged. Instead, lower your input voltage to 7V, or bypass the onboard regulator entirely by using an external buck converter (like an LM2596 module) to feed 5V directly into the board's 5V pin.
3. Cracked Solder Joints (The Invisible Break)
The Symptom: The board only powers on if you push the barrel jack downward or sideways.
The Root Cause: The barrel jack is a heavy mechanical component. Repeated plugging and unplugging creates shear stress on the PCB pads, eventually cracking the solder fillet.
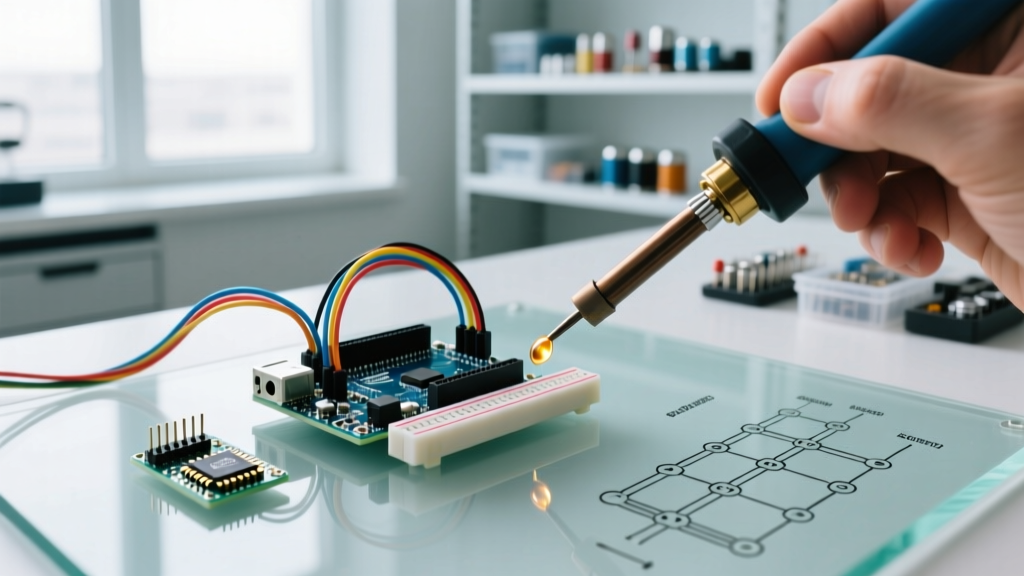
The Fix: Apply fresh flux (e.g., Amtech NC-559) to the three large anchor pins and the two signal pins on the underside of the board. Reflow with a soldering iron set to 350°C, adding a small amount of fresh 63/37 Sn/Pb solder to ensure a robust, shiny fillet.
⚠️ Safety Warning: Never apply more than 20V to the Arduino barrel jack. While the absolute maximum rating of some LDOs is 20V, the reverse polarity protection MOSFET on the Uno R3 has a Vgs threshold that can be exceeded by high voltages, leading to catastrophic gate rupture and instant board death. Always stick to the recommended 7V–12V range as outlined in the official Arduino Uno R3 hardware documentation.
Step-by-Step Barrel Jack Replacement Guide
If your diagnostic testing confirms the physical jack is broken, replacing it requires basic through-hole and heavy-copper desoldering skills. The ground pins act as massive heat sinks, making standard soldering irons struggle.
- Prep the Station: Set your hot air rework station to 350°C with an airflow of 40%. If using an iron, use a wide chisel tip (e.g., Hakko T18-D24) set to 380°C.
- Apply Flux: Generously apply no-clean flux to all five pins of the faulty barrel jack on the underside of the PCB.
- Desolder the Anchor Pins: The two large ground anchor pins are connected to internal PCB ground planes. Apply heat with your iron while simultaneously using a desoldering braid (copper wick) to pull away the molten solder. Do not pry the jack until the solder is fully cleared, or you will rip the copper pads off the board.
- Remove the Component: Once all five pins are free, gently slide the old barrel jack out from the top side of the board.
- Clean and Inspect: Use 99% isopropyl alcohol and a fiberglass scratch pen to clean the pads. Inspect for lifted pads.
- Install the New Jack: Insert a high-quality replacement (such as the CUI Devices PJ-002A or a direct equivalent). Ensure it sits flush against the PCB.
- Solder: Tack one signal pin to hold it in place. Solder the remaining four pins, ensuring the heavy ground pins have a solid, concave fillet that wets fully into the plated through-hole.
Alternative Power Routing (When the Jack is Unsalvageable)
If you have ripped the pads off the PCB during desoldering, or simply lack the tools to replace the Arduino barrel jack, you can bypass it entirely:
- The 5V Pin Direct Injection: Connect a regulated, high-quality 5V DC power supply directly to the 5V pin and GND. Warning: This bypasses the PTC fuse and reverse polarity protection. A wiring mistake here will instantly fry the ATmega328P microcontroller.
- The Vin Pin: Feed 7V–12V into the Vin pin. This utilizes the onboard LDO and protection circuitry but bypasses the physical barrel jack connector entirely.
- USB Power: For low-power projects (under 500mA total draw), a high-quality USB-C to USB-B cable connected to a 2A wall brick remains the most reliable power delivery method in modern maker spaces.
Final Thoughts on Power Integrity
Troubleshooting the Arduino barrel jack is a rite of passage for electronics makers. By understanding the path from the 2.1mm plug through the P-MOSFET and down to the LDO, you transition from blindly swapping parts to engineering reliable power systems. Whether you are reflowing cracked joints or designing an external buck converter network, respecting the thermal and mechanical limits of these components will ensure your MCU projects run flawlessly.