
The Problem: Why 12V Fries the ATmega328P
When working with automotive, solar, or off-grid systems, monitoring a nominal 12V lead-acid or LiFePO4 battery is a common requirement. However, feeding 12V directly into the analog pins of an Arduino Uno, Nano, or Mega 2560 will instantly destroy the ATmega328P microcontroller. The absolute maximum voltage rating for any I/O pin is VCC + 0.5V (typically 5.5V). To safely interface higher voltages with the Arduino's 10-bit Analog-to-Digital Converter (ADC), you must step the voltage down using a passive resistor network known as an Arduino voltage divider.
A fully charged 12V lead-acid battery resting at 12.8V can spike to 14.4V or higher when an alternator or solar charge controller is actively in the absorption charging phase. Therefore, your voltage divider must be designed to handle the maximum possible voltage, not just the nominal 12V. In this comprehensive guide, we will walk through the exact mathematics, component selection, hardware filtering, and oversampling code required to build a bulletproof battery monitoring circuit.
The Math: Calculating the Arduino Voltage Divider
The fundamental voltage divider equation is derived from Ohm's Law. As detailed in All About Circuits, the output voltage ($V_{out}$) is determined by the input voltage ($V_{in}$) and the ratio of the two resistors ($R_1$ and $R_2$):
Vout = Vin * (R2 / (R1 + R2))
Where:
- R1 is the top resistor (connected to the battery positive).
- R2 is the bottom resistor (connected to ground and the Arduino analog pin).
If our maximum expected $V_{in}$ is 15.0V (accounting for transients) and our target $V_{out}$ is 5.0V, we need a division ratio of 5.0 / 15.0 = 0.333. However, it is best practice to leave a 10% safety margin to account for resistor tolerance (typically ±1% or ±5% for standard metal film resistors). Targeting a ratio of roughly 0.30 ensures that a 15V spike only yields 4.5V at the analog pin.
Resistor Selection and the 10kΩ ADC Rule
A critical mistake beginners make is selecting massive resistor values (e.g., 1MΩ and 330kΩ) to minimize current draw. While this saves power, it violates the source impedance requirements of the ATmega328P. According to the official Arduino analogRead() documentation and the Microchip datasheet, the ADC's internal sample-and-hold capacitor requires a source impedance of 10kΩ or less to fully charge within the 1.5 ADC clock cycles. If your source impedance is too high, the ADC will read voltages inaccurately, often pulling the reading toward the previously sampled pin's voltage due to residual charge.
For continuous monitoring applications where a few milliamps of parasitic draw is acceptable, standard E12 series resistors in the 10kΩ to 33kΩ range are ideal. For low-power, battery-operated nodes where you must use high-impedance dividers (e.g., 1MΩ), you must add a 100nF ceramic capacitor in parallel with R2 to act as a charge reservoir, or use an op-amp buffer.
Optimal Resistor Pairings for 12V Systems
Below is a comparison matrix of standard 1/4W metal film resistor pairings (costing roughly $0.02 each in bulk) evaluated for a 15V maximum input scenario.
| R1 (Top) | R2 (Bottom) | Division Ratio | Vout @ 15.0V | Source Impedance | Verdict |
|---|---|---|---|---|---|
| 10kΩ | 4.7kΩ | 0.319 | 4.79V | 3.2kΩ | Excellent. Well under 10kΩ limit. Safe headroom. |
| 22kΩ | 10kΩ | 0.312 | 4.68V | 6.9kΩ | Optimal. Low current draw (~0.46mA), perfect impedance. |
| 100kΩ | 47kΩ | 0.320 | 4.80V | 32kΩ | Poor. Requires bypass capacitor for stable ADC readings. |
| 33kΩ | 10kΩ | 0.232 | 3.48V | 7.6kΩ | Safe. Wastes ADC resolution, but highly protective. |
For this tutorial, we will proceed with the 22kΩ (R1) and 10kΩ (R2) pairing. It offers the perfect balance of low parasitic current draw and optimal ADC source impedance.
Step-by-Step Wiring with Noise Filtering
Automotive and solar environments are electrically noisy. Alternator whine, inverter switching, and relay flyback spikes will introduce high-frequency noise into your analog readings. As highlighted in SparkFun's Voltage Divider Tutorial, adding a passive low-pass filter is essential for stable data.
Hardware Assembly Instructions
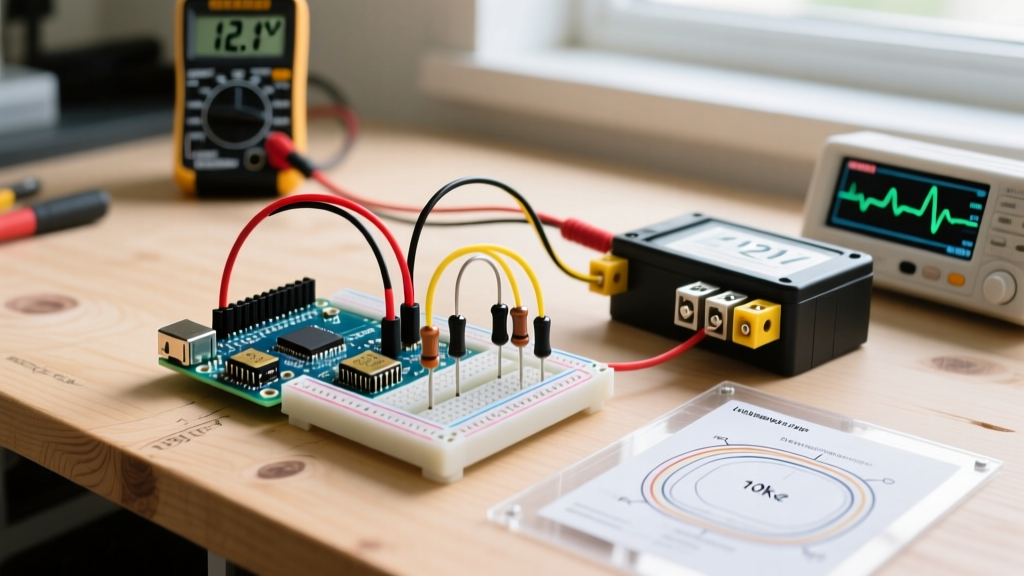
- Solder the Divider: Solder the 22kΩ and 10kΩ resistors together in series. Use 1/4W Vishay or Yageo metal film resistors for ±1% tolerance and low thermal noise.
- Add the Bypass Capacitor: Solder a 100nF (0.1µF) X7R ceramic capacitor directly across the 10kΩ resistor (from the analog junction to ground). This creates a low-pass filter with a cutoff frequency of roughly 137Hz, effectively killing high-frequency alternator ripple.
- Implement Zener Clamping (Optional but Recommended): To protect against catastrophic load-dump spikes (which can exceed 40V in automotive systems), solder a 5.1V Zener diode (e.g., BZX55C5V1, ~$0.10) in parallel with the 10kΩ resistor, with the cathode (stripe) facing the voltage junction. If voltage exceeds 5.1V, the diode conducts, clamping the pin voltage and saving the microcontroller.
- Connect to Arduino: Wire the top of the 22kΩ resistor to the battery positive (or a switched ignition line). Wire the bottom of the 10kΩ resistor to the Arduino GND. Wire the junction to Analog Pin A0.
Expert Tip: Never rely on a breadboard for permanent automotive or solar voltage monitoring. Breadboard contact resistance can fluctuate with temperature and vibration, introducing erratic jumps in your voltage calculations. Always use soldered perfboard or a custom PCB for the divider network.
Calibration and Arduino Sketch
The default reference voltage for the Arduino Uno's ADC is the 5V USB or barrel jack supply, which is notoriously inaccurate (often fluctuating between 4.7V and 5.1V depending on the USB host). For precision battery monitoring, you should use the internal 1.1V reference, or manually calibrate the 5V reference using a high-quality digital multimeter (DMM).
The sketch below utilizes an oversampling technique. By taking 16 samples and dividing by 16, we artificially reduce the noise floor and stabilize the reading, a crucial step when measuring slow-moving DC voltages.
// Arduino Voltage Divider Battery Monitor
// R1 = 22000 ohms, R2 = 10000 ohms

const int analogPin = A0;
const float R1 = 22000.0;
const float R2 = 10000.0;
const float Vref = 4.98; // Measure your Arduino 5V pin with a DMM and enter exact value

void setup() {
  Serial.begin(115200);
  analogReference(DEFAULT); // Use 5V VCC as reference
}

void loop() {
  float totalVout = 0;

  // Oversample 16 times to reduce noise
  for(int i = 0; i < 16; i++) {
    totalVout += analogRead(analogPin);
    delay(2);
  }

  float avgADC = totalVout / 16.0;

  // Convert ADC value to voltage at the pin
  float vOut = (avgADC / 1023.0) * Vref;

  // Calculate actual battery voltage using divider ratio
  float vIn = vOut / (R2 / (R1 + R2));

  Serial.print('Battery Voltage: ');
  Serial.print(vIn, 2);
  Serial.println(' V');

  delay(1000);
}
Common Failure Modes and Troubleshooting
Even with a perfectly calculated Arduino voltage divider, real-world physics can introduce errors. Here is how to troubleshoot the most common edge cases:
- Readings Drift Upwards Over Time: This is almost always caused by a floating ground. Ensure the ground wire connecting your battery's negative terminal to the Arduino's GND pin is thick (minimum 22 AWG) and securely terminated. A high-resistance ground path will cause the ground reference to float, artificially inflating the analog reading.
- Erratic Jumps of 0.2V - 0.5V: You are experiencing USB ground loop noise or alternator ripple. If the Arduino is powered via a laptop USB while measuring a vehicle battery, the switching power supply in the laptop injects high-frequency noise. Power the Arduino from an isolated DC-DC buck converter (like the LM2596, set to 7V-9V into the barrel jack) to break the ground loop.
- ADC Reads 1023 Constantly: Your input voltage has exceeded the Vref ceiling, or your Zener diode has failed short. Disconnect the battery immediately and verify the resistance of R1 and R2 with a multimeter to ensure neither resistor has burned open.
By respecting the ADC impedance limits, filtering high-frequency noise with X7R ceramics, and implementing robust software oversampling, your Arduino voltage divider will deliver laboratory-grade accuracy in harsh, real-world electrical environments.