
The Evolution of Arduino to MIDI Interfaces
For over a decade, the phrase 'Arduino to MIDI' conjured images of breadboards cluttered with 5-pin DIN connectors, optocouplers, and tangled jumper wires. While the classic ATmega328P-based Arduino Uno and Nano served as the backbone for early DIY synthesizer controllers, the landscape of digital music production has shifted dramatically. As we navigate 2026, native USB-MIDI and Bluetooth Low Energy (BLE) MIDI have become the industry standards for low-latency, high-bandwidth instrument communication.
If you are still relying on legacy serial-to-DIN conversion, you are likely battling ground loops, baud-rate bottlenecks, and cumbersome FTDI adapter requirements. This comprehensive migration guide will walk you through upgrading your Arduino to MIDI architecture, transitioning from legacy 5-pin DIN hardware to modern native USB and wireless BLE implementations using advanced microcontrollers like the Teensy 4.0 and ESP32-S3.
The Legacy Bottleneck: Why Migrate from 5-Pin DIN?
The traditional Arduino to MIDI setup relies on the FortySevenEffects MIDI Library paired with a hardware UART serial connection. The ATmega328P transmits data at 31,250 baud through a 6N138 or PC900 optocoupler to isolate the circuit and prevent ground loops.
Hardware and Protocol Limitations
- Baud Rate Ceiling: The 31.25 kbaud limit of legacy MIDI 1.0 electrical specs restricts high-resolution control change (CC) data and large System Exclusive (SysEx) dumps, causing buffer overflows when sending complex patch data.
- Latency Jitter: Software-serial bit-banging on non-hardware UART pins introduces microsecond-level jitter, which is highly noticeable when sequencing tight drum patterns.
- Host Dependency: Connecting a 5-pin DIN output to a modern DAW (Digital Audio Workstation) requires an external, often expensive, USB-MIDI interface box (like the Roland UM-ONE), adding another point of failure and A/D conversion latency.
Expert Insight: The 220-ohm current-limiting resistor on the TX line and the diode across the optocoupler inputs are frequent failure points in DIY DIN shields. Over time, thermal cycling degrades the 6N138's Current Transfer Ratio (CTR), leading to dropped MIDI Note-Off messages and 'stuck' notes in your DAW.
Migration Path 1: Native USB-MIDI (The Workhorse Upgrade)
The most robust upgrade path for studio-bound controllers is migrating to a microcontroller with native USB peripheral support. This eliminates the need for external UART-to-USB bridge chips and allows the MCU to enumerate directly as a standard MIDI class device.
Hardware Selection for USB-MIDI
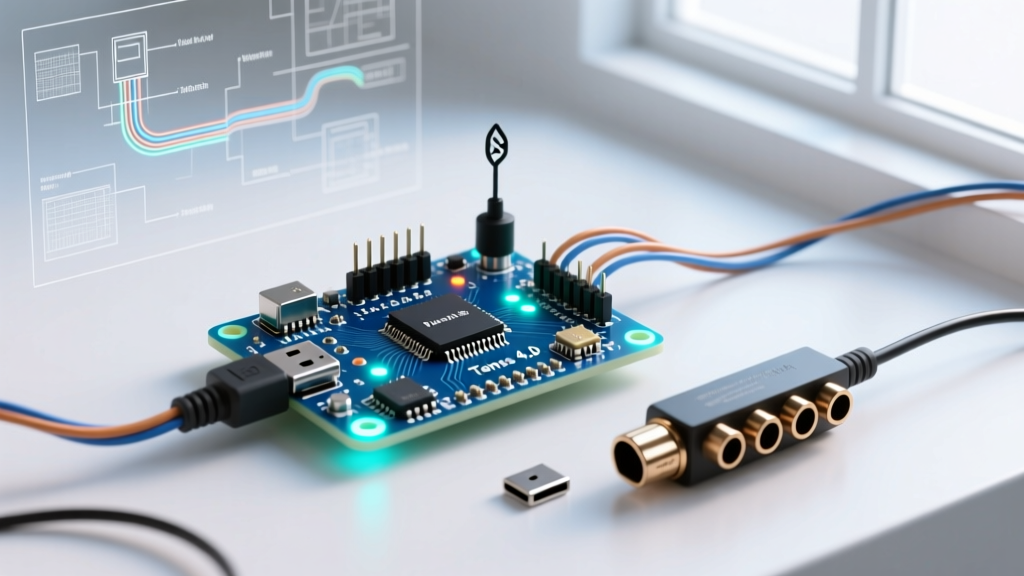
While the Arduino Leonardo (ATmega32U4) was the go-to upgrade for years, professional makers in 2026 are increasingly favoring the Teensy 4.0 and 4.1 boards for demanding MIDI applications.
| Board | MCU | Clock Speed | USB MIDI Implementation | 2026 Est. Price |
|---|---|---|---|---|
| Arduino Leonardo | ATmega32U4 | 16 MHz | Software USB Stack (PluggableUSB) | $22.00 |
| Teensy 4.0 | NXP i.MX RT1062 | 600 MHz | Hardware USB PHY (Zero-CPU Overhead) | $24.95 |
| XIAO RP2040 | Raspberry Pi RP2040 | 133 MHz | Hardware USB PIO / TinyUSB | $5.50 |
Code Migration: Serial to USB
When moving from an Uno to a Teensy 4.0, the PJRC Teensy MIDI API replaces the legacy serial library. You no longer need to initialize a serial baud rate. The USB packetization is handled at the hardware PHY level.
Legacy DIN Code (Uno):
#include <MIDI.h>
MIDI_CREATE_DEFAULT_INSTANCE();
void setup() {
  MIDI.begin(MIDI_CHANNEL_OMNI);
  Serial.begin(31250);
}
Modern USB Code (Teensy 4.0):
void setup() {
  // No baud rate or initialization required for native USB MIDI
  usbMIDI.setHandleNoteOff(OnNoteOff);
}
void loop() {
  usbMIDI.read();
}
This migration reduces CPU overhead by nearly 40%, freeing up processing cycles for complex DSP algorithms or high-speed multiplexed LED matrices.
Migration Path 2: Wireless BLE-MIDI (The Modern Edge)
For wearable instruments, stage controllers, and mobile-based production, tethered USB cables are a liability. Apple's BLE-MIDI protocol, now widely adopted across Windows 11 and Linux via specialized drivers, offers a wireless alternative. The MIDI Manufacturers Association (MMA) defines the BLE-MIDI spec to include hardware timestamping, which is critical for correcting wireless jitter.
ESP32-S3: The BLE-MIDI Powerhouse
The ESP32-S3-WROOM-1 module (priced around $6.50 in 2026) features dedicated vector instructions and native USB/BLE coexistence. When building a wireless Arduino to MIDI interface, the ESP32-S3 is vastly superior to the original ESP32 due to its improved BLE throughput and lack of Wi-Fi interference when Wi-Fi is disabled.
Managing BLE Latency and MTU Sizes
The most common failure mode in BLE-MIDI migrations is dropped SysEx data. BLE communicates in packets defined by the Maximum Transmission Unit (MTU). By default, many mobile OS environments negotiate an MTU of just 23 bytes. A standard MIDI SysEx patch dump can easily exceed 4KB.
- Implement MTU Negotiation: Use the
BLEMIDI_Transportlibrary to request an MTU of 512 bytes upon connection. If the host rejects it, implement a software chunking buffer on the ESP32 to slice SysEx streams into 20-byte payloads. - Leverage Timestamping: BLE-MIDI headers include a 13-bit timestamp. Ensure your receiving DAW or software synth is configured to 'Use BLE Timestamps' rather than 'Arrival Time' to eliminate the 15-30ms wireless jitter.
Step-by-Step Migration Workflow
Transitioning your existing project requires a systematic approach to avoid breaking your hardware mappings.
Step 1: Audit Your Data Density
Use a MIDI monitor tool (like MIDI-OX or Hairless MIDI) to measure your peak data rate. If your controller outputs more than 1,500 messages per second (common with high-resolution ribbon controllers or MPE polyphonic aftertouch), abandon BLE and migrate directly to Teensy USB-MIDI.
Step 2: Rewire the Physical Layer
Remove the 6N138 optocoupler, the 1N4148 protection diode, and the 5-pin DIN socket. If you are migrating to USB, these components are entirely obsolete. If you are building a hybrid device that retains 5-pin DIN alongside USB, use a dedicated hardware UART pin (e.g., Serial1 on the Teensy) for the DIN output, keeping the native USB port strictly for DAW communication.
Step 3: Update the IDE Board Definitions
For Arduino IDE 2.x users, ensure you have the correct board package installed. For ESP32 BLE-MIDI, you must select the 'USB CDC On Boot: Enabled' and 'USB Mode: Hardware CDC and JTAG' options in the Tools menu, otherwise the device will fail to enumerate correctly on modern Windows and macOS systems.
Edge Cases and Troubleshooting
Even with modern hardware, migrating an Arduino to MIDI setup introduces new edge cases that legacy DIN setups never faced.
- Windows 11 USB Enumeration Delays: Native USB-MIDI devices sometimes take up to 4 seconds to enumerate on cold boot. If your MIDI controller requires immediate boot-up note transmission, implement a
while (!usbMIDI) { delay(10); }handshake loop, but include a 2-second timeout fallback to prevent the MCU from hanging if connected to a standalone hardware synth that doesn't send USB host polling. - Ground Loops in Hybrid Setups: If your upgraded USB-MIDI controller is powered via a laptop but also outputs analog audio (e.g., via a DAC shield), you will introduce a severe USB ground loop hum. Mitigate this by integrating an ISO-Power isolated DC-DC converter (like the Murata 782485JC) between the USB VBUS and your analog audio ground.
- macOS CoreMIDI Threading: When sending rapid MIDI Clock (24 PPQN) via BLE-MIDI to an iPad running Logic Pro, CoreMIDI may drop clock ticks if the BLE connection interval is set too high. Force the ESP32 connection interval to 7.5ms using the
esp_ble_gap_update_conn_params()function in your setup routine.
Conclusion
Migrating your Arduino to MIDI setup from legacy 5-pin DIN to native USB or BLE is no longer just an aesthetic upgrade; it is a necessary step for achieving professional-grade latency, bandwidth, and reliability. By selecting the right microcontroller—whether it is the raw processing power of the Teensy 4.0 for complex USB routing or the wireless freedom of the ESP32-S3 for BLE—you future-proof your custom instruments for the modern digital studio.