
Introduction to DIY Microcontroller Security
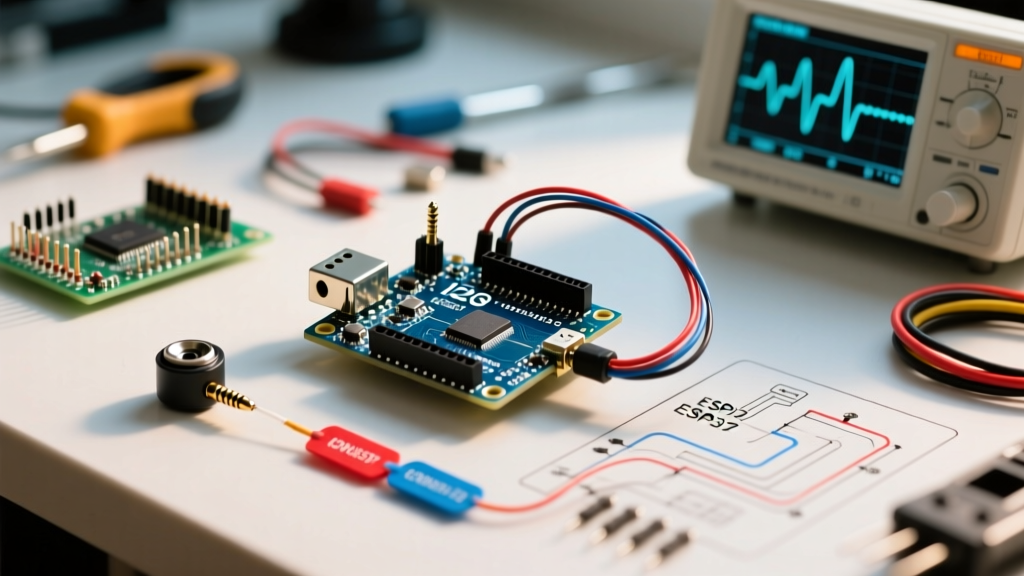
Building a custom security network is one of the most rewarding applications of the Arduino ecosystem. While the classic Arduino Uno is excellent for learning, modern implementations in 2026 heavily favor the ESP32 and ESP32-S3 families due to their native Wi-Fi/Bluetooth capabilities, dual-core processing, and ultra-low power sleep modes. This quick reference guide and FAQ addresses the most common architectural, hardware, and networking questions makers face when figuring out how to use Arduino for home security systems effectively and reliably.
Component Quick Reference Matrix
Before wiring your first sensor, review this matrix of standard security components, their protocols, and real-world pricing.
| Component Type | Recommended Model | Protocol / Interface | Avg. Cost (2026) | Active Power Draw |
|---|---|---|---|---|
| PIR Motion Sensor | HC-SR501 / AM312 | Digital GPIO (HIGH/LOW) | $1.50 - $3.00 | ~50µA (AM312) |
| Door/Window Contact | MC-38 Magnetic Reed Switch | Digital GPIO (NO/NC) | $1.00 - $2.00 | N/A (Passive) |
| RFID Access Keypad | MFRC522 (13.56 MHz) | SPI | $2.50 - $4.00 | ~13-26mA |
| Camera Module | ESP32-S3 + OV5640 | DVP / Native LCD | $12.00 - $18.00 | ~150-300mA |
| Vibration/Glass Break | SW-420 / Piezo Element | Analog / Digital GPIO | $0.50 - $1.50 | <1mA |
FAQ: Microcontroller Selection & Architecture
Q: Should I use an Arduino Uno, Nano, or ESP32 for a security hub?
A: For standalone sensor nodes, the ESP32-WROOM-32 or the newer ESP32-S3 are the undisputed choices in 2026. The classic ATmega328P-based boards (Uno/Nano) lack native networking, requiring bulky and power-hungry add-ons like the ESP-01 or W5500 Ethernet shields. The ESP32 integrates Wi-Fi 4 (and Wi-Fi 6 on the C6 variant), hardware cryptographic acceleration for TLS encryption, and deep sleep capabilities that draw as little as 10µA, making it ideal for both wired hubs and battery-powered perimeter nodes.
Q: How do I prevent local network sniffing of my security alerts?
A: Never transmit MQTT payloads or HTTP webhooks in plain text over port 1883 or 80. Configure your local broker (like Mosquitto or Eclipse Mosquitto via Home Assistant) to require MQTT over TLS (port 8883). Utilize the ESP32's WiFiClientSecure library and embed your broker's root CA certificate directly into your sketch's flash memory to verify the server identity upon connection.
FAQ: Sensor Integration & Edge Cases
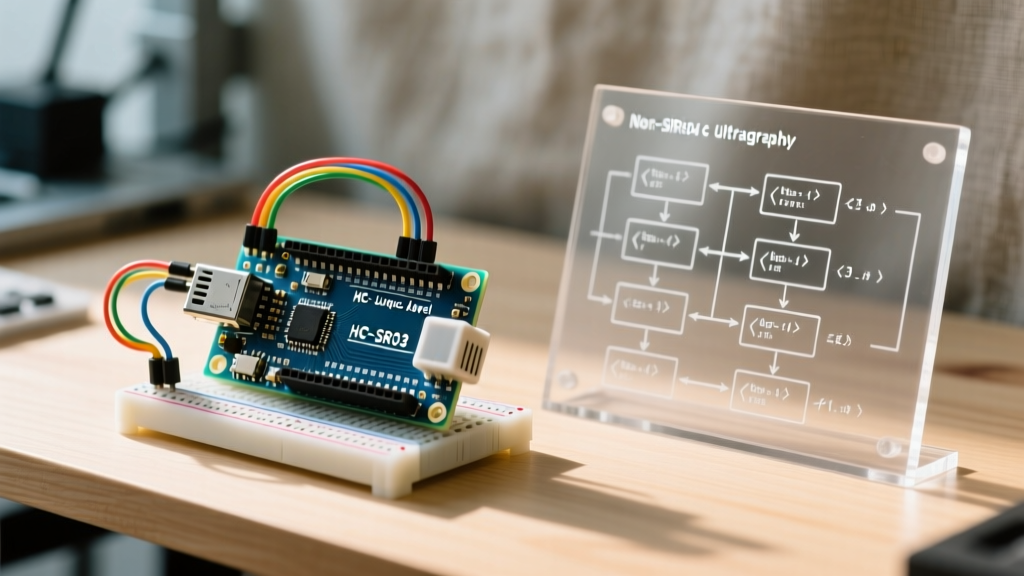
Q: My HC-SR501 PIR sensor keeps triggering false alarms. How do I fix this?
The HC-SR501 is notoriously sensitive to thermal gradients and electromagnetic interference. False triggers in home security systems usually stem from three specific edge cases:
- HVAC Vents & Sunlight: PIR sensors detect changes in infrared radiation. An HVAC vent blowing across the sensor's field of view, or direct sunlight shifting across a room, will trigger it. Solution: Apply electrical tape to mask the outer edges of the Fresnel lens to narrow the field of view, and mount the sensor away from thermal drafts.
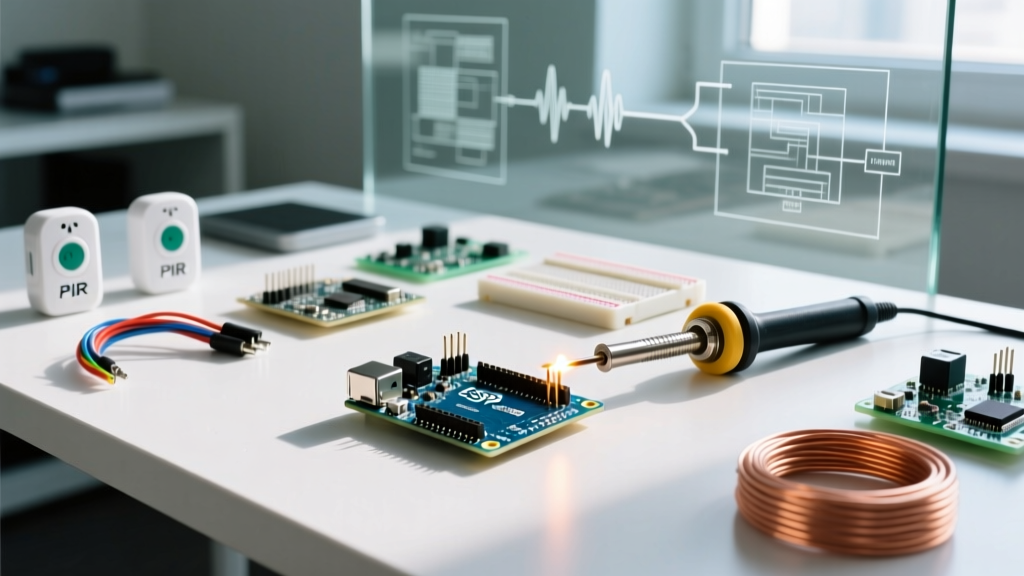
- RF Interference from Wi-Fi: The ESP32's Wi-Fi transmission bursts (up to 250mA) can induce voltage ripple on the 5V rail, which the HC-SR501 misinterprets as a motion trigger. Solution: Solder a 100µF electrolytic capacitor and a 0.1µF ceramic capacitor directly across the VCC and GND pins of the PIR sensor to smooth the power delivery.
- Pet Immunity: Standard lenses will trigger on cats or dogs. Solution: Swap the standard white dome for a pet-immune Fresnel lens (often tinted or segmented differently) and physically mount the sensor upside down if the PCB allows, restricting the lower detection zone.
Q: What is the correct way to wire magnetic reed switches for doors and windows?
A: Always wire reed switches in a Normally Closed (NC) configuration for security applications. In an NC setup, the circuit is complete when the door is closed. If an intruder cuts the wire, the circuit opens, and the alarm triggers immediately (fail-secure).
Hardware Debouncing Circuit: Mechanical reed switches suffer from contact bounce, which can register as dozens of open/close events in a single millisecond. Instead of relying solely on software delays, implement a hardware RC filter:
- Connect the NC reed switch between GND and your ESP32 GPIO pin.
- Add a 10kΩ pull-up resistor from the GPIO pin to 3.3V.
- Place a 0.1µF ceramic capacitor in parallel with the reed switch (between GPIO and GND). This absorbs the micro-bounces and provides a clean, single falling edge to the microcontroller's interrupt pin.
FAQ: Power Management & Reliability
Q: How can I run an ESP32 security node on batteries for over a year?
Achieving multi-year battery life requires bypassing the inefficient onboard voltage regulators found on most development boards. The AMS1117-3.3 LDO on a standard DevKitC board has a quiescent current of ~5mA, which will drain a 3000mAh 18650 cell in less than a month, even if the ESP32 is in deep sleep.
Expert Power Tip: To achieve true low-power operation, use a bare ESP32 module (like the ESP32-MINI-1) paired with an ultra-low quiescent LDO like the MCP1700-3302E (quiescent current of 1.6µA) or use a nano-power timer like the TI TPL5010 to completely cut power to the MCU between scheduled wake-ups.
For sleep architecture, utilize the ESP-IDF Deep Sleep modes. Configure the ESP32 to wake only via external GPIO interrupts (e.g., a door opening) or an RTC timer for periodic heartbeat check-ins. A properly designed bare-module node drawing 12µA in sleep and waking for 2 seconds every hour to transmit an MQTT heartbeat can easily run for 18-24 months on a single 18650 Li-ion cell.
Q: What happens if the system crashes or freezes?
A: You must implement a Watchdog Timer (WDT). The ESP32 features a hardware Task Watchdog Timer (TWDT). If your main security loop hangs (e.g., due to a Wi-Fi stack failure or an I2C bus lockup), the WDT will automatically reset the microcontroller. In your code, ensure you call esp_task_wdt_reset() inside your main loop. Furthermore, store the system's armed/disarmed state in the ESP32's RTC RAM or NVS (Non-Volatile Storage) so that the system remembers its security state immediately after a hardware reset or power failure.
FAQ: Network Alerts & Smart Home Integration
Q: What is the best protocol for sending alerts to my phone?
A: While direct HTTP requests to Telegram Bot APIs or IFTTT webhooks are popular for beginners, they are brittle and rely on external cloud uptime. The industry standard for DIY home security in 2026 is MQTT integrated with Home Assistant.
- Local Processing: Home Assistant's MQTT integration processes payloads locally, meaning your security alerts still trigger local sirens and log events even if your WAN/Internet connection goes down.
- Payload Structure: Send structured JSON payloads rather than plain text. For example:
{"sensor": "front_door", "state": "OPEN", "tamper": false, "battery_mv": 3850}. This allows your hub to track battery degradation over time and alert you when a node's 18650 cell drops below 3.2V. - Redundancy: Use Home Assistant's native mobile app notifications for primary alerts, but configure an SMTP fallback or a local GSM module (like the SIM7600) to send an SMS if the local network router is physically unplugged by an intruder.
Q: How do I handle RFID access control securely?
A: The ubiquitous RC522 RFID reader operates at 13.56 MHz and reads MIFARE Classic 1K cards. However, MIFARE Classic uses the Crypto-1 cipher, which has been thoroughly broken since 2008 and can be cloned in seconds with a $10 Proxmark or Flipper Zero device.
For actual security, do not rely on the UID (Unique Identifier) of cheap fobs. Instead, use MIFARE DESFire EV2/EV3 cards or NFC NTAG 215/216 tags with password protection enabled. Program your ESP32 to read a specific encrypted memory block rather than just the public UID, ensuring that a cloned UID without the correct cryptographic keys will be rejected by your access control sketch.
Summary Checklist for Deployment
Before sealing your 3D-printed enclosures and mounting your nodes, run through this final deployment checklist:
- [ ] Fail-Secure Wiring: All perimeter contacts are wired Normally Closed (NC).
- [ ] Tamper Switches: Enclosures include a physical micro-switch that triggers an alert if the case is pried open.
- [ ] Power Redundancy: The central hub is backed by a 12V Sealed Lead Acid (SLA) battery or a UPS, ensuring operation during grid blackouts.
- [ ] Network Isolation: All IoT security nodes are placed on an isolated VLAN, preventing a compromised smart bulb from being used as a pivot point to attack your security broker.
- [ ] Watchdog Active: Hardware WDT is enabled and tested via simulated software hangs.