
The Critical Role of Galvanic Isolation in MCU Projects
Interfacing an Arduino with external circuits—especially those operating at 12V, 24V, or dealing with inductive loads like relays and motors—introduces severe risk to the ATmega328P microcontroller. Voltage spikes, ground loops, and electrical noise can instantly destroy your board's GPIO pins. The solution is galvanic isolation, and the most cost-effective component for this job is the optocoupler.
In this comprehensive optocoupler Arduino tutorial, we will engineer a robust isolation stage using the ubiquitous PC817 phototransistor optocoupler. We will move beyond generic wiring diagrams and dive into the actual electrical engineering math required to calculate current-limiting resistors, account for Current Transfer Ratio (CTR) degradation, and write noise-immune firmware.
The PC817 Optocoupler: 2026 Market Context & Specifications
As of 2026, the PC817 remains a staple in maker and industrial projects due to its low cost (typically $0.10 to $0.25 per unit in bulk) and wide availability. It consists of an internal infrared (IR) LED optically coupled to a phototransistor, housed in a standard 4-pin DIP package.
Core Electrical Specifications
| Parameter | Symbol | Typical Value | Maximum Rating |
|---|---|---|---|
| Forward Voltage (IR LED) | V_F | 1.2V (at 20mA) | 1.4V |
| Forward Current | I_F | 10mA - 20mA | 50mA |
| Collector-Emitter Voltage | V_CEO | 35V | 80V |
| Current Transfer Ratio (CTR) | CTR | 50% to 600% | Varies by bin (A/B/C/D) |
| Rise / Fall Time | t_r / t_f | 3μs / 4μs | 18μs / 18μs |
Expert Note: The PC817 is manufactured in different CTR 'bins' (e.g., PC817A, PC817B, PC817C). A PC817A has a CTR of 80-160%, while a PC817C ranges from 200-400%. When designing for mass production or high reliability, always engineer your circuit assuming the lowest possible CTR (worst-case scenario) to guarantee the phototransistor saturates fully.
Engineering the Input Stage: Calculating the Forward Resistor
The most common mistake beginners make is connecting the Arduino's 5V pin directly to the optocoupler's internal LED. This will instantly burn out the LED, as it lacks internal current limiting. We must calculate the precise series resistor.
The Math Behind R1 (Input Resistor)
Our goal is to drive the IR LED with a safe forward current (I_F) of 10mA. This provides enough light to trigger the phototransistor without overstressing the Arduino's GPIO pin (which can source up to 20mA safely, 40mA absolute max).
- Supply Voltage (V_CC): 5V (from Arduino digital pin)
- LED Forward Voltage (V_F): 1.2V (from datasheet)
- Target Current (I_F): 0.01A (10mA)
Using Ohm's Law: R = (V_CC - V_F) / I_F
R = (5V - 1.2V) / 0.01A = 380Ω
The nearest standard E12 resistor value is 390Ω. Let's verify the power dissipation to select the correct resistor wattage:
P = I² × R = (0.01)² × 390 = 0.039W (39mW)
A standard 1/4W (250mW) 390Ω resistor is more than sufficient and will run completely cool.
Designing the Output Stage: CTR and Pull-Up Sizing
The output side of the PC817 features an NPN phototransistor. To interface this with an Arduino input pin, we use a pull-up resistor configuration. When the IR LED turns on, the phototransistor conducts, pulling the Arduino pin to GND (LOW). When the LED is off, the pull-up resistor pulls the pin to 5V (HIGH).
Sizing the Pull-Up Resistor (R2)
According to onsemi optocoupler application guidelines, the pull-up resistor must be large enough to limit current when the transistor saturates, but small enough to overcome leakage current and stray capacitance.
- Assume a worst-case CTR of 50% (PC817A bin).
- If I_F = 10mA, the maximum collector current (I_C) is 5mA.
- To pull a 5V line LOW through a 10kΩ resistor requires only 0.5mA (I = V/R = 5/10000).
- Since the transistor can sink up to 5mA, it will easily sink the 0.5mA required, pulling the voltage down to V_CE(sat) (approximately 0.2V), which registers as a solid logic LOW.
Verdict: A 10kΩ pull-up resistor is optimal for standard digital read applications. If you are attempting to isolate higher-speed signals (like a 9600 baud UART line), drop the pull-up to 1kΩ or 2.2kΩ to reduce the RC time constant and speed up the rise time.
Step-by-Step Wiring Guide: 12V to 5V Logic Translation
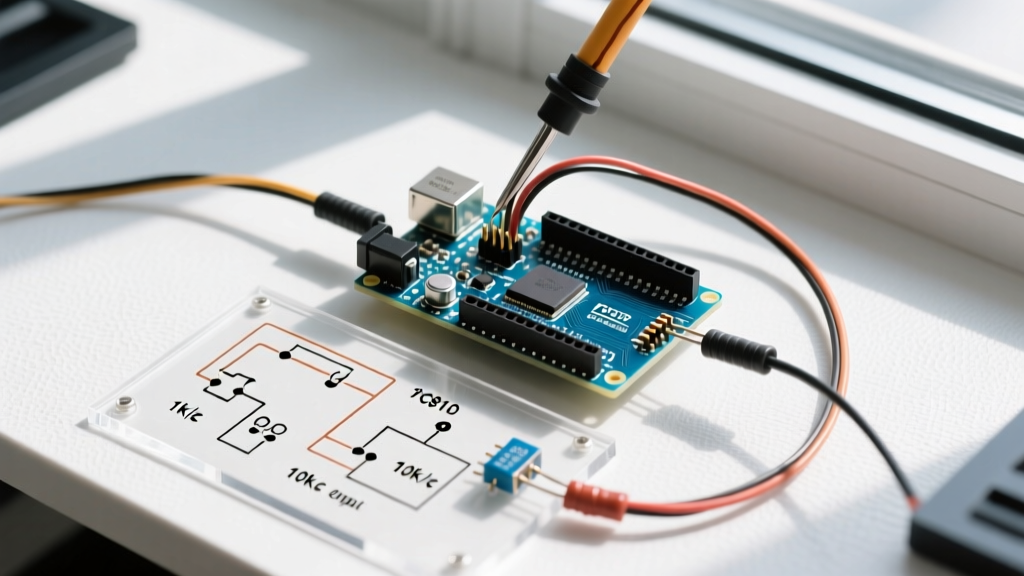
Let's build a practical circuit: safely reading a 12V automotive or industrial sensor signal with a 5V Arduino.
- Step 1: Connect the 12V sensor output to the Anode (Pin 1) of the PC817 via a 470Ω 1/2W resistor. (Calculated as: (12V - 1.2V) / 0.02A ≈ 540Ω -> use 470Ω for 22mA drive).
- Step 2: Connect the Cathode (Pin 2) to the 12V Ground.
- Step 3: Connect the Emitter (Pin 4) to the Arduino Ground. (Crucial: The 12V ground and Arduino ground must NOT be connected anywhere else, or you defeat the isolation).
- Step 4: Connect a 10kΩ resistor between Arduino 5V and the Collector (Pin 3).
- Step 5: Wire the Collector (Pin 3) directly to Arduino Digital Pin 2.
Arduino Firmware Implementation
Because optocouplers can be susceptible to high-frequency noise transients on long industrial cables, it is best practice to implement software debouncing rather than relying solely on the hardware's Arduino digitalRead() function in a raw state.
// PC817 Optocoupler Isolation Demo
const int ISOLATED_PIN = 2;
bool lastState = HIGH;
unsigned long lastDebounceTime = 0;
const unsigned long debounceDelay = 50; // 50ms debounce

void setup() {
  Serial.begin(115200);
  // Use internal pull-up as a backup, though external 10k is primary
  pinMode(ISOLATED_PIN, INPUT_PULLUP);
  Serial.println("Optocoupler Isolation Monitor Active...");
}

void loop() {
  bool reading = digitalRead(ISOLATED_PIN);

  // Software debounce to filter inductive kickback noise
  if (reading != lastState) {
    lastDebounceTime = millis();
  }

  if ((millis() - lastDebounceTime) > debounceDelay) {
    if (reading == LOW) {
      Serial.println("[ALERT] 12V Signal Detected (Isolated)");
    }
  }
  lastState = reading;
}
Component Selection Matrix: When to Upgrade from the PC817
While the PC817 is excellent for DC switching and low-speed signals, it is fundamentally limited by its phototransistor architecture. Consult this matrix to determine if your 2026 project requires a more advanced Texas Instruments isolation solution or a high-speed digital optocoupler.
| Feature | PC817 (Standard) | 4N25 (Legacy) | 6N137 (High-Speed) | ISO7721 (Digital Isolator) |
|---|---|---|---|---|
| Max Data Rate | ~10 kbps | ~10 kbps | 10 Mbps | 100 Mbps |
| Propagation Delay | ~4 μs | ~10 μs | ~45 ns | ~10 ns |
| Typical Cost (2026) | $0.15 | $0.45 | $1.20 | $2.50 |
| Best Application | Relays, Buttons, DC | Legacy AC Mains | SPI, UART, I2C | High-speed Motor Control |
Real-World Failure Modes & Edge Cases
Designing with optocouplers requires anticipating how they fail in the field. Here are the most common edge cases encountered in professional deployments:
1. CTR Degradation Over Time
The internal IR LED in an optocoupler degrades with use, much like a standard LED. Operating the PC817 at its maximum 50mA continuous forward current at elevated ambient temperatures (above 60°C) can cause the CTR to drop by up to 50% over a 5-year lifespan. Solution: Always drive the LED with the minimum current required to trigger the output (10mA is usually plenty), keeping the junction temperature low.
2. The Ground Loop Trap
The entire purpose of an optocoupler is galvanic isolation. If you connect the 12V battery ground to the Arduino USB ground via a shared power supply or a stray wire, high-voltage transients will bypass the optocoupler entirely and fry the MCU. Solution: Use a multimeter in continuity mode to verify infinite resistance between the high-voltage ground and the Arduino ground before applying power.
3. dV/dt Immunity and False Triggers
Fast-switching high-voltage transients (high dV/dt) can couple through the internal parasitic capacitance of the optocoupler (typically around 1pF to 2pF for the PC817), causing momentary false triggers on the Arduino pin. Solution: Add a small 10nF to 100nF ceramic capacitor in parallel with the 10kΩ pull-up resistor to create a low-pass hardware filter, absorbing high-frequency spikes before the microcontroller samples the pin.
Summary
Mastering the optocoupler Arduino interface is a rite of passage for electronics engineers moving from hobbyist breadboards to robust, real-world deployments. By calculating your forward resistors based on specific CTR bins, maintaining strict ground separation, and implementing software debouncing, you can safely interface your 5V logic with virtually any DC environment without risking your hardware.