
The Foundation of Microcontroller Interfacing
At the core of every embedded system is the ability to read the physical world and react to it. When working with Arduino digital input output, you are dealing with the most fundamental layer of hardware abstraction: binary states. A digital pin can only be HIGH (typically 5V or 3.3V) or LOW (0V/GND). While the concept is simple, the physical realities of voltage tolerances, current limits, and mechanical switch bounce separate fragile prototypes from robust, production-ready electronics.
In this comprehensive tutorial, we will move beyond basic blink sketches. We will cover exact current calculations, the physics of floating pins, non-blocking software debouncing, and hardware interrupt configurations for modern boards like the Uno R4 Minima and the classic Uno R3.
Hardware Reality: Voltage Logic and Current Limits
Before wiring a single component, you must understand the electrical limits of your specific microcontroller unit (MCU). Exceeding these limits will permanently damage the silicon die. According to the official Arduino digital pins documentation, the absolute maximum current per I/O pin is often misunderstood by beginners as a recommended operating point.
Board Comparison Matrix (2026 Standards)
| Board Model | Core MCU | Logic Level | Max Current Per Pin (Absolute) | Recommended Operating Current | Total GPIO Limit |
|---|---|---|---|---|---|
| Uno R3 | ATmega328P | 5V | 40mA | 20mA | 200mA (All VCC/GND) |
| Uno R4 Minima | Renesas RA4M1 | 5V Tolerant | 15mA | 8mA | 120mA |
| Nano ESP32 | ESP32-S3 | 3.3V | 40mA | 20mA | Depends on LDO rail |
Expert Warning: Never connect a 5V sensor output directly to a 3.3V logic pin (like those on the Nano ESP32) without a logic level shifter or a voltage divider. Doing so will inject 5V into a 3.3V gate, causing immediate thermal failure of the GPIO pad.
Configuring Digital Outputs: Sourcing vs. Sinking
When configuring a pin as an output using pinMode(pin, OUTPUT), you have two methods to drive a load like an LED or a relay module: current sourcing and current sinking.
- Current Sourcing: The MCU pin outputs
HIGH(5V), pushing current through the load to ground. This is the standard Arduino wiring method. - Current Sinking: The load is connected to the positive voltage rail, and the MCU pin is set to
LOW(0V), pulling current through the load into the pin. Many industrial microcontrollers handle sinking better than sourcing due to internal transistor architecture.
Calculating the Current-Limiting Resistor
Never connect an LED directly to a digital output pin. The LED will attempt to draw infinite current until it destroys the pin's internal bonding wire. Use Ohm's Law to calculate the exact resistor needed:
Formula: R = (Vcc - Vf) / If
Example: You are wiring a high-brightness Blue LED (Vf = 3.2V, target current If = 15mA) to a 5V Uno R3.
R = (5.0V - 3.2V) / 0.015AR = 1.8V / 0.015A = 120 Ohms- Select the nearest standard E12 resistor value, which is 120Ω or 150Ω for a safer margin.
Configuring Digital Inputs: The Floating Pin Problem
Reading a digital input seems trivial: use digitalRead(pin). However, if a pin is configured as INPUT but not physically connected to a defined voltage (HIGH or LOW), it becomes a "floating pin." A floating pin acts as an antenna, picking up electromagnetic interference (EMI) from nearby wires, motors, and even your body, causing digitalRead() to rapidly and randomly alternate between HIGH and LOW.
Solving Float with Pull-Up Resistors
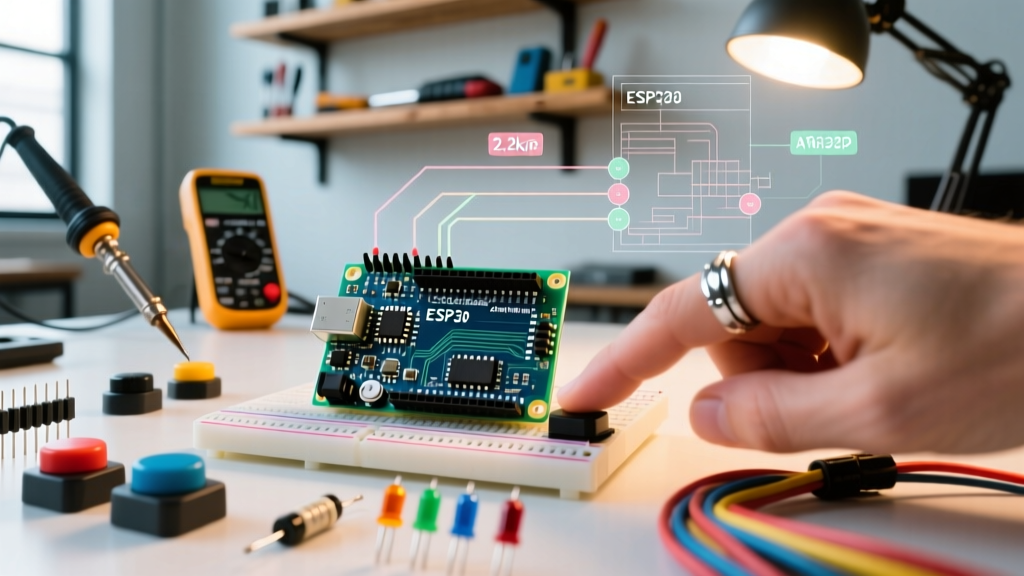
To fix this, we use a pull-up resistor to tie the pin to Vcc (HIGH) by default. When a switch is pressed, it connects the pin directly to GND (LOW), overriding the weak pull-up. As detailed in SparkFun's guide on pull-up resistors, external 10kΩ resistors were historically required. Today, modern MCUs feature internal pull-up resistors (typically 20kΩ to 50kΩ on the ATmega328P).
Implementation:
pinMode(buttonPin, INPUT_PULLUP);
This single line activates the internal resistor, eliminating the need for external components and keeping your breadboard clean. Remember: with INPUT_PULLUP, the logic is inverted. Unpressed = HIGH, Pressed = LOW.
Step-by-Step Tutorial: Non-Blocking Switch Debouncing
Mechanical pushbuttons do not make a clean electrical connection. When the metal contacts close, they physically bounce against each other for 1 to 5 milliseconds (sometimes up to 20ms on cheap tactile switches). To a 16MHz microcontroller executing millions of instructions per second, this bounce looks like the button was pressed dozens of times in rapid succession.
Using the delay() function to wait out the bounce is a critical anti-pattern because it halts the entire MCU, preventing it from reading sensors or updating displays. Instead, we use a non-blocking state-machine approach with millis().
The Debounce Code Architecture
const int buttonPin = 2;    // Pushbutton wired to GND
const int ledPin = 13;      // Onboard LED

int buttonState = HIGH;     // Current debounced state
int lastButtonState = HIGH; // Previous reading
unsigned long lastDebounceTime = 0;
unsigned long debounceDelay = 50; // 50ms safe margin

void setup() {
  pinMode(buttonPin, INPUT_PULLUP);
  pinMode(ledPin, OUTPUT);
  digitalWrite(ledPin, LOW);
}

void loop() {
  int reading = digitalRead(buttonPin);

  // Check if the reading differs from the last reading (bounce or new press)
  if (reading != lastButtonState) {
    lastDebounceTime = millis(); // Reset the timer
  }

  // If the state has been stable for longer than the delay...
  if ((millis() - lastDebounceTime) > debounceDelay) {
    // ...and the state has actually changed
    if (reading != buttonState) {
      buttonState = reading;

      // Trigger action only on the HIGH-to-LOW transition (button press)
      if (buttonState == LOW) {
        digitalWrite(ledPin, !digitalRead(ledPin)); // Toggle LED
      }
    }
  }
  lastButtonState = reading;
}
Advanced Input Handling: Hardware Interrupts
For high-speed applications, such as reading a rotary encoder or a flow sensor, polling the pin state inside the loop() is too slow. You might miss a pulse entirely. In these cases, you must use hardware interrupts. Interrupts force the MCU to pause its current task, execute an Interrupt Service Routine (ISR), and resume.
According to the Arduino attachInterrupt reference, not all pins support hardware interrupts. On the Uno R3, only pins 2 and 3 are hardware interrupt capable.
Interrupt Configuration Rules
- Keep ISRs short: An ISR should only set a
volatileboolean flag. Never usedelay(),Serial.print(), or complex math inside an ISR. - Volatile keyword: Any variable shared between the ISR and the main
loop()must be declared asvolatileto prevent the compiler from caching it in a CPU register. - Trigger modes: Use
FALLINGforINPUT_PULLUPconfigurations to trigger the exact moment the button connects to ground.
Troubleshooting Matrix: Common Digital I/O Failures
When your Arduino digital input output circuit fails to behave as expected, use this diagnostic matrix to isolate the root cause.
| Symptom | Probable Cause | Engineering Solution |
|---|---|---|
| Pin reads random HIGH/LOW when unconnected | Floating input pin picking up EMI | Change INPUT to INPUT_PULLUP or add external 10kΩ pull-down |
| MCU resets randomly when actuating a relay | Voltage brownout from inductive kickback | Install a flyback diode (1N4007) across the relay coil; use an external transistor driver |
| LED glows dimly even when set to LOW | PWM pin leakage or incorrect ground reference | Ensure common ground between MCU and external power supply; check for damaged GPIO pad |
| Button press registers multiple times | Mechanical switch contact bounce | Implement the millis() debounce algorithm provided above or add a 0.1μF capacitor across the switch |
| Pin outputs 3.3V instead of 5V on a 5V board | USB voltage drop or blown internal polyfuse | Measure the 5V rail with a multimeter; replace the board if the PTC resettable fuse is degraded |
Final Verification and Hardware Testing
Mastering Arduino digital input output requires treating software and hardware as a single, unified system. Always verify your physical wiring with a digital multimeter before uploading code. Measure the voltage at the GPIO pin relative to the system ground to ensure your logic levels match the MCU's expectations. By respecting current limits, utilizing internal pull-ups to stabilize floating nodes, and implementing non-blocking debounce logic, you transition from building fragile hobby projects to engineering reliable, responsive embedded systems.