
The DHT11 Sensor: 2026 Hardware Realities
The Aosong DHT11 remains a staple in maker kits and educational environments, even as we move through 2026. It combines a capacitive humidity sensing element with an NTC thermistor, connected to a basic internal IC that handles the analog-to-digital conversion and single-bus communication. While professional environmental monitoring has largely shifted to I2C sensors like the Bosch BME280, the Arduino DHT11 is still the most cost-effective entry point for learning single-wire protocols. In the current market, bare 4-pin DHT11 sensors cost roughly $0.80 to $1.00 in bulk, while PCB-mounted modules (which include the necessary pull-up resistor and sometimes a power LED) retail between $1.50 and $3.50 depending on the vendor.
However, the DHT11 is notorious for frustrating beginners with 'NaN' (Not a Number) serial output errors. This tutorial bypasses the basic fluff and dives straight into the electrical engineering realities, protocol timing, and specific microcontroller interrupt handling required to get reliable data from this sensor.
Pinout and Wiring Matrix
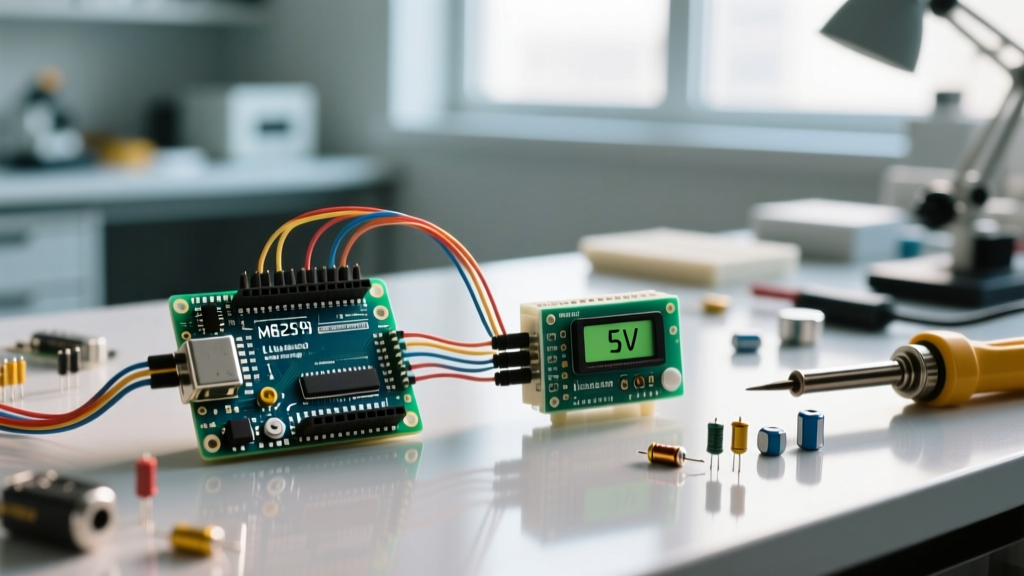
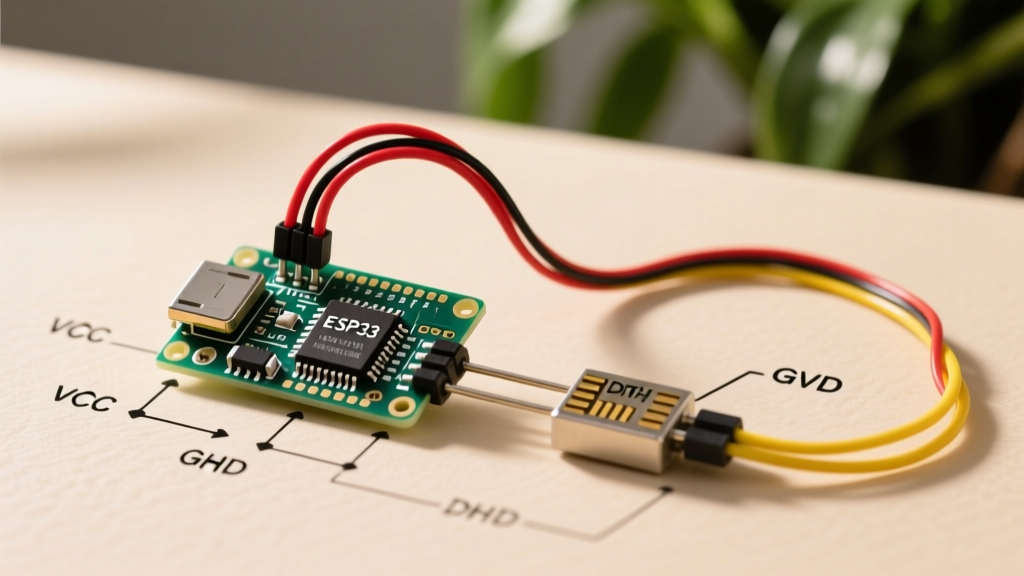
The DHT11 uses a 4-pin package, but only three pins are electrically active. If you are using a bare sensor rather than a pre-soldered module, you must add a 10kΩ pull-up resistor between the VCC and Data pins. Modules have this resistor pre-installed on the PCB.
| Pin Number | Function | Module Wire Color | Notes & Requirements |
|---|---|---|---|
| 1 | VCC | Red | Accepts 3.3V to 5.5V. Ensure clean power; noisy rails cause checksum failures. |
| 2 | Data | Yellow/Orange | Single-bus I/O. Requires a 10kΩ pull-up to VCC if using a bare sensor. |
| 3 | NC | None | Not Connected. Leave floating. |
| 4 | GND | Black | Common ground with the microcontroller. |
3.3V Logic Warning: If you are wiring the Arduino DHT11 to a 3.3V board like the ESP32 or Arduino Nano 33 BLE, be aware that while the sensor operates at 3.3V, its data line outputs high at the VCC level. Powering it at 5V and connecting the data pin directly to a 3.3V GPIO will fry your MCU. Power the DHT11 at 3.3V for native 3.3V logic compatibility, though cable length must be kept under 1 meter at this voltage.
Step-by-Step: Library Installation
The legacy 'dht.h' library is outdated and lacks support for modern RTOS-based boards. We use the Adafruit Unified Sensor ecosystem, which standardizes environmental data structures.
- Open the Arduino IDE (2.3.x or newer) and navigate to Sketch > Include Library > Manage Libraries.
- Search for and install Adafruit Unified Sensor (required dependency).
- Search for and install DHT sensor library by Adafruit.
- Restart the IDE to ensure the library paths are indexed correctly.
Core Arduino DHT11 Sketch
This optimized sketch uses the Unified Sensor API and the F() macro to store string literals in flash memory, preserving precious SRAM on ATmega328P-based boards like the Uno R3.
#include <DHT.h>
#include <DHT_U.h>
#define DHTPIN 2
#define DHTTYPE DHT11
DHT_Unified dht(DHTPIN, DHTTYPE);
uint32_t delayMS;

void setup() {
  Serial.begin(115200);
  dht.begin();
  sensor_t sensor;
  dht.temperature().getSensor(&sensor);
  delayMS = sensor.min_delay / 1000;
}

void loop() {
  delay(delayMS);
  sensors_event_t event;
  dht.temperature().getEvent(&event);
  if (isnan(event.temperature)) {
    Serial.println(F('Error reading temperature!'));
  }
  else {
    Serial.print(F('Temp: '));
    Serial.print(event.temperature);
    Serial.println(F('C'));
  }
}
Deep Dive: Why You Keep Getting 'NaN' Errors
If your serial monitor is flooded with 'NaN' or 'Failed to read' messages, you are experiencing a protocol desync. The DHT11 uses a strict single-bus timing protocol. The MCU must pull the data line LOW for exactly 18 milliseconds to wake the sensor, then release it HIGH for 20-40 microseconds. The sensor responds with an 80-microsecond LOW/HIGH pulse, followed by 40 bits of data. If your microcontroller's timing is off by even a few microseconds during this handshake, the bitstream shifts, the checksum fails, and the library returns 'NaN'.
1. The Missing 10kΩ Pull-Up Resistor
The most common hardware failure is omitting the pull-up resistor on bare sensors. Without it, the data line floats in a high-impedance state when released, causing the rise time to exceed the microsecond thresholds required by the protocol. Always verify your module has the 103 (10kΩ) SMD resistor soldered near the pins.
2. Interrupt Collisions on Modern MCUs
This is the primary culprit for NaN errors on modern boards like the Arduino Uno R4 WiFi, ESP32, or Raspberry Pi Pico. These chips run RTOS environments or handle high-priority Wi-Fi/Bluetooth interrupts in the background. If an interrupt fires while the Arduino is reading the 40-bit DHT11 data stream, the CPU pauses, the microsecond timing is ruined, and the read fails. To fix this, wrap your read function in noInterrupts() and interrupts() commands. Refer to the Arduino noInterrupts() Reference for implementation details. Note that disabling interrupts for the ~5ms duration of a DHT read can cause Wi-Fi stack drops on the ESP32, so use dual-core task pinning where possible.
3. The 1000ms Polling Bottleneck
The DHT11 internal IC requires a full second to sample the environment and reset its buffer. If your loop() delay is set to 500ms, you are querying the sensor before it has finished its internal cycle, resulting in garbage data or NaN. The Adafruit Unified Sensor library automatically calculates this min_delay (1000ms for DHT11, 2000ms for DHT22), so always use the delayMS variable rather than hardcoding delays.
DHT11 vs. DHT22 (AM2302): Upgrade Matrix
When your project graduates from basic room monitoring to greenhouse automation or incubator control, the DHT11's limitations become apparent. Here is how it compares to its larger sibling, the DHT22 (often sold as the AM2302).
| Specification | DHT11 | DHT22 / AM2302 |
|---|---|---|
| Temperature Range | 0°C to 50°C | -40°C to 80°C |
| Temperature Accuracy | ± 2.0°C | ± 0.5°C |
| Humidity Range | 20% to 80% RH | 0% to 100% RH |
| Humidity Accuracy | ± 5.0% RH | ± 2.0% RH |
| Sampling Rate | 1 Hz (1 read/sec) | 0.5 Hz (1 read/2 sec) |
| 2026 Avg. Module Cost | $1.50 - $2.50 | $3.50 - $5.00 |
Physical Placement and Thermal Isolation
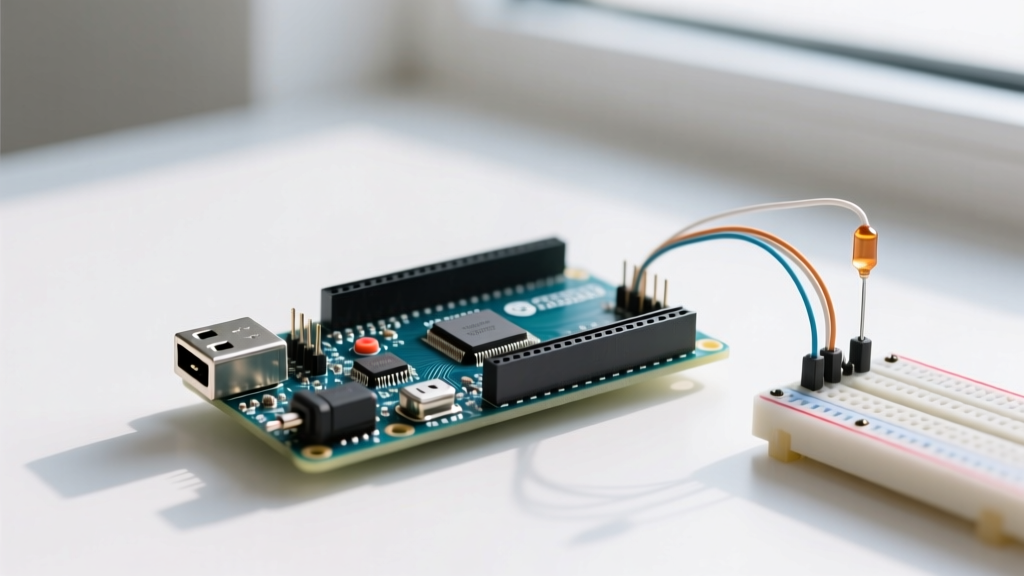
A frequently overlooked source of inaccurate DHT11 readings is thermal bleed from the microcontroller itself. The linear voltage regulator (LDO) on an Arduino Uno R3 or R4 Minima generates significant heat when stepping down 9V-12V barrel jack power to 5V. If you mount the DHT11 on a breadboard directly adjacent to the MCU's LDO or USB controller, the NTC thermistor will absorb this radiant heat, reporting temperatures 2°C to 4°C higher than ambient.
Actionable Fix: Always use at least 15cm of twisted-pair wire to move the DHT11 away from the main PCB. For high-precision applications, consult the Adafruit DHT Sensor Guide for advanced calibration techniques, such as applying a software offset in your code based on a calibrated reference thermometer, or using the saturated salt solution method to verify humidity baseline accuracy.