
The Evolution of WiFi and Arduino Integration
Integrating WiFi and Arduino architectures was once a cumbersome, expensive endeavor. A decade ago, makers relied on the legacy Arduino WiFi Shield, which cost upwards of $85, required complex SPI wiring, and utilized AT-command firmware that frequently locked up under heavy network traffic. Today, the paradigm has entirely shifted. System-on-Chip (SoC) microcontrollers like the ESP8266 and ESP32 have natively absorbed the Arduino IDE ecosystem, offering native 802.11 b/g/n WiFi, TCP/IP stacks, and immense processing power for under $8.
This guide provides a senior-level communication setup guide for modern IoT projects. We will bypass superficial tutorials and dive directly into hardware selection, power delivery edge cases, RF layout considerations, and robust C++ implementation strategies for 2026 production environments.
Hardware Matrix: Selecting the Right SoC for Your Network
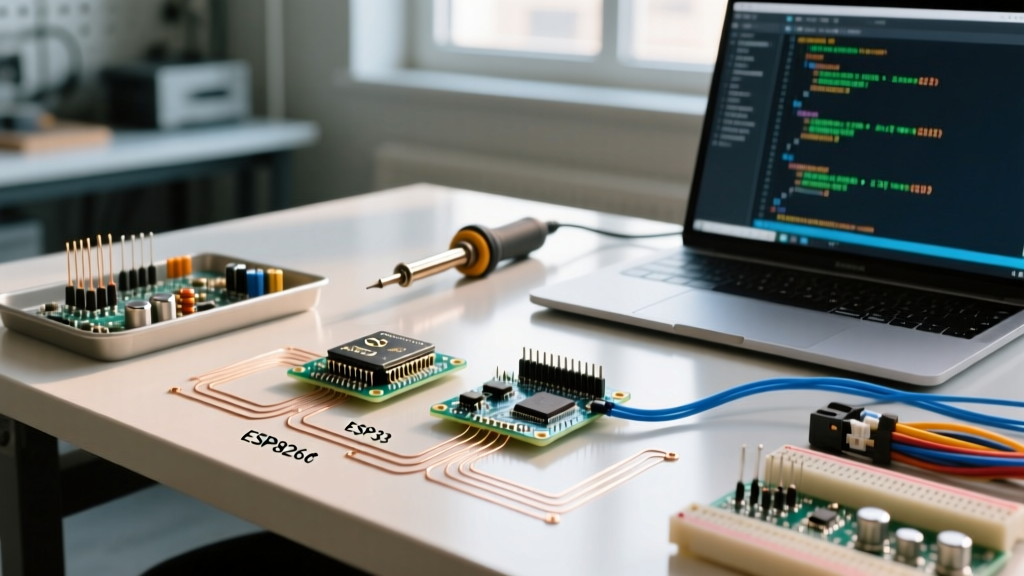
Choosing between the ESP8266 and ESP32 depends entirely on your project's power envelope, I/O requirements, and budget. Below is a technical comparison matrix based on current 2026 market specifications.
| Feature | ESP8266 (NodeMCU v3) | ESP32 (DevKit V1 / WROOM-32E) | Arduino Uno R4 WiFi |
|---|---|---|---|
| Average Price (2026) | $3.50 - $5.00 | $5.50 - $8.00 | $27.50 - $32.00 |
| Processor | Tensilica L106 (Single-core 160MHz) | Xtensa LX6 (Dual-core 240MHz) | Renesas RA4M1 (48MHz) + ESP32-S3 |
| WiFi Standard | 802.11 b/g/n (2.4GHz) | 802.11 b/g/n (2.4GHz) | 802.11 b/g/n (2.4GHz) |
| SRAM | ~50KB usable | 520KB + External PSRAM options | 32KB (Main MCU) |
| Deep Sleep Current | ~20µA | ~10µA (with RTC memory) | Varies by board design |
| Best Use Case | Simple, low-cost telemetry sensors | High-throughput data, BLE+WIFI, Edge AI | Legacy shield compatibility, education |
For 90% of new IoT deployments, the ESP32-WROOM-32E is the undisputed standard. Its dual-core architecture allows you to dedicate Core 0 to network stack management (WiFi and Arduino communication tasks) while Core 1 handles deterministic sensor polling and actuator control without network-induced jitter.
Power Delivery: The Silent Killer of WiFi IoT Nodes
The most common point of failure in WiFi and Arduino projects is not software; it is transient voltage sag. When an ESP32 or ESP8266 transmits an 802.11b packet at maximum power (+20dBm), the current draw can spike to 350mA for several milliseconds.
The AMS1117-3.3 LDO Bottleneck
Cheap third-party dev boards often use the AMS1117-3.3 linear voltage regulator to step down 5V USB to 3.3V. This LDO has a high dropout voltage and poor transient response. During a WiFi TX spike, the 3.3V rail can dip below 2.7V, triggering the ESP32's internal brownout detector and causing a continuous reboot loop.
Expert Fix: If you are designing a custom PCB or wiring a standalone ESP32 module for a remote sensor, abandon linear regulators. Use a switching buck converter like the Pololu D24V5F3 or the TI TPS563200. These handle 500mA+ continuous loads with minimal ripple, ensuring the RF power amplifier receives clean, stable current.
USB Cable Voltage Drop
If you are prototyping and encountering random disconnects, inspect your USB cable. A standard 1-meter AWG28 USB cable can drop 0.5V to 1V at 500mA. This starves the board's onboard LDO. Switch to a heavy-duty AWG22 cable or power the 5V VIN pin directly from a 5V 2A wall adapter with localized 100µF and 10µF ceramic decoupling capacitors placed within 2mm of the SoC's VDD pins.
Software Setup: Flashing and Connecting via Arduino IDE
To interface WiFi and Arduino code natively, you must install the Espressif board definitions. According to the Espressif Arduino Core Documentation, the preferred method is via the Arduino Boards Manager.
- Open Arduino IDE 2.x and navigate to File > Preferences.
- In the 'Additional Boards Manager URLs' field, add:
https://raw.githubusercontent.com/espressif/arduino-esp32/gh-pages/package_esp32_index.json - Open Boards Manager, search for esp32, and install the latest 3.x release.
- Select your specific board (e.g., 'ESP32 Dev Module') and ensure the 'Flash Size' is set to 4MB and 'Partition Scheme' is set to 'Default 4MB with spiffs'.
Robust Connection Code Implementation
Do not use naive while(WiFi.status() != WL_CONNECTED) loops. They lack timeout handling and will cause the watchdog timer (WDT) to reset the chip if the router is unresponsive. Use the following production-grade connection routine:
#include <WiFi.h>

const char* ssid = "YourNetworkSSID";
const char* password = "YourSecurePassword";

void connectToWiFi() {
  WiFi.mode(WIFI_STA);
  WiFi.setTxPower(WIFI_POWER_15dBm); // Lower TX power to save battery if close to router
  WiFi.begin(ssid, password);

  Serial.print("Connecting to WiFi..");
  uint8_t attempts = 0;
  while (WiFi.status() != WL_CONNECTED && attempts < 40) {
    delay(500);
    Serial.print(".");
    attempts++;
  }

  if (WiFi.status() == WL_CONNECTED) {
    Serial.println("\nConnected! IP: " + WiFi.localIP().toString());
  } else {
    Serial.println("\nConnection Failed. Entering Deep Sleep.");
    esp_deep_sleep_start(); // Fallback to save battery
  }
}
RF Layout and Antenna Edge Cases
When moving from a breadboard to a custom PCB, RF interference becomes a critical factor. The Arduino official hardware references emphasize keeping digital traces away from analog inputs, but WiFi requires even stricter RF isolation.
- The Keep-Out Zone: The PCB trace antenna on the ESP32-WROOM module requires a strict 'keep-out' area. No ground planes, copper pours, or signal traces should exist under or immediately adjacent to the antenna overhang.
- Enclosure Attenuation: Placing your IoT node inside a metal enclosure or a carbon-fiber housing will attenuate the 2.4GHz signal by 20dB to 40dB, effectively killing your range. Use ABS or Polycarbonate enclosures, or route an external U.FL connector to a 2.4GHz dipole antenna.
- Coexistence with BLE: If your project uses both Bluetooth Low Energy and WiFi simultaneously, enable coexistence in the Arduino IDE tools menu. The ESP32 uses a single radio and a Packet Traffic Arbitration (PTA) pin to time-slice between the two protocols.
Troubleshooting Common Failure Modes
Even with perfect wiring, network environments introduce variables. Here is how to diagnose the most frequent errors encountered in WiFi and Arduino deployments.
1. Error: wl_no_ssid_avail or Connection Timeouts
Cause: The ESP32 and ESP8266 strictly operate on the 2.4GHz spectrum. Modern mesh routers often use a unified SSID for both 2.4GHz and 5GHz bands. Some routers employ 'band steering', which actively blocks 2.4GHz devices or confuses the ESP32's probe requests.
Solution: Access your router's admin panel and split the bands. Create a dedicated 2.4GHz SSID (e.g., IoT_Network_2G) with WPA2-PSK (AES) security. Avoid WPA3 transition modes, which older ESP8266 firmware struggles to parse.
2. Error: Brownout detector was triggered
Cause: As discussed, the 3.3V rail is collapsing during the initial WiFi calibration phase, which draws peak current.
Solution: If you cannot change the hardware power supply immediately, you can disable the software brownout detector in your setup function using WRITE_PERI_REG(RTC_CNTL_BROWN_OUT_REG, 0);. Warning: This is a band-aid. If the voltage drops too low, the flash memory may corrupt during a write cycle.
3. DHCP Latency in Time-Critical Nodes
Cause: Requesting an IP address via DHCP adds 1 to 3 seconds of latency to your boot sequence, which is unacceptable for battery-powered nodes that need to wake, transmit, and sleep instantly.
Solution: Assign a static IP outside your router's DHCP pool. Use WiFi.config(local_IP, gateway, subnet); before calling WiFi.begin(). This bypasses the DHCP handshake entirely, shaving crucial milliseconds off your active battery-drain window.
Final Thoughts on Production Deployments
Successfully merging WiFi and Arduino ecosystems requires looking past basic tutorials and addressing the physical realities of RF engineering and power management. By selecting the ESP32 for its dual-core capabilities, engineering a robust switching power supply, and writing defensive C++ code that handles network timeouts gracefully, you transition your project from a fragile prototype to a resilient, field-ready IoT device.