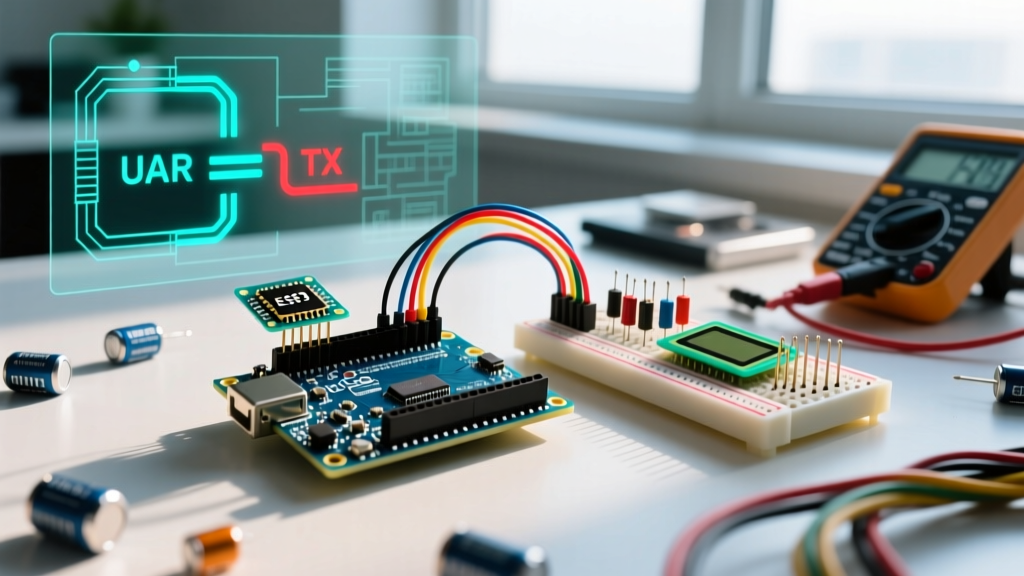

The Physics of Arduino UART: Voltage Levels and Pinouts
Universal Asynchronous Receiver-Transmitter (UART) remains the backbone of embedded debugging and peripheral communication. However, moving from a simple Serial.println() to a robust, production-ready Arduino UART implementation requires understanding both the electrical realities and the software architecture of serial buffers.
Before writing a single line of code, you must address logic levels. The classic Arduino Uno R3 (ATmega328P) operates at 5V logic. Modern peripherals, such as the ESP32, SIM7600 LTE modules, and most GPS receivers, operate at 3.3V. Connecting a 5V TX pin directly to a 3.3V RX pin will degrade or destroy the peripheral's silicon over time.
Hardware Warning: Never wire a 5V Arduino TX directly to a 3.3V ESP32 RX. Use a bi-directional logic level converter based on N-channel MOSFETs (like the BSS138, typically $2.50 on breakout boards) or a dedicated IC like the Texas Instruments TXS0108E ($3.15). For a deep dive into voltage translation, refer to the SparkFun Logic Levels Tutorial.
Hardware UART: Non-Blocking Code Walkthrough
Hardware UART relies on dedicated silicon (USART registers) to shift bits in and out while the main CPU executes other tasks. Boards like the Arduino Mega 2560, Uno R4 Minima ($27.00), and Nano ESP32 ($21.00) feature multiple hardware UART ports (e.g., Serial1, Serial2).
The most common mistake beginners make is using blocking code like Serial.read() inside a while loop, which halts the microcontroller. In 2026, responsive embedded systems require non-blocking state machines and ring buffers.
Implementing a Non-Blocking Ring Buffer
Below is a production-grade snippet for parsing incoming UART strings terminated by a newline character (\n). This approach ensures your main loop() never stalls waiting for slow serial data.
const byte BUFFER_SIZE = 64;
char serialBuffer[BUFFER_SIZE];
byte bufferIndex = 0;
bool messageReady = false;

void setup() {
  // Initialize Hardware UART1 (Pins 18/19 on Mega, specific pins on Uno R4)
  Serial1.begin(115200);
}

void loop() {
  readUARTNonBlocking();

  if (messageReady) {
    processCommand(serialBuffer);
    messageReady = false;
  }

  // Other non-blocking tasks run here seamlessly
}

void readUARTNonBlocking() {
  while (Serial1.available() > 0 && !messageReady) {
    char incomingByte = Serial1.read();

    if (incomingByte == '\n') {
      serialBuffer[bufferIndex] = '\0'; // Null-terminate
      messageReady = true;
      bufferIndex = 0;
    } else if (incomingByte != '\r') { // Ignore carriage returns
      if (bufferIndex < BUFFER_SIZE - 1) {
        serialBuffer[bufferIndex++] = incomingByte;
      } else {
        // Buffer overflow protection: reset and discard
        bufferIndex = 0;
      }
    }
  }
}

void processCommand(char* cmd) {
  // Parse the null-terminated string safely
  Serial1.print("Echo: ");
  Serial1.println(cmd);
}
Understanding UART Timing and Baud Rates
At 115,200 baud, each bit takes roughly 8.68 microseconds. Since a standard UART frame consists of 10 bits (1 start, 8 data, 1 stop), transmitting a single byte takes ~86.8 microseconds. If you are transmitting a 50-byte payload, it consumes 4.34 milliseconds of bus time. Understanding this timing is critical when designing protocols for high-speed sensor arrays or 3D printer mainboards (which often use 250,000 baud to minimize latency).
SoftwareSerial: Implementation and Severe Limitations
If you are constrained to a board with only one hardware UART (like the classic Uno R3) and need a second serial port for a GPS module or Bluetooth HC-05, you must use SoftwareSerial. This library uses software bit-banging and pin-change interrupts to emulate UART.
According to the official Arduino SoftwareSerial documentation, this method comes with severe architectural penalties:
- CPU Blocking: While receiving data, the library disables interrupts and monopolizes the CPU. No other code executes until the byte is fully received.
- Baud Rate Caps: While it claims support for 115,200 baud, reliable communication usually degrades above 57,600 baud due to interrupt latency and clock drift.
- Single Listener: You can define multiple SoftwareSerial ports, but only one can listen at a time, requiring clumsy
.listen()switching.
#include

// RX on Pin 10, TX on Pin 11
SoftwareSerial gpsSerial(10, 11);

void setup() {
  Serial.begin(9600);   // Hardware UART for PC debugging
  gpsSerial.begin(9600); // Software UART for GPS
}

void loop() {
  // Simple pass-through (Warning: blocks main loop during byte reception)
  if (gpsSerial.available()) {
    Serial.write(gpsSerial.read());
  }
}
Feature Comparison: Hardware vs. Software vs. AltSoftSerial
When designing your communication architecture, choose the right tool for the job. Paul Stoffregen's AltSoftSerial offers a middle ground by using hardware timers instead of pin-change interrupts, drastically improving reliability at the cost of strict pin assignments.
| Feature | Hardware UART (Serial1) | AltSoftSerial | SoftwareSerial |
|---|---|---|---|
| CPU Usage | Negligible (Interrupt driven) | Low (Timer interrupts) | Extremely High (Blocks CPU) |
| Max Reliable Baud | 2,000,000+ (Board dependent) | 115,200 | 57,600 (31,250 recommended) |
| Pin Flexibility | Fixed to specific MCU pins | Fixed to Timer1 pins | Any digital pin |
| Simultaneous Ports | Yes (All active) | No (Interferes with PWM) | No (Only one .listen() at a time) |
Real-World Edge Cases and Troubleshooting
Even with perfect code, physical layer anomalies will cause UART failures. Here is how to diagnose the most common edge cases encountered in the field.
1. Baud Rate Drift and Ceramic Resonators
Cheap Arduino clones often use ceramic resonators instead of quartz crystals for the ATmega328P clock. Ceramic resonators can have a tolerance of up to ±5%. At 9600 baud, a 5% drift is usually within the UART receiver's error-correction margin. However, at 115,200 baud, a 5% drift causes framing errors, resulting in garbage characters or silent packet drops. Fix: Drop the baud rate to 57,600 or 38,400 when using clone boards with high-speed peripherals.
2. The Missing Common Ground
UART is a single-ended protocol, meaning voltage levels are measured relative to a ground plane. If you connect an Arduino to an RS-485 transceiver or an external microcontroller but forget to wire the GND pins together, the voltage reference floats. This manifests as intermittent, random characters appearing in your serial monitor. Always tie the grounds together before applying power.
3. Buffer Overflow on High-Throughput Sensors
The default Arduino hardware serial buffer is 64 bytes. If a LiDAR sensor or high-frequency IMU sends 100 bytes of data while your microcontroller is busy executing a 5-millisecond blocking delay (e.g., driving addressable LEDs), the 65th byte triggers a buffer overflow and is permanently lost. Fix: Increase the buffer size in the Arduino core HardwareSerial.h file, or better yet, use Direct Memory Access (DMA) on advanced boards like the Nano ESP32 or Teensy 4.1 to bypass the CPU buffer entirely.
Summary
Mastering Arduino UART requires moving beyond basic print statements. By respecting logic voltage thresholds, implementing non-blocking ring buffers, and understanding the severe CPU penalties of SoftwareSerial, you can build resilient communication networks for any DIY electronics project.