
The Shift to Professional Visual Studio Code Arduino Development
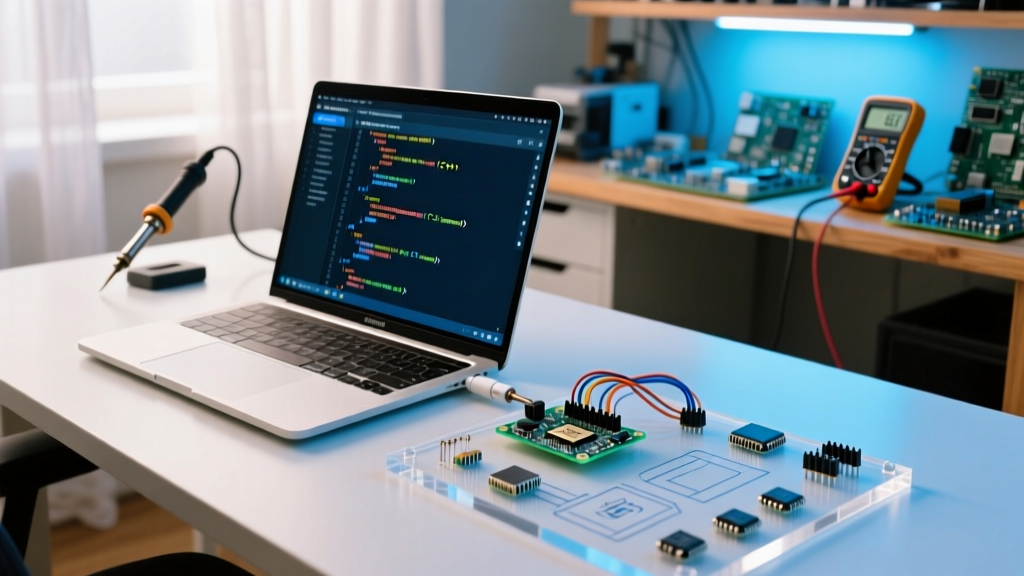
While the traditional Arduino IDE 2.x has improved significantly with basic autocomplete, professional firmware engineers and serious DIYers have overwhelmingly migrated to a Visual Studio Code Arduino workflow. The limitations of monolithic .ino files become glaringly apparent when projects exceed 1,000 lines of code, require multi-file version control, or demand rigorous memory management on constrained microcontrollers like the ATmega328P (2KB SRAM) or ESP32-S3 (512KB SRAM).
In 2026, leveraging VS Code for embedded development is not just about syntax highlighting; it is about adopting robust C++ software design patterns that prevent heap fragmentation, watchdog timer (WDT) resets, and race conditions. This guide details the architectural best practices and code patterns you must implement when transitioning your Arduino projects to a modern IDE environment.
Environment Architecture: PlatformIO vs. Official Arduino Extension
Before writing code, you must choose your build system. The official Microsoft Arduino extension is useful for quick sketches, but PlatformIO IDE remains the undisputed industry standard for scalable firmware development.
| Feature | Arduino IDE 2.x | VS Code (Official Arduino Ext) | VS Code (PlatformIO) |
|---|---|---|---|
| Build System | Arduino CLI (Hidden) | Arduino CLI Wrapper | Native CMake / SCons / ESP-IDF |
| Multi-File Support | Poor (Tab-based) | Moderate | Excellent (Standard C++ src/include) |
| Library Management | Global / Sketch-bound | Global / Sketch-bound | Project-scoped (lib_deps) |
| Static Analysis | None | Basic Intellisense | Clang-Tidy / Cppcheck Integration |
| Unit Testing | Not Supported | Not Supported | Native (Unity / GoogleTest) |
Expert Recommendation: Always initialize your projects using
pio project init --board esp32-s3-devkitc-1(or your specific MCU). This generates a localizedplatformio.inifile, ensuring your build environment and library dependencies are locked to your repository, preventing the 'it works on my machine' syndrome common in global Arduino library setups.
Essential Code Patterns for Robust Firmware
Once your environment is configured, you must abandon the 'sketch' mentality. Professional firmware relies on modularity, abstraction, and non-blocking execution.
1. Modular Architecture: Header and Source Separation
The Arduino IDE automatically concatenates all .ino tabs into a single C++ file before compilation. This destroys encapsulation. In VS Code, enforce a strict separation of interfaces and implementations.
- Include Guards: Always use
#pragma onceat the top of every.hfile to prevent multiple definition linker errors. - Namespace Isolation: Wrap your driver logic in namespaces to prevent naming collisions with third-party libraries.
- Directory Structure: Place all hardware drivers in a
lib/orsrc/drivers/directory, keeping themain.cppfile strictly for initialization and the primary event loop.
2. The Hardware Abstraction Layer (HAL) Pattern
Hardcoding pin numbers (e.g., digitalWrite(13, HIGH)) directly into your business logic creates tightly coupled code that is impossible to unit test or port to a different MCU. Implement a lightweight HAL.
// hal.h
#pragma once
#include <Arduino.h>

namespace HAL {
    constexpr uint8_t STATUS_LED = 2;
    constexpr uint8_t SENSOR_INTERRUPT_PIN = 4;

    inline void init() {
        pinMode(STATUS_LED, OUTPUT);
        pinMode(SENSOR_INTERRUPT_PIN, INPUT_PULLUP);
    }
}
By centralizing pin definitions and hardware-specific macros, migrating a project from an Arduino Nano to an ESP32-C3 requires changing only a single configuration file rather than hunting through thousands of lines of logic.
3. Non-Blocking Finite State Machines (FSM)
The delay() function is the enemy of responsive firmware. It blocks the CPU, preventing background tasks, communication buffers, and watchdog timers from executing. According to the C++ Core Guidelines, resource blocking should be minimized. Replace delays with a millis()-driven state machine.
enum class SystemState { IDLE, SAMPLING, TRANSMITTING };
SystemState currentState = SystemState::IDLE;
uint32_t previousMillis = 0;

void loop() {
    uint32_t currentMillis = millis();

    switch (currentState) {
        case SystemState::IDLE:
            if (currentMillis - previousMillis >= 1000) {
                previousMillis = currentMillis;
                currentState = SystemState::SAMPLING;
            }
            break;

        case SystemState::SAMPLING:
            readSensorData(); // Non-blocking I2C read
            currentState = SystemState::TRANSMITTING;
            break;

        case SystemState::TRANSMITTING:
            if (sendWiFiPacket()) {
                currentState = SystemState::IDLE;
            }
            break;
    }
    yield(); // Feed the ESP8266/ESP32 Watchdog Timer
}
This pattern ensures your loop() function executes thousands of times per second, allowing you to multiplex button debouncing, LED fading, and network polling simultaneously without a single delay() call.
Memory Management & Edge Case Mitigation
Microcontrollers lack the gigabytes of RAM found in desktop environments. A memory leak that goes unnoticed on a PC will crash an ESP8266 in minutes.
Banishing the String Class
The Arduino String class relies on dynamic heap allocation. On an ATmega328P with only 2KB of SRAM, repeated concatenation causes severe heap fragmentation. Eventually, the allocator cannot find a contiguous block of memory for a new string, resulting in a silent crash or a WDT reset.
The Best Practice: Use fixed-size character arrays and snprintf from the standard C library.
// BAD: Causes heap fragmentation
String payload = "{"temp":" + String(dht.readTemperature()) + "}";

// GOOD: Deterministic stack allocation
char payload[64];
snprintf(payload, sizeof(payload), "{\"temp\":%.2f}", dht.readTemperature());
If you must use dynamic strings on ESP32 architectures, prefer std::string with pre-allocated capacity via .reserve() to minimize reallocation overhead.
Safe Interrupt Service Routines (ISRs)
Interrupts must be lightning-fast. Never perform I2C reads, Serial prints, or floating-point math inside an ISR. Furthermore, variables shared between an ISR and the main loop must be declared volatile to prevent the compiler from caching them in CPU registers.
- AVR (Arduino Uno/Mega): Use
ATOMIC_BLOCK(ATOMIC_RESTORESTATE)when reading multi-byte volatile variables (like 32-bit timestamps) in the main loop to prevent data tearing. - ESP32 Architectures: ISRs must reside in Instruction RAM. You must decorate your ISR functions with the
IRAM_ATTRmacro, otherwise, the CPU will trigger an IllegalInstruction panic if the flash cache is disabled during the interrupt.
Advanced Debugging & CI/CD Integration
One of the primary advantages of a Visual Studio Code Arduino setup is the ability to integrate professional debugging and automated testing. By utilizing PlatformIO's native unit testing framework, you can mock hardware dependencies and test your state machines on your host PC before flashing the silicon.
Furthermore, configuring a .clang-format file ensures consistent code styling across your team, while setting up GitHub Actions with the platformio/platformio-ci-action guarantees that every pull request is cross-compiled against your target MCU, catching syntax and memory errors before they reach production hardware.
For deeper insights into standardizing your embedded C++ syntax, refer to the Arduino Language Reference and map its macros to standard C++17 equivalents supported by modern GCC ARM toolchains. Embracing these patterns transforms your hobbyist sketches into resilient, production-grade firmware.