
Why Scratch Programming for Arduino Still Matters in 2026
When engineers and educators discuss microcontroller development, C++ and Rust usually dominate the conversation. However, scratch programming for Arduino remains a powerhouse for rapid prototyping, STEM education, and visual logic mapping. By leveraging block-based environments like mBlock 5 (a robust fork of Scratch 3.0), developers can bypass syntax errors and focus entirely on control flow, sensor logic, and hardware interaction.
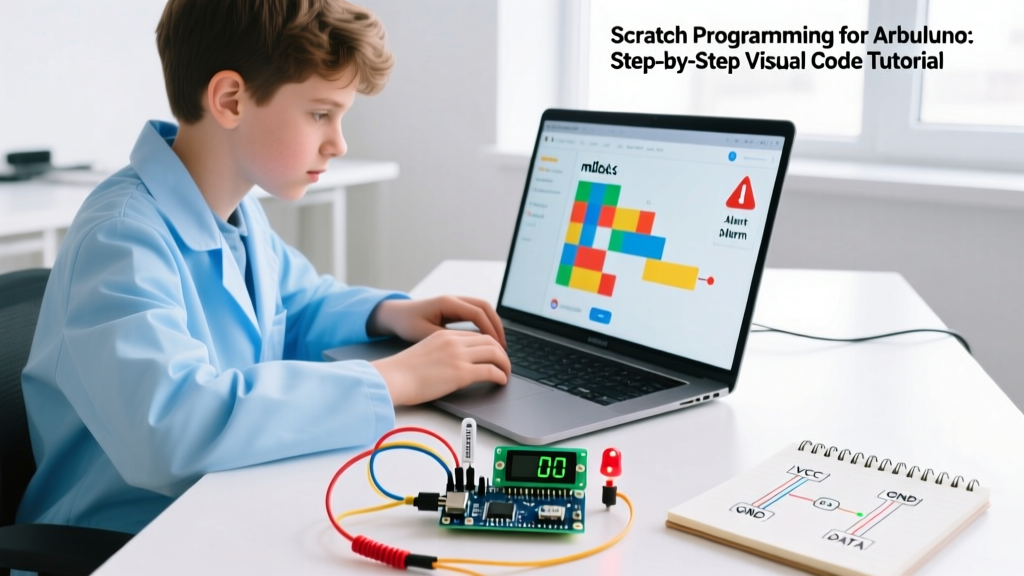
In this comprehensive tutorial, we will move beyond basic blinking LEDs. We will build a Smart Temperature Alert System using the modern Arduino UNO R4 Minima, translating visual Scratch blocks directly into optimized C++ firmware. Whether you are an educator designing a curriculum or a hobbyist looking to quickly validate sensor logic before writing production code, this guide provides the exact blueprint you need.
Hardware & Software Bill of Materials (BOM)
Before diving into the IDE, ensure you have the exact components listed below. The UNO R4 Minima is chosen here for its 14-bit ADC (Analog-to-Digital Converter), which provides vastly superior temperature resolution compared to the legacy 10-bit ADC on the UNO R3.
| Component | Model / Specification | Estimated Cost |
|---|---|---|
| Microcontroller | Arduino UNO R4 Minima (Renesas RA4M1) | $20.00 |
| Temperature Sensor | TMP36 Analog IC (TO-92 Package) | $2.25 |
| Indicator LED | 5mm Red Diffused LED | $0.15 |
| Current Limiting Resistor | 220Ω (1/4W Carbon Film) | $0.05 |
| Decoupling Capacitor | 100nF (0.1µF) Ceramic (0805 or Radial) | $0.10 |
| Cable | USB-C to USB-A (Must be Data+Power) | $5.00 |
| Software IDE | mBlock 5 (Desktop Version) | Free |
Expert Warning: The most common point of failure for beginners is using a 'charge-only' USB-C cable. If your PC does not recognize the UNO R4 COM port in the mBlock Device Manager, swap your cable immediately. Charge-only cables lack the internal D+ and D- data lines required for serial flashing.
Environment Setup: Linking Scratch to Hardware
While the MIT Scratch Foundation pioneered the visual coding paradigm, native Scratch does not compile to AVR or ARM machine code. For hardware integration, we use mBlock 5, which acts as a visual frontend for the Arduino GCC compiler.
- Download and Install: Grab the mBlock 5 desktop client from the official mBlock website. The web version lacks the local USB serial bridge required to flash the UNO R4.
- Add the Device: Navigate to Devices > Add and search for 'Arduino UNO'. For the R4 Minima, mBlock utilizes the standard Arduino AVR/GCC backend but maps it to the Renesas RA4M1 chip via the official Arduino Software board definitions.
- Install the Driver: Click Connect > Install Driver. On Windows 11, this installs the Renesas USB-Serial bridge driver. On macOS, this step is generally plug-and-play.
The Translation Matrix: Scratch Blocks vs. C++
Understanding how Scratch blocks compile into C++ is critical for debugging. When you click 'Upload Mode' in mBlock, the software generates a hidden .ino file. Here is how the visual logic maps to standard Arduino firmware:
| Scratch Visual Block | Generated C++ Code | Execution Context |
|---|---|---|
When [Flag] clicked | void setup() { ... } | Runs once on boot or reset. |
Forever { ... } | void loop() { ... } | Continuous execution cycle. |
Set pin [13] output [HIGH] | digitalWrite(13, HIGH); | Manipulates GPIO registers. |
Wait [1] seconds | delay(1000); | Blocking delay (halts CPU). |
Read analog pin [A0] | analogRead(A0); | Triggers ADC hardware interrupt. |
Project Walkthrough: Smart Temperature Alert System
Step 1: Hardware Wiring & ADC Noise Mitigation
The TMP36 outputs an analog voltage proportional to Celsius temperature (10mV per degree C, with a 500mV offset). Connect the TMP36 VCC to 5V, GND to GND, and VOUT to Analog Pin A0.
Critical E-E-A-T Tip: Analog sensors are highly susceptible to electromagnetic interference (EMI) and power rail ripple. If you read raw A0 values in Scratch, you will see the ADC value jittering by ±5 points. To fix this, solder a 100nF ceramic capacitor directly across the TMP36's VCC and GND legs. Furthermore, place a 10kΩ pull-down resistor between A0 and GND to prevent the pin from 'floating' and reading phantom voltages if the sensor is disconnected.
Step 2: Building the Logic in Scratch
In mBlock, switch to Upload Mode (indicated by the toggle in the top right). Live mode will not work for complex math operations on the UNO R4.
- Drag the
When [Flag] clickedblock from the Events palette. - Attach a
Set pin [13] mode [OUTPUT]block from the Arduino palette. - Next, grab a
Foreverloop from the Control palette. - Inside the loop, we need to read the sensor and convert the 14-bit ADC value (0-16383 on the R4) to actual voltage. Use the Math operators to build this equation:
(Read analog pin A0) * (5.0 / 16383.0) - Store this result in a Scratch Variable named
Voltage. - Create a second math block to convert Voltage to Celsius:
((Voltage) - 0.5) * 100.0 - Store this in a variable named
TempC. - Use an
If / Elseblock: IfTempC > 28.0(approx 82°F),Set pin 13 HIGH. Else,Set pin 13 LOW. - Add a
Wait 0.5 secondsblock at the bottom of the loop to prevent serial buffer flooding if you decide to output the data to the Scratch stage.
Step 3: Flashing and Verification
Click the Upload button. mBlock will compile the blocks into C++, invoke the GCC compiler, and push the binary via the bootloader. The onboard LED (Pin 13) will now illuminate whenever you pinch the TMP36 sensor and raise its temperature above 28°C.
Edge Cases, Failure Modes, and Debugging
Visual coding abstracts away syntax, but it cannot protect you from hardware physics or logic flaws. Here are the most common failure modes when doing Scratch programming for Arduino, and how to resolve them.
1. The 'Avrdude stk500_getsync' Error
If the upload fails with avrdude: stk500_getsync() attempt 10 of 10: not in sync, your COM port is locked or the bootloader is unresponsive. Fix: Unplug the USB-C cable, open the Windows Device Manager, ensure no hidden 'ghost' COM ports exist, and plug the board back in while holding the UNO R4's physical RESET button. Release the button exactly when the console says 'Uploading...'.
2. Floating Point Math Truncation
Scratch handles variables as dynamic floats by default, but the underlying C++ compiler might infer integer math if you aren't careful. If your temperature reads exactly '0' or '100' and never changes, you are likely performing integer division. Fix: Always use decimal points in your Scratch math blocks (e.g., use 5.0 instead of 5). This forces the generated C++ code to use float or double data types rather than int.
3. The Blocking Delay Trap
Using the Scratch Wait block translates to delay() in C++, which halts the microcontroller's CPU. If you later decide to add a button to toggle the alert threshold, the button presses will be missed during the wait state. Advanced Fix: For non-blocking timing, abandon the Wait block and instead use the Arduino millis() equivalent in mBlock, or transition to a state-machine logic flow using Scratch's Broadcast Message blocks to simulate pseudo-multithreading.
Conclusion
Scratch programming for Arduino is far more than a children's toy; it is a legitimate visual abstraction layer over C++. By understanding the hardware constraints of the UNO R4 Minima, mitigating ADC noise with proper decoupling, and knowing how Scratch blocks compile into machine code, you can prototype complex sensor networks in minutes. Once your logic is validated in mBlock, you can use the software's 'Show Code' feature to export the clean C++ syntax into the standard Arduino IDE for production refinement.