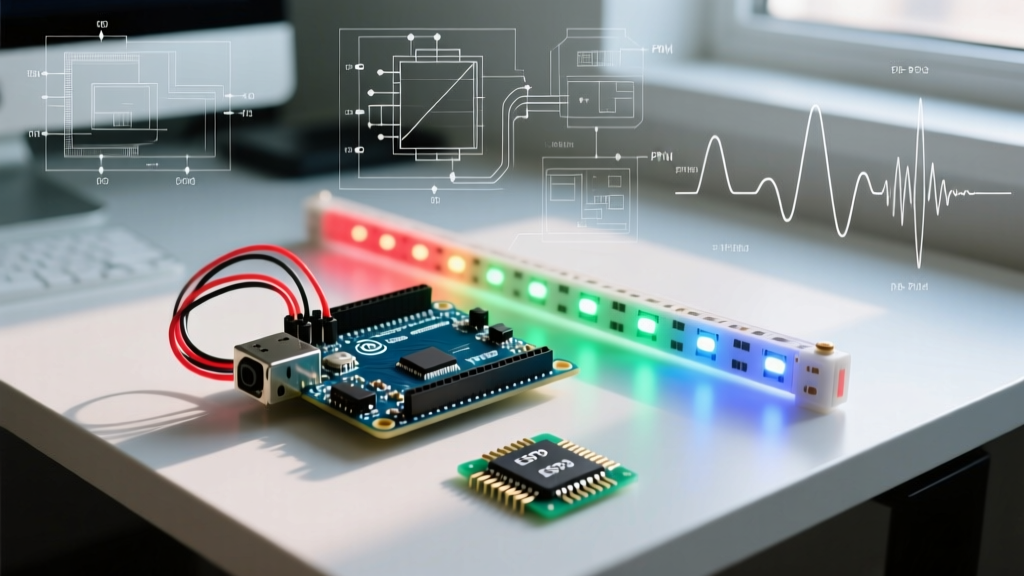

The Flaw in Standard Arduino RGB LED Code
Most introductory tutorials on Arduino RGB LED code conclude with the analogWrite() function. While sufficient for blinking a basic common-cathode LED, this approach is fundamentally inadequate for professional lighting, photography, or smooth UI feedback. The ATmega328P microcontroller (found in the Arduino Uno and Nano) defaults to a Pulse Width Modulation (PWM) frequency of roughly 490 Hz or 980 Hz depending on the pin.
At these low frequencies, two critical issues emerge:
- Camera Flicker: 490 Hz creates severe banding and strobing when recorded by smartphone cameras or DSLRs operating at standard shutter speeds (e.g., 1/60s or 1/120s).
- Low-End Banding: The 8-bit resolution (256 steps) combined with the non-linear perception of human vision means the first 10 steps of a fade look like abrupt jumps in brightness rather than a smooth transition.
To write truly advanced Arduino RGB LED code, we must manipulate hardware timers for high-frequency PWM and implement mathematical models for perceptual lightness.
Hardware Timer Manipulation for High-Frequency PWM
According to the official Arduino PWM documentation, the microcontroller relies on three internal timers to generate PWM signals. By altering the prescaler bits in the Timer/Counter Control Registers (TCCR), we can push the PWM frequency into the ultrasonic range, eliminating camera flicker entirely.
| Pins | Timer | Default Freq | Max Safe Freq | Modification Warning |
|---|---|---|---|---|
| 5, 6 | Timer 0 | ~976 Hz | ~62.5 kHz | DO NOT CHANGE. Breaks millis() and delay(). |
| 9, 10 | Timer 1 | ~490 Hz | ~31.2 kHz | Safe to modify for RGB channels. |
| 3, 11 | Timer 2 | ~490 Hz | ~31.2 kHz | Safe to modify for RGB channels. |
Implementing the Code
To map an RGB LED to Pins 9 (Red), 10 (Green), and 3 (Blue), we modify Timer 1 and Timer 2. Place this bitwise operation in your setup() function before calling analogWrite():
void setup() {
  // Set Timer 1 (Pins 9 & 10) prescaler to 1 (approx 31.25 kHz)
  TCCR1B = TCCR1B & B11111000 | B00000001;

  // Set Timer 2 (Pin 3) prescaler to 1 (approx 31.25 kHz)
  TCCR2B = TCCR2B & B11111000 | B00000001;

  pinMode(9, OUTPUT);
  pinMode(10, OUTPUT);
  pinMode(3, OUTPUT);
}
Note: Pushing the frequency to ~31 kHz reduces switching losses in external MOSFETs but requires careful gate-drive design to prevent electromagnetic interference (EMI).
Perceptual Linearity: Gamma Correction and CIE 1931
Human vision is logarithmic, not linear. If you output a PWM value of 128 (50% duty cycle), the human eye perceives it as roughly 75% to 80% of maximum brightness. To achieve a perceptually smooth fade, your Arduino RGB LED code must map linear inputs to non-linear outputs.
While a standard Gamma 2.8 curve is common, the CIE 1931 Lightness formula is the industry standard for accurate LED dimming, particularly in architectural lighting. As detailed in Adafruit's comprehensive guide on Gamma Correction, applying a lookup table (LUT) stored in PROGMEM saves precious SRAM while delivering flawless fades.
| Target Perceived % | Linear Value | Gamma 2.8 Value | CIE 1931 Value |
|---|---|---|---|
| 10% | 26 | 3 | 2 |
| 25% | 64 | 17 | 10 |
| 50% | 128 | 59 | 38 |
| 75% | 191 | 125 | 94 |
| 100% | 255 | 255 | 255 |
Expert Insight: When writing custom fades, never interpolate directly in the RGB color space. Interpolating from Red (255,0,0) to Green (0,255,0) linearly will pass through a muddy brown. Always convert RGB to HSV (Hue, Saturation, Value), interpolate the Hue angle, and convert back to RGB before applying the CIE 1931 LUT.
Beyond 8-Bit: Upgrading to 12-Bit PWM with PCA9685
For high-end analog RGB strips (like 12V or 24V SMD 5050 strips), 256 steps of 8-bit PWM still result in slight stepping at the very bottom of the dimming curve. Upgrading to a PCA9685 I2C PWM driver provides 12-bit resolution (4,096 steps).
- Pricing (2026): Generic PCA9685 modules cost around $4–$6, while the Adafruit 16-channel breakout retails for ~$15.
- Frequency: Configurable via I2C registers, typically set to 1.5 kHz to balance MOSFET switching losses and flicker reduction.
- Implementation: Use the
Adafruit_PWMServoDriverlibrary. The 12-bitsetPWM()function allows micro-stepping that completely eliminates low-end banding.
Pros and Cons: Native ATmega PWM vs. PCA9685
| Feature | Native ATmega328P (Modified Timers) | PCA9685 I2C Driver |
|---|---|---|
| Resolution | 8-bit (256 steps) | 12-bit (4096 steps) |
| Max Frequency | ~31.2 kHz | ~1.5 kHz (Default) |
| CPU Overhead | Zero (Hardware handled) | Low (I2C bus transactions) |
| Wiring Complexity | Direct to pins | Requires I2C pull-ups and shared ground |
Addressable RGB: WS2812B vs. SK6812 in 2026
If your project uses addressable LEDs rather than analog strips, your code architecture shifts entirely. The FastLED Library remains the gold standard for addressable control, handling temporal dithering and gamma correction under the hood.
As of 2026, the industry has largely shifted from the classic WS2812B to the SK6812 (RGBW). The addition of a dedicated warm-white or cool-white diode in the SK6812 solves the primary flaw of the WS2812B: the inability to produce pure, high-CRI white light without taxing the RGB diodes and causing massive thermal throttling.
- WS2812B Cost: ~$10 per 100 pixels.
- SK6812 RGBW Cost: ~$18 per 100 pixels.
- Code Adjustment: FastLED supports RGBW via the
WS2812Bcontroller type but requires a custom 4-channel color struct or the use of theFastLED_RGBWwrapper to properly map the white channel without blowing out the color balance.
Critical Hardware Failure Modes and Edge Cases
Advanced code cannot save a poorly designed circuit. When scaling up from a single 20mA breadboard LED to high-power RGB strips, you must account for these physical edge cases:
1. Inductive Kickback and Gate Floating
When driving high-power analog RGB strips via MOSFETs (e.g., the IRLZ44N), the gate capacitance can cause the MOSFET to oscillate during the PWM rise/fall times, generating immense heat and EMI. Solution: Always place a 10kΩ pull-down resistor between the Gate and Source, and a 100Ω series resistor between the Arduino pin and the Gate.
2. Voltage Drop and Color Shifting
On 5V addressable strips, drawing 60mA per pixel (full white) causes severe voltage drop across the thin copper PCB traces. By pixel 50, the voltage may drop below 4.5V, causing the blue diodes to fail first (they have the highest forward voltage), resulting in a yellow/red color shift. Solution: Inject 5V power every 50 pixels and use a logic level shifter (74AHCT124) to boost the Arduino's 5V data signal to a robust 5V logic high, ensuring the first pixel's DIN threshold is reliably met.
3. Ground Loops
If your Arduino is powered via USB while the RGB strip is powered by a separate 5V/12V switching power supply, a ground loop can corrupt the PWM data line. Solution: The Arduino GND and the LED Power Supply GND must be tied together at a single star-ground point near the LED strip's input.
Conclusion
Writing professional-grade Arduino RGB LED code requires looking past the abstractions of the standard IDE libraries. By manipulating hardware timers to achieve ultrasonic PWM frequencies, applying CIE 1931 lightness lookup tables for perceptual linearity, and designing robust MOSFET gate-drive circuits, you bridge the gap between a hobbyist blink sketch and a commercial-grade lighting controller.